Creating a PhotonOS 3.0 Blueprint for vRA 7.6 (Admiral)
First, we need to download PhotonOS
I’m using OVA with virtual hardware v13 (UEFI Secure Boot)
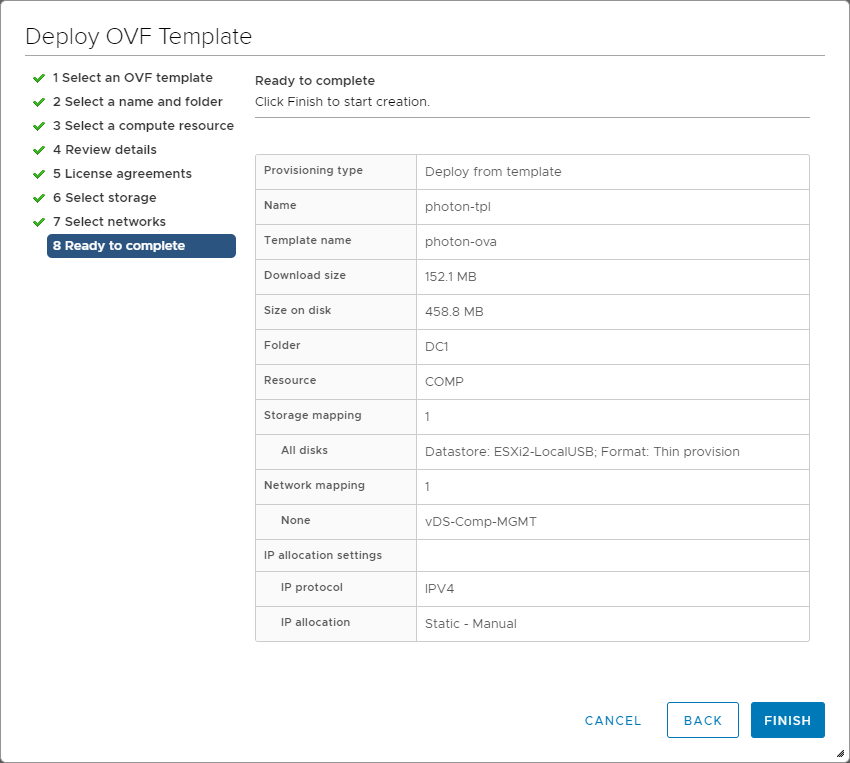
1. Deploy PhotonOS 3.0 OVA
Deploying the OVA File is very straight forward.
2. Prepare the VM Template
After booting the VM, open the console and login with default credentials:
Username: root
Password: changeme
You will be asked to change the password.
Next, we need to modify the docker daemon, so that we can access its API remotely.
Next, I’m going to assign a temporary IP to the VM. This step is not mandatory, but performing the necessary configuration changes is much easier via SSH than via Console.
Assign IP Address
Copy the existing file with its permissions.
cp -rp /etc/systemd/network/99-dhcp-en.network /etc/systemd/network/10-static-en.network
Modify the file, according to your environment.
[Match]
Name=e*

[Network]
Address=10.0.60.15/24
Gateway=10.0.60.1
Restart the the network daemon
systemctl restart systemd-networkd
Make the Docker API remotely available
Compared to PhotonOS 2.0, this process has changed quite a bit. It has been addressed in a GIT Issue about Photon.
There, Collin Chaffin created a very good gist, on how to enable Docker API on PhotonOS.
If you’ve followed his steps, you should be able, to query the docker API remotely:
root@ubu:/# docker -H tcp://10.0.60.15:2375 info
Containers: 0
 Running: 0
 Paused: 0
 Stopped: 0
Images: 0
Server Version: 18.06.1
Storage Driver: overlay2
 Backing Filesystem: extfs
 Supports d_type: true
 Native Overlay Diff: true
Logging Driver: json-file
Cgroup Driver: cgroupfs
Plugins:
 Volume: local
 Network: bridge host macvlan null overlay
 Log: awslogs fluentd gcplogs gelf journald json-file logentries splunk syslog
Swarm: inactive
Runtimes: runc
Default Runtime: runc
Init Binary: docker-init
containerd version: 468a545b9edcd5932818eb9de8e72413e616e86e
runc version: 69663f0bd4b60df09991c08812a60108003fa340
init version: fec3683
Security Options:
 apparmor
 seccomp
  Profile: default
Kernel Version: 4.19.15-1.ph3-esx
Operating System: VMware Photon OS/Linux
OSType: linux
Architecture: x86_64
CPUs: 1
Total Memory: 1.952GiB
Name: photon-machine
ID: KUKA:WNXP:MCAG:JJ54:T3YE:Q364:VPJX:UBJ6:HKEX:WGLO:LD37:3A3J
Docker Root Dir: /var/lib/docker
Debug Mode (client): false
Debug Mode (server): false
Registry: https://index.docker.io/v1/
Labels:
Experimental: false
Insecure Registries:
 127.0.0.0/8
Live Restore Enabled: false
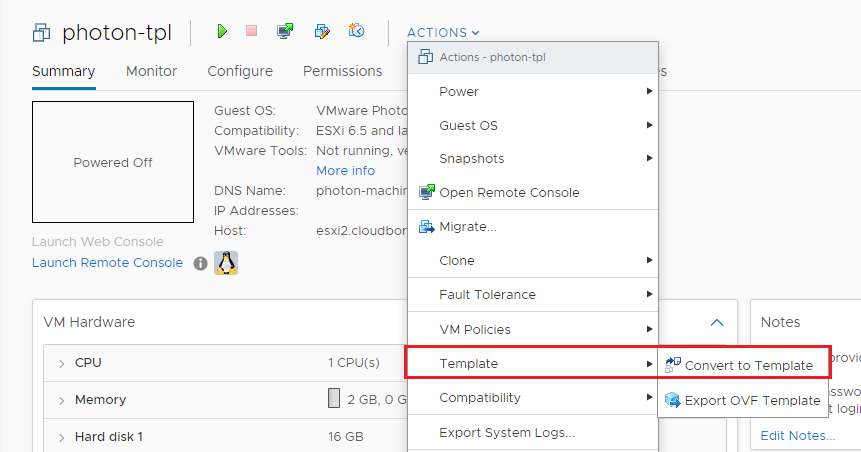
If it was successful, remove your IP-configurations, power off your VM and create a template out of it.
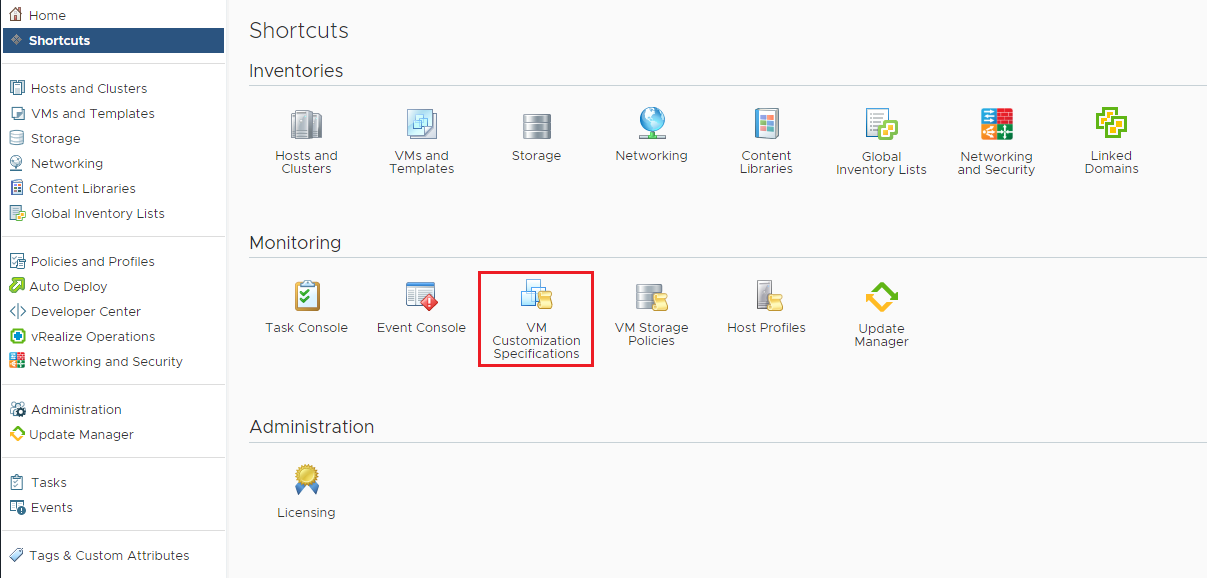
3. Prepare VM Customization Specifications
Next, we need to specify the VM Customization Specs. Mainly to configure an IP address after deploying the VM.
So, navigate to Home –> Customization Specifications
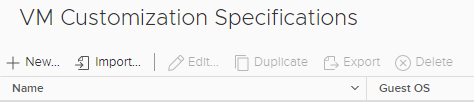
Choose +New
Give it a Name, and choose “Linux” as “Target guest OS”

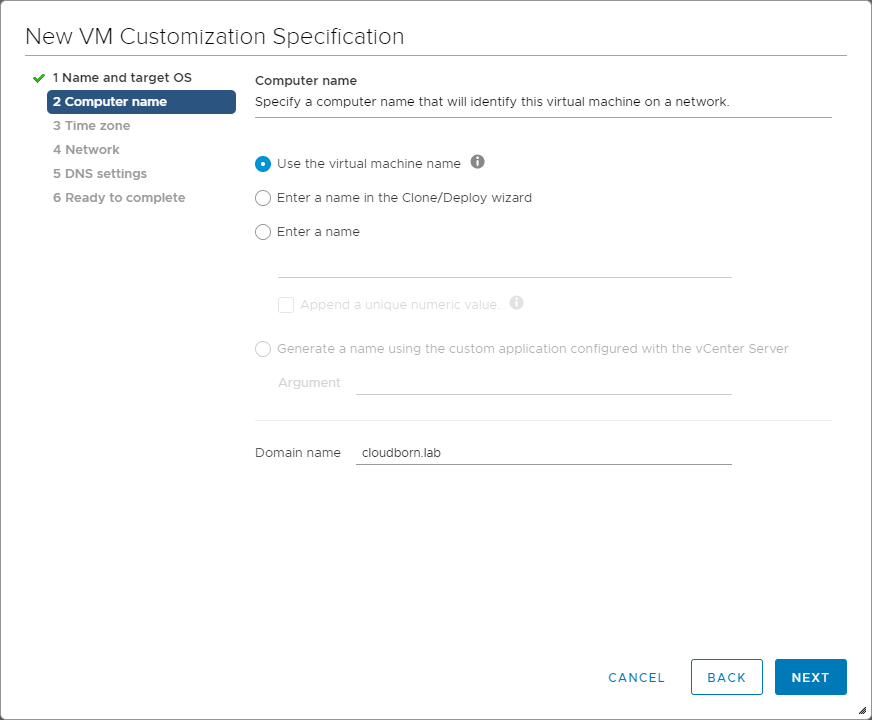
Choose “Use the virtual machine name” and enter a “Domain name” (not mandatory).
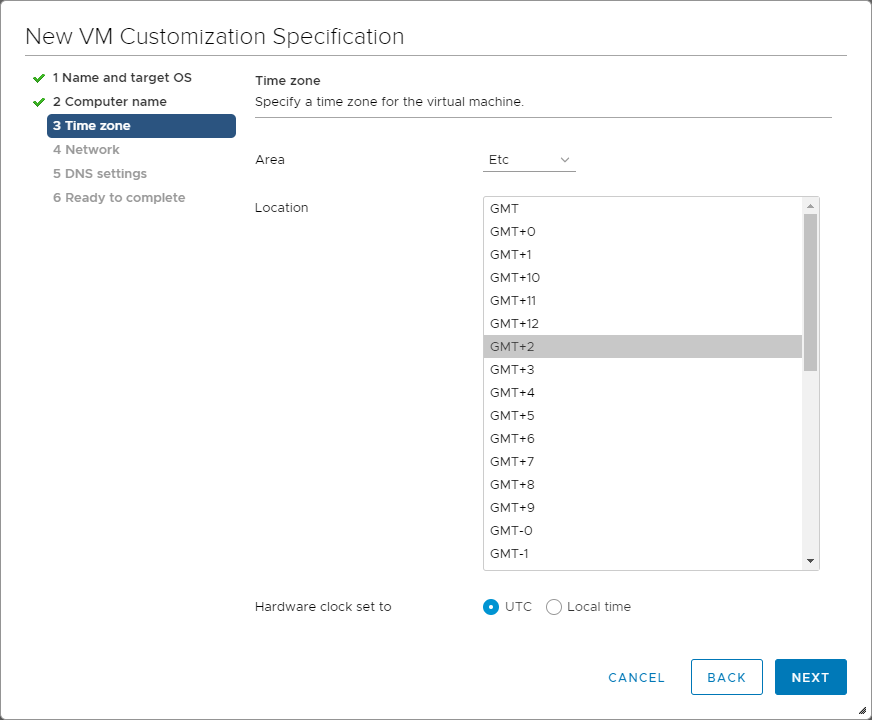
Select your preferred TimeZone
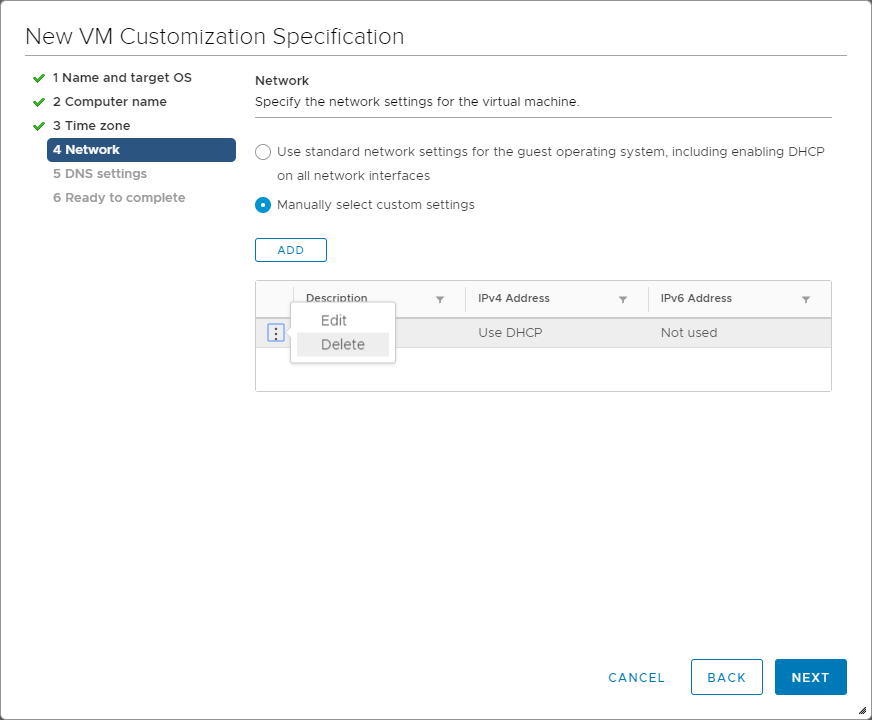
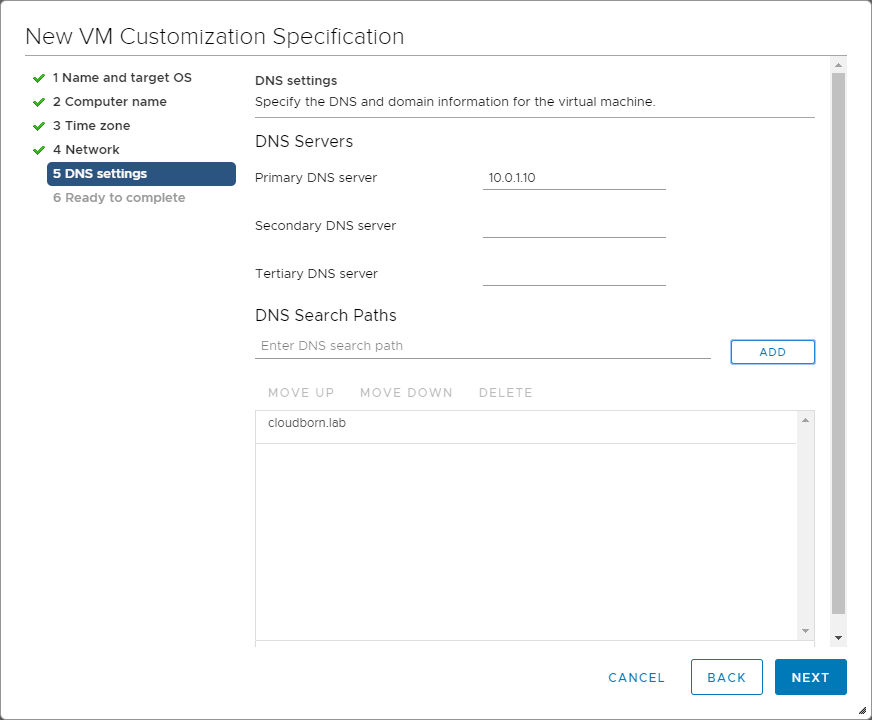
Now comes the important part. For Network select “Manually select custom settings“, click the three dots next to the NIC and select “Edit”.
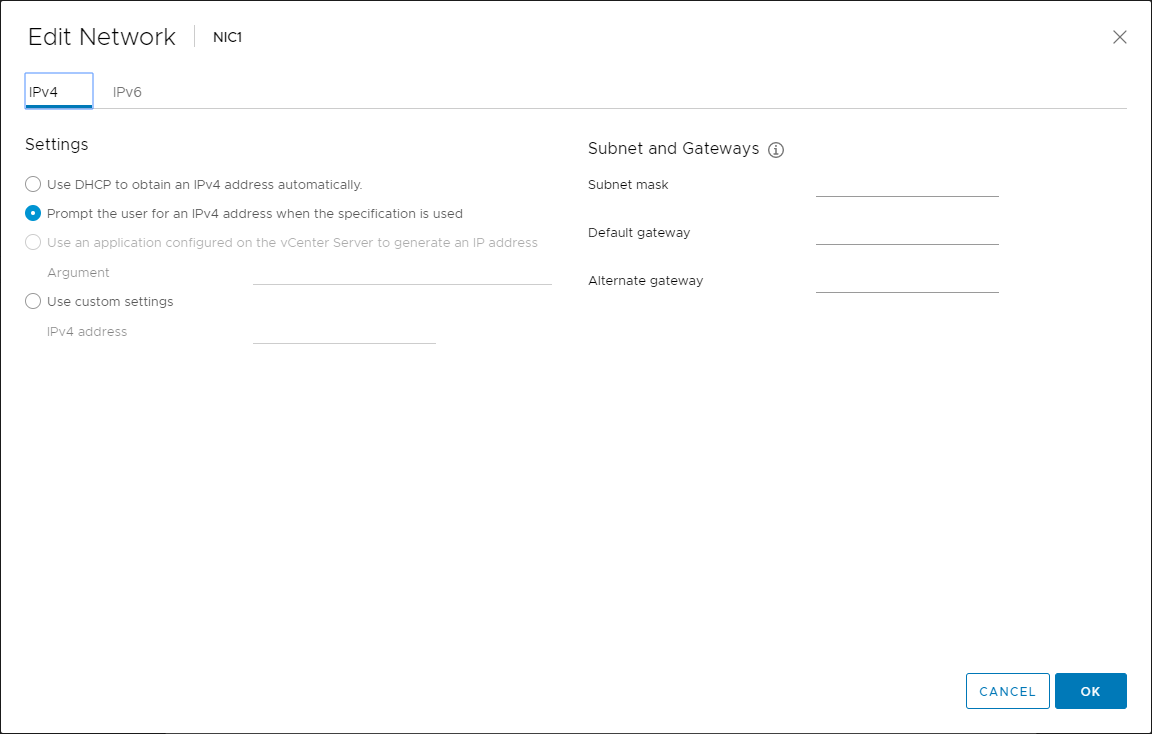
For IPv4 choose “Prompt the user for an IPv4 address when the specification is used“.
Enter your DNS Information.
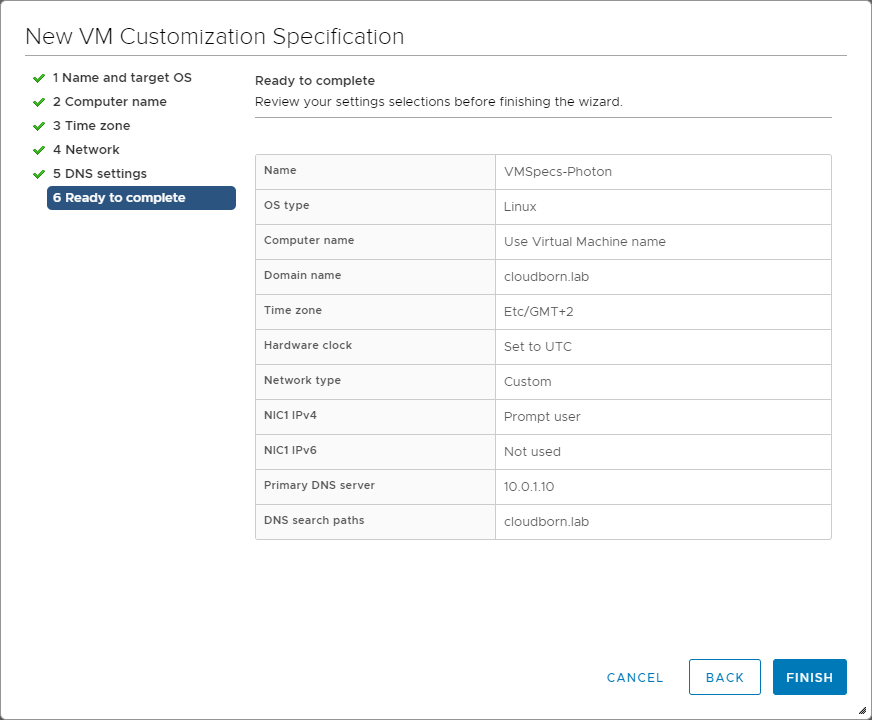
Now, review your configurations and Finish.
4. Create the Blueprint
Finally, we can create the Blueprint.
Actually, this Blueprint is almost a standard VM Provisioning. Though, the tricky part is to get the Photon VM automatically added to vRA integrated Admiral. But luckyly, VMware prepared something to help us.
Create own Custom Property Group
As Fabric-Admin, navigate to Administration –> Property Dictionary –> Property Groups
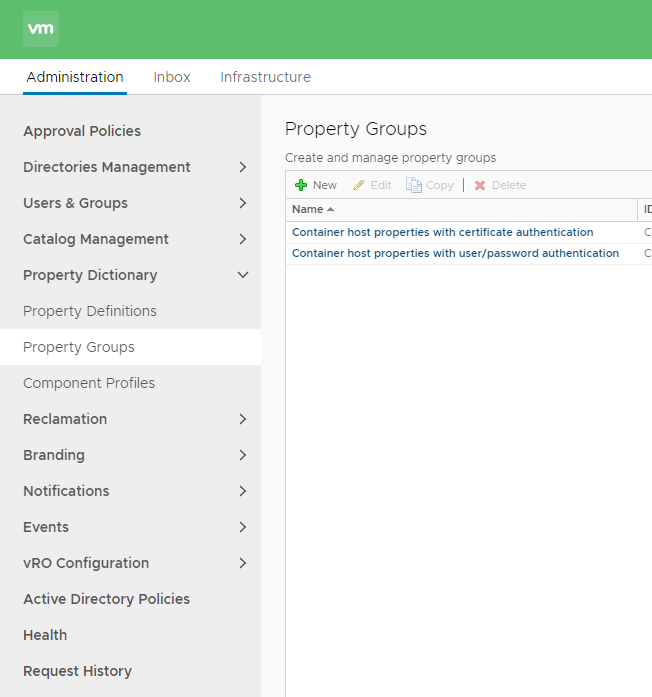
Select Group “Container host properties with certificate authentication” and click Copy

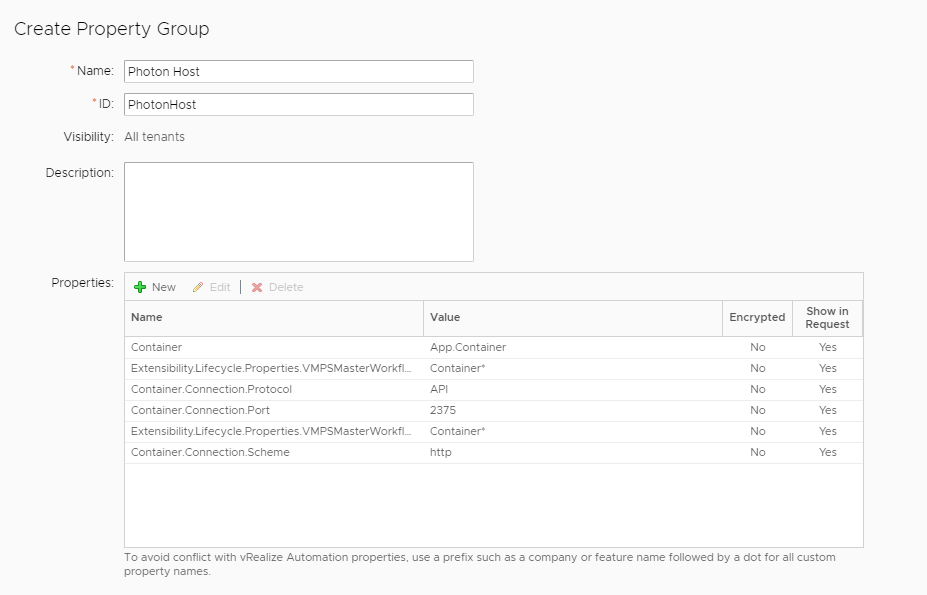
I call my Group “Photon Host”.
Delete the following properties:
Container.Auth.PrivateKey
Container.Auth.PublicKey
Modify the following Values:
Container.Connection.Port –> 2375
Container.Connection.Scheme –> http
Note – Obviously, without any kind of authentication it is not very secure, thus highly recommended to not do it like this in production. This guide is only supposed to demonstrate the concepts.
If you want to have more information about the Custom Properties, check the Custom Properties Reference from Page 44 onwards.
Put all the things together
Login with a User, that has the required permissions to create new Blueprints.
Navigate to Design –> Blueprints –> New
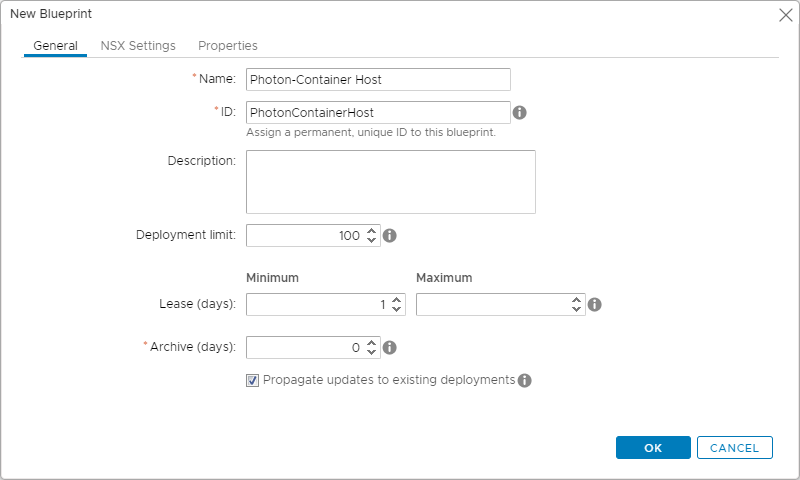
Give your Blueprint a meaningful name. Leave the rest as it is.
(If you wan to use a Logical Switch as Portgroup, you need to select the TransportZone under NSX settings).
Now drag a “vSphere (vCenter) Machine” and a network where you want to connect the VM to on the Canvas.
I’m not going into the details of how to create the network reservations. I’m using a simple external network profile, which has a range of IPs assigned to it and is mapped to a vDS Portgroup.
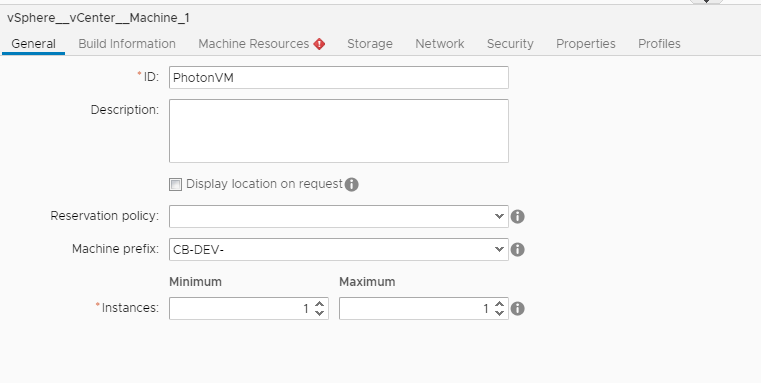
Click on the VM and choose the General Tab. Again, give it a meaningful name. It’s recommended (but not mandatory) to assing a Machine Prefix.
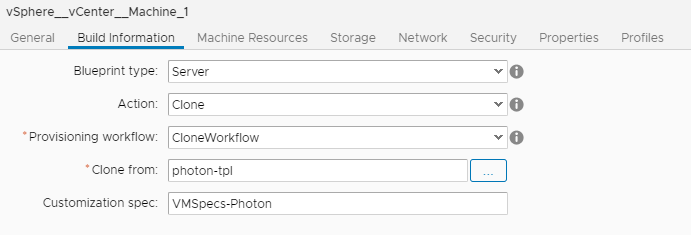
Next, select Build Information and enter the following:
Blueprint Type: Server
Action: Clone
Provisioning workflow: CloneWorkflow
Clone from: photon-tpl (this is the VM template, we created earlier, if you don’t see this, run a data collection in vRA)
Customization spec: VMSpecs-Photon (this is the VM Customization Spec, we created earlier. The name is case sensitive)
Next, on the “Network” tab, select New and select your Network. Set “Assignment Type “to “Static IP“, and leave the Address empty.

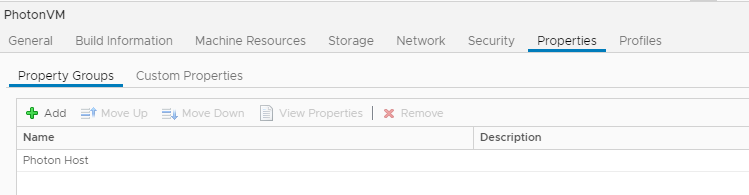
Last, click on Properties Tab –> Property Groups
Click Add, and add the Properties Group, we created moments ago and click finish.
5. Closing
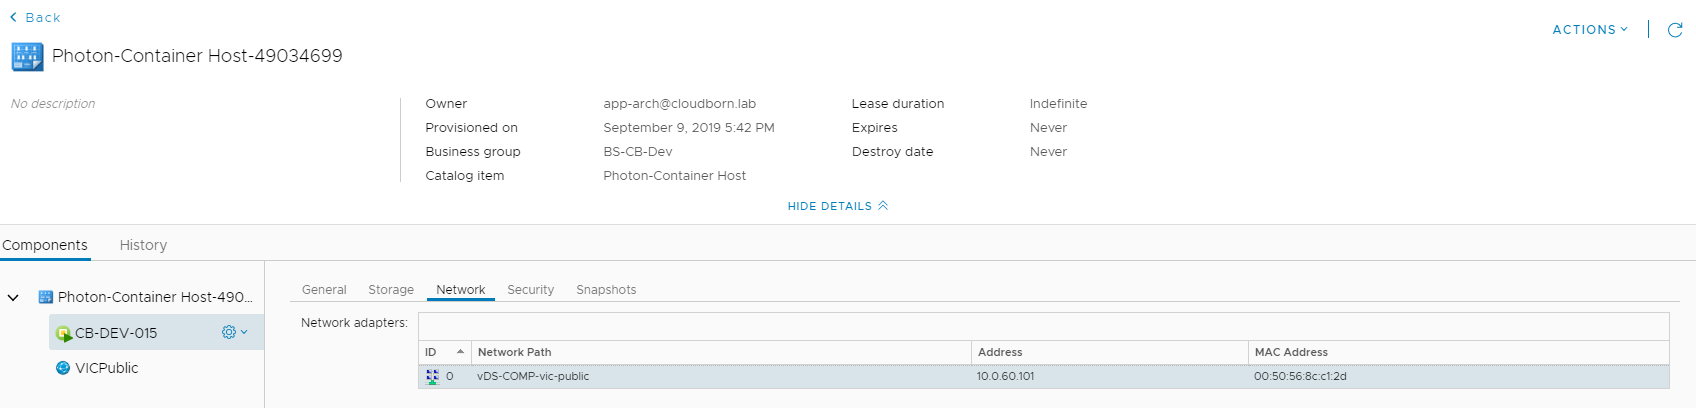
After making the Blueprint available to a Business group, you can deploy your Photon VM. If everything goes well, you should see something like the following in your deployments:
If you now navigate to Containers Tab –> Infrastructure –> Container Host Cluster
You should see your new Container Host.
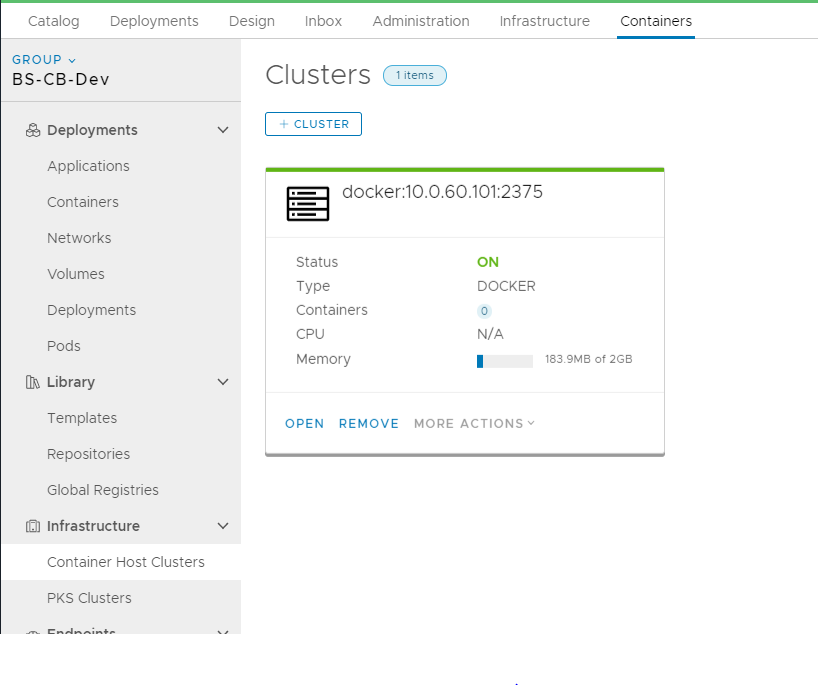
You can now start putting Containers on your Host.