Deploy vSphere with Kubernetes (Project Pacific) – Part 4: Install NSX-T
This Post is part of a series:
Deploy vSphere with Kubernetes (Project Pacific) – Part 1: Inventory and Design
Deploy vSphere with Kubernetes (Project Pacific) – Part 2: Prepare base networking
Deploy vSphere with Kubernetes (Project Pacific) – Part 3: Prepare base storage (FreeNAS)
–> Deploy vSphere with Kubernetes (Project Pacific) – Part 4: Install NSX-T
Deploy vSphere with Kubernetes (Project Pacific) – Part 5: Configure NSX-T
Deploy vSphere with Kubernetes (Project Pacific) – Part 6: Some basic testing
Deploy vSphere with Kubernetes (Project Pacific) – Part 7: Enable Workload Management
Deploy vSphere with Kubernetes (Project Pacific) – Part 8: Deploy first Workloads
Finally, the base environment is prepared for the actual project. So we are now ready to deploy the first real part of our vSphere with Kubernetes environment – NSX-T !
Deploying the NSX-T OVF is pretty straight forward.
Start with importing the OVF and give it a name.
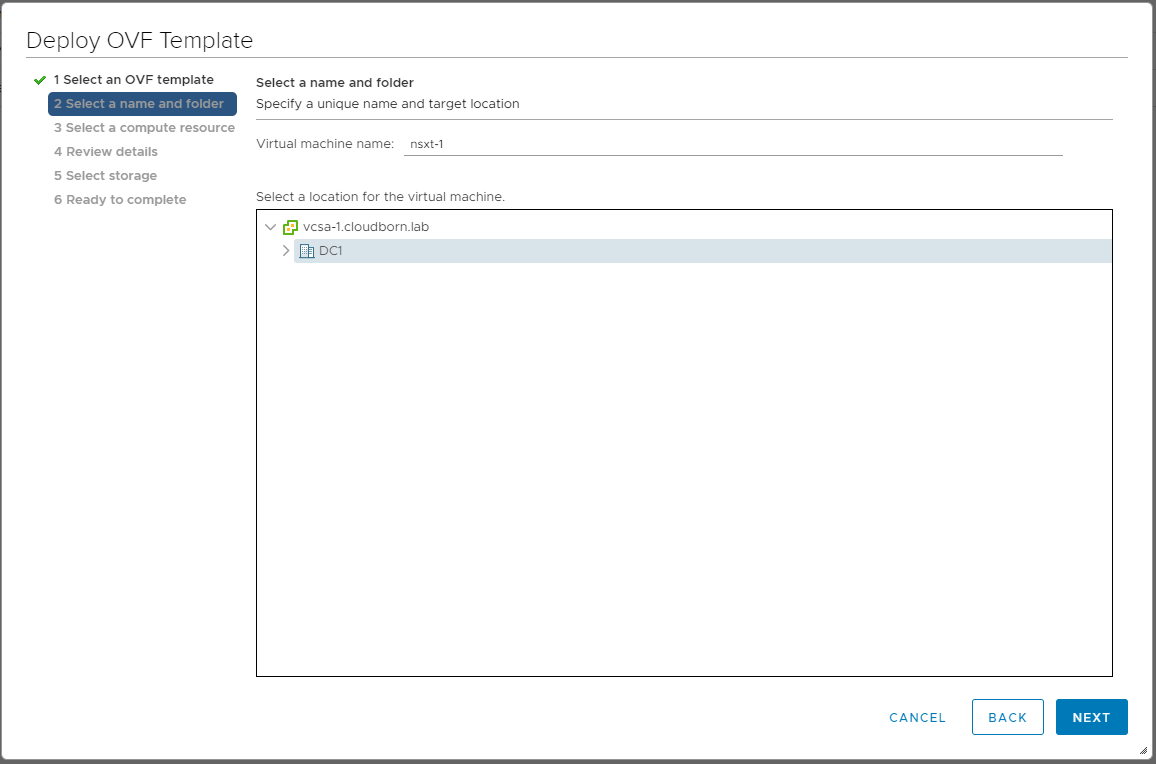
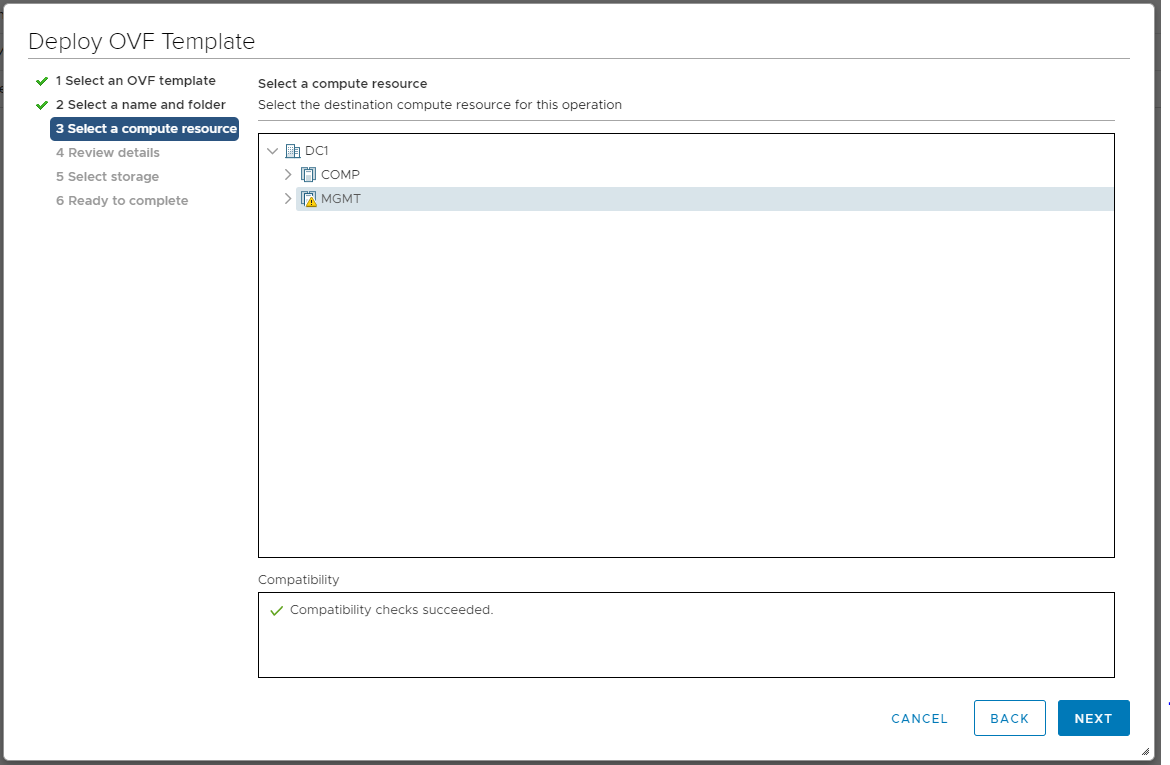
As Location select the MGMT Cluster.
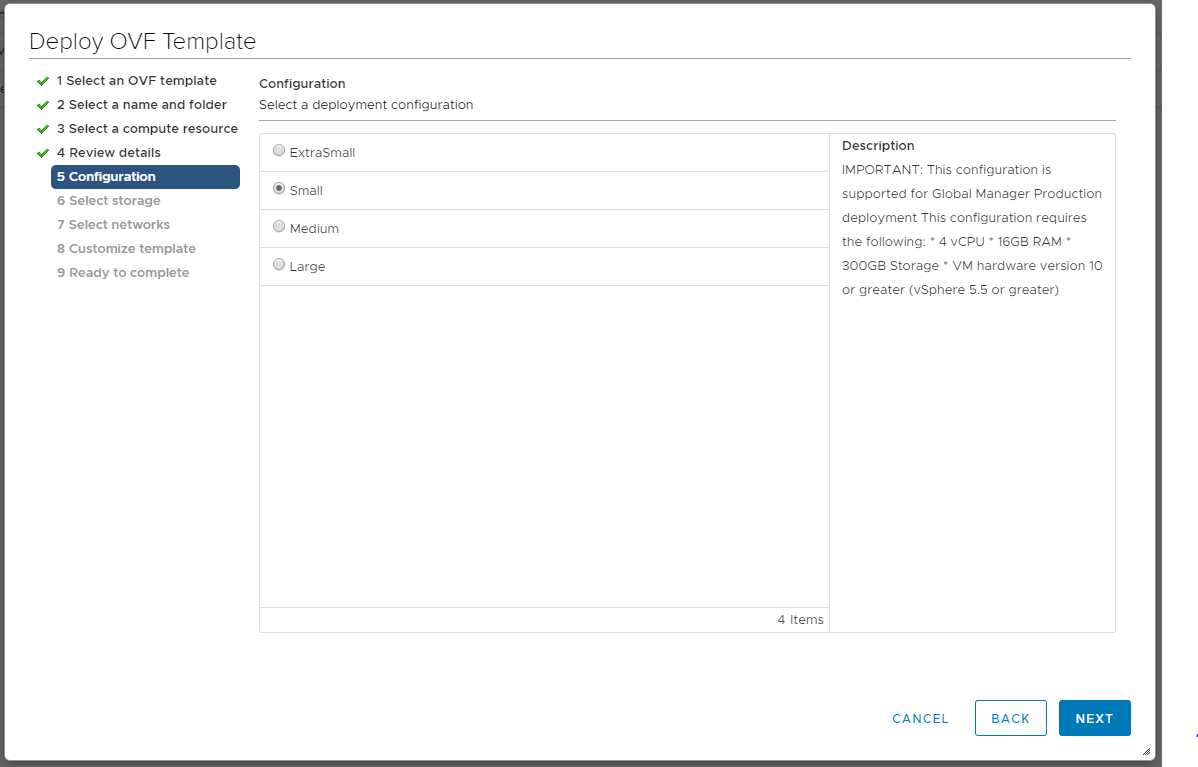
Select size Small. In real world, at least Medium is required, but small is sufficient for a lab which isn’t supported anyway 😉
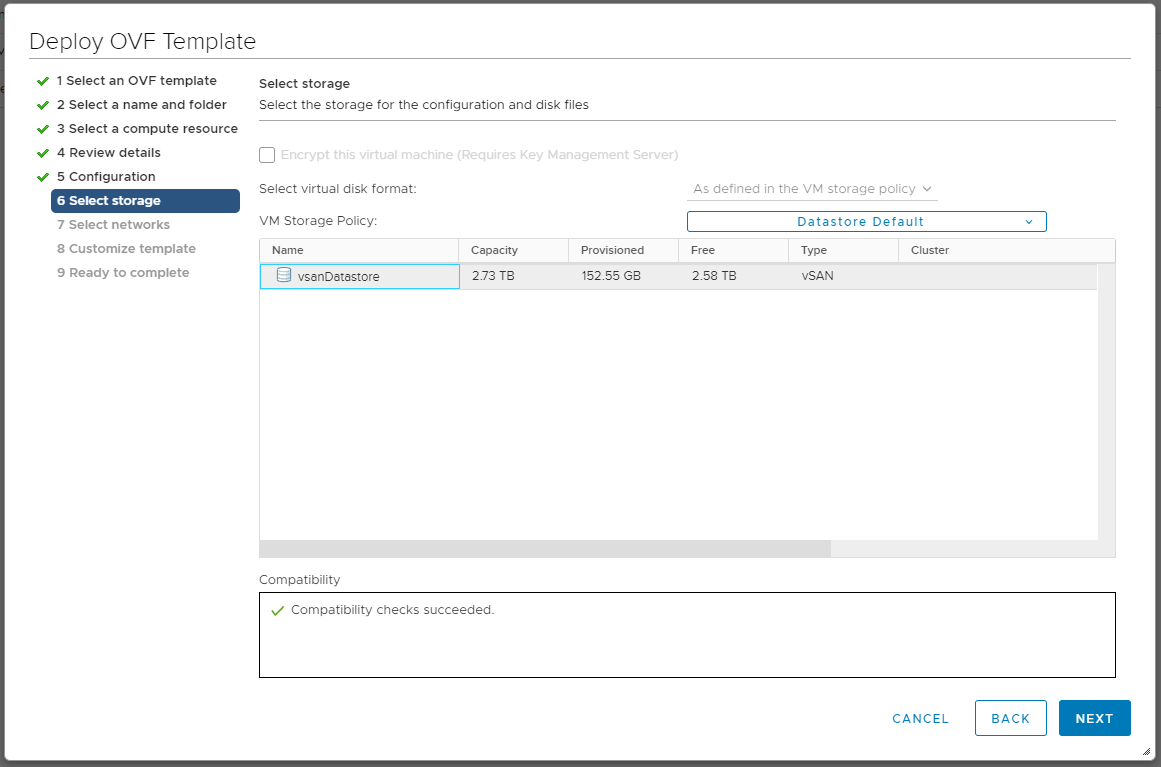
Select the Datastore. In our case vsanDatastore
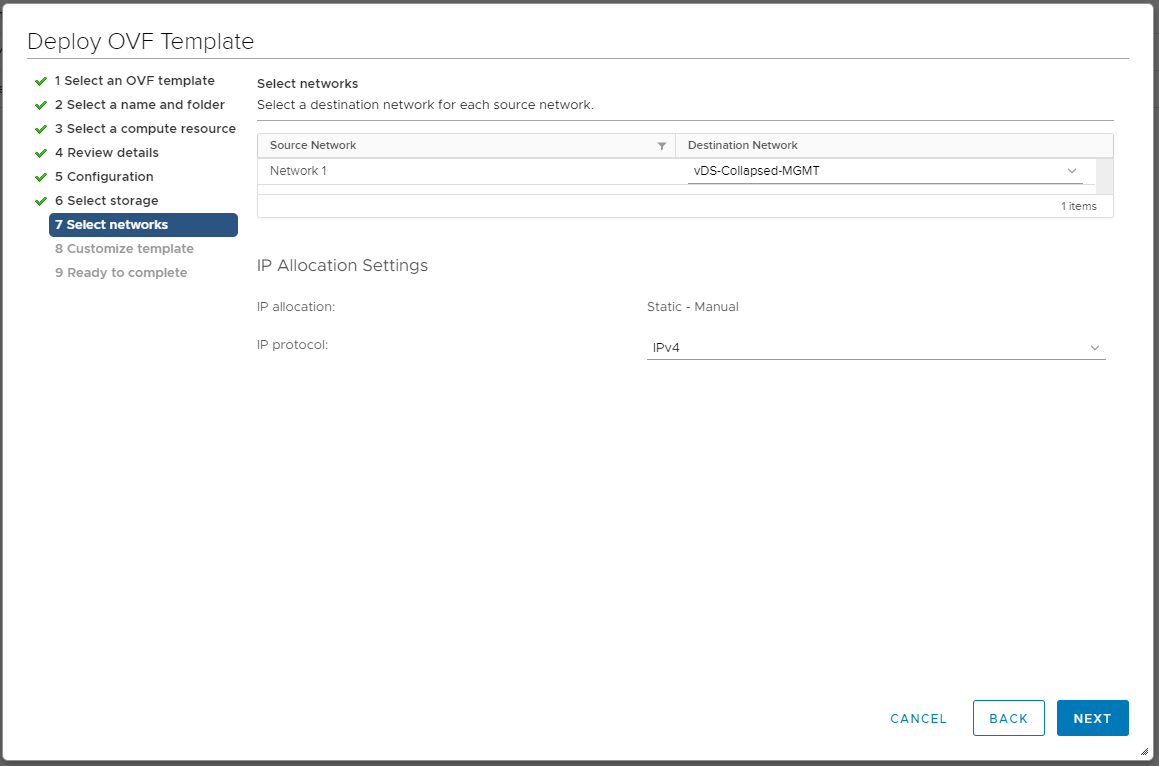
Select the Management Network. In our case vDS-Collapsed-MGMT
Leave the IP protocol on IPv4
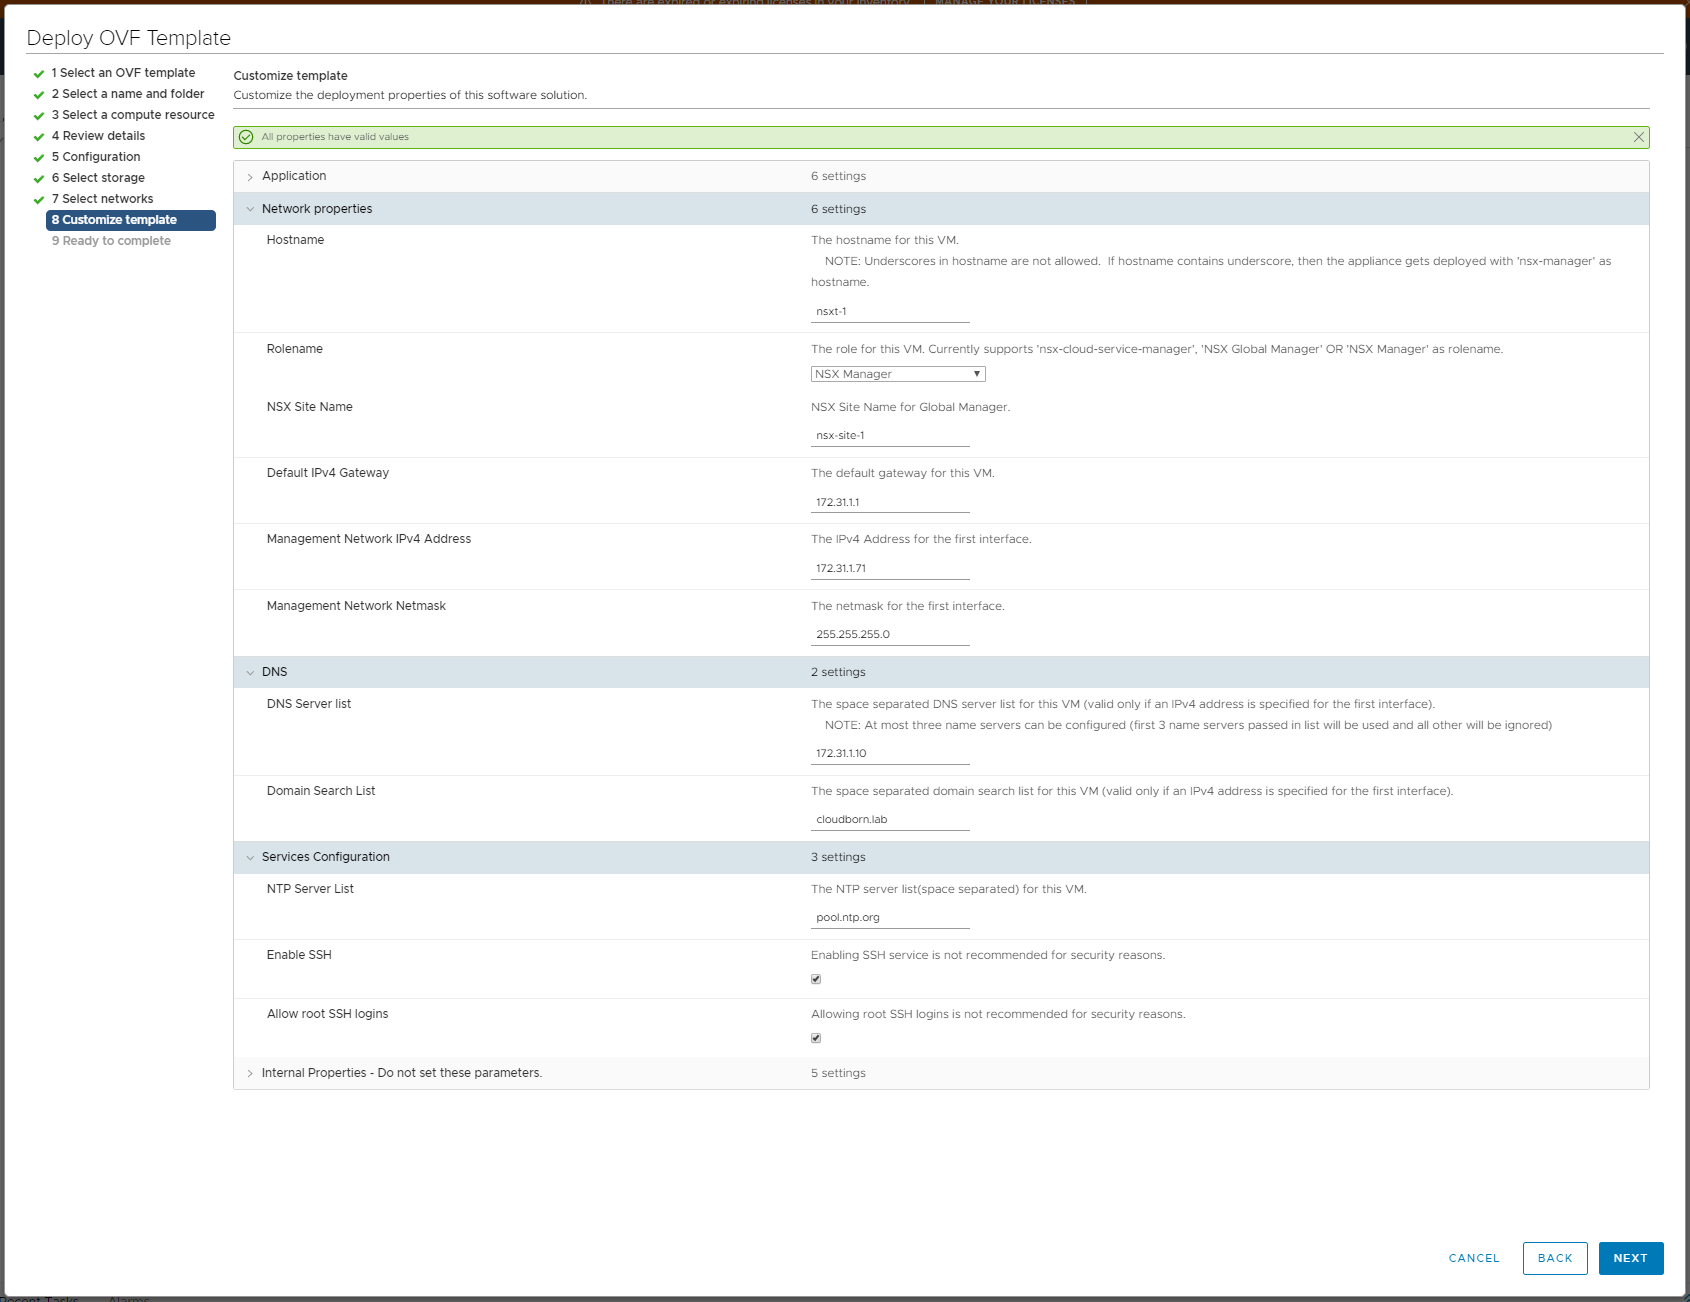
Customize the Template – set all passwords in the Application Section (make sure to follow password requirements: https://docs.vmware.com/en/VMware-NSX-T-Data-Center/3.0/installation/GUID-A65FE3DD-C4F1-47EC-B952-DEDF1A3DD0CF.html)
- Hostname: nsxt-1
- Rolename: NSX Manager
- NSX Site Name: nsx-site-1
- Default IPv4 Gateway: 172.31.1.1
- Management Network IPv4 Address: 172.31.1.71
- Management Network Netmask: 255.255.255.0
- DNS Server list: 172.31.1.10
- Domain Search list: cloudborn.lab
- NTP Server List: pool.ntp.org
- Enable SSH: checked (not mandatory, but good for troubleshooting)
- Allo root SSH logins: checked (also not mandatory, but good for troubleshooting)
Finish the installation.
Start the VM
NSX Manager reserves all the resources it has configured. Thus, depending on your hardware, due to lack of resources it might not start. So you might see the following error:
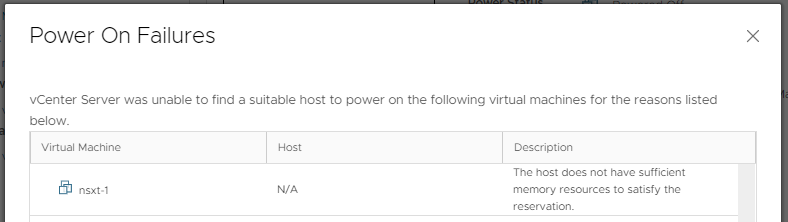
In the real world, that totally makes sense, as, since version 2.4, the NSX-T Manager also includes the NSX Controllers. These controller hold and distribute information about logical networks, logical ports, logical routers, vtep tables, … so you definitly don’t want to have resource congestion here.
But luckily, we are in a Lab environment. So we are not only not clustering the NSX Managers (3 are recommended), but also set the reservation of the VM to none – no risk no fun =D
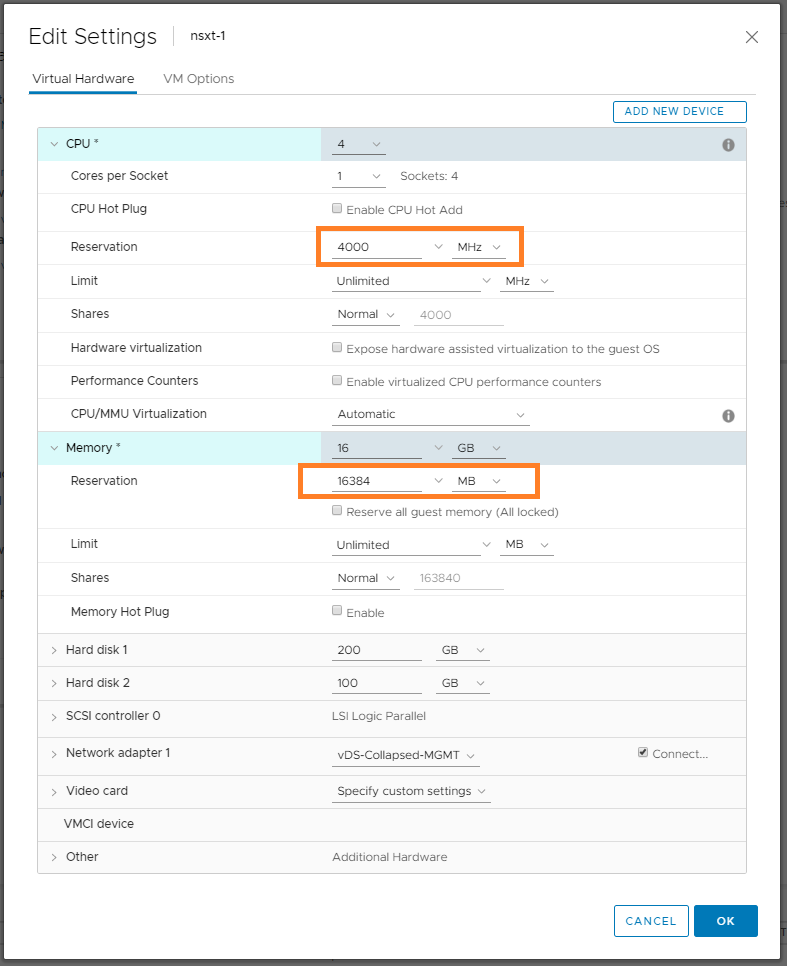
You should now be able to start the VM. As with the most appliances, the first boot takes a bit.