Deploy vSphere with Kubernetes (Project Pacific) – Part 3: Prepare base storage (FreeNAS)
This Post is part of a series:
Deploy vSphere with Kubernetes (Project Pacific) – Part 1: Inventory and Design
Deploy vSphere with Kubernetes (Project Pacific) – Part 2: Prepare base networking
–> Deploy vSphere with Kubernetes (Project Pacific) – Part 3: Prepare base storage (FreeNAS)
Deploy vSphere with Kubernetes (Project Pacific) – Part 4: Install NSX-T
Deploy vSphere with Kubernetes (Project Pacific) – Part 5: Configure NSX-T
Deploy vSphere with Kubernetes (Project Pacific) – Part 6: Some basic testing
Deploy vSphere with Kubernetes (Project Pacific) – Part 7: Enable Workload Management
Deploy vSphere with Kubernetes (Project Pacific) – Part 8: Deploy first Workloads
In Part 2, we have configured the base networking. Part 3 takes care of the storage.
Initially, I was thinking about using VSAN for the Workload Cluster, as this is the recommended solution by VMware. Sadly, I neither have a fourth Hades Canyon nor is their hardware config suitable for being a VSAN Cluster (the past use cases never required that).
My next thought was to use another cool new Feature – VSAN File Services (since I’m using VSAN in the MGMT Cluster). Sadly, this caused a lot of weird issues. For example, the NSX-T Edges had trouble starting some services, while the SupervisorControlPlane VMs (SCP) couldn’t get configured properly. I really don’t know how this relates to each other, but after migrating them to the FreeNAS NFS, everything was working fine. To be clear, that was only the case on the VSAN NFS Datastores, not on the “native” VSAN Datastore.
Eventually, I need to dig deeper into this, but that wasn’t my goal here 😉
So I ended up, installing a FreeNAS VM in the Workload Cluster. Not optimal, but ok for a Lab environment.
In this part, we are going to:
- Install and Configure FreeNAS
- Mount the NFS Datastore
- Tag the NFS Datastore and create a Storage Policy
FreeNAS
Install FreeNAS
First, download the FreeNAS ISO from https://www.freenas.org/download/
Then create a new VM.
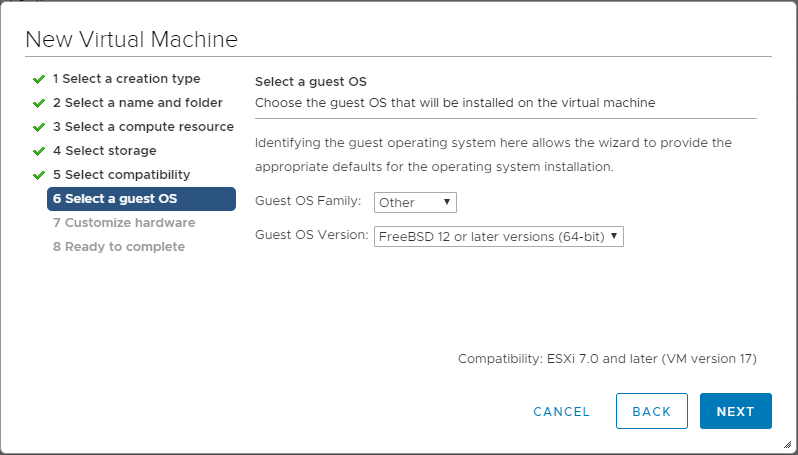
Configure it as following:
Guest OS Family: Other
Guest OS Version: FreeBSD 12 or later version (64-bit)
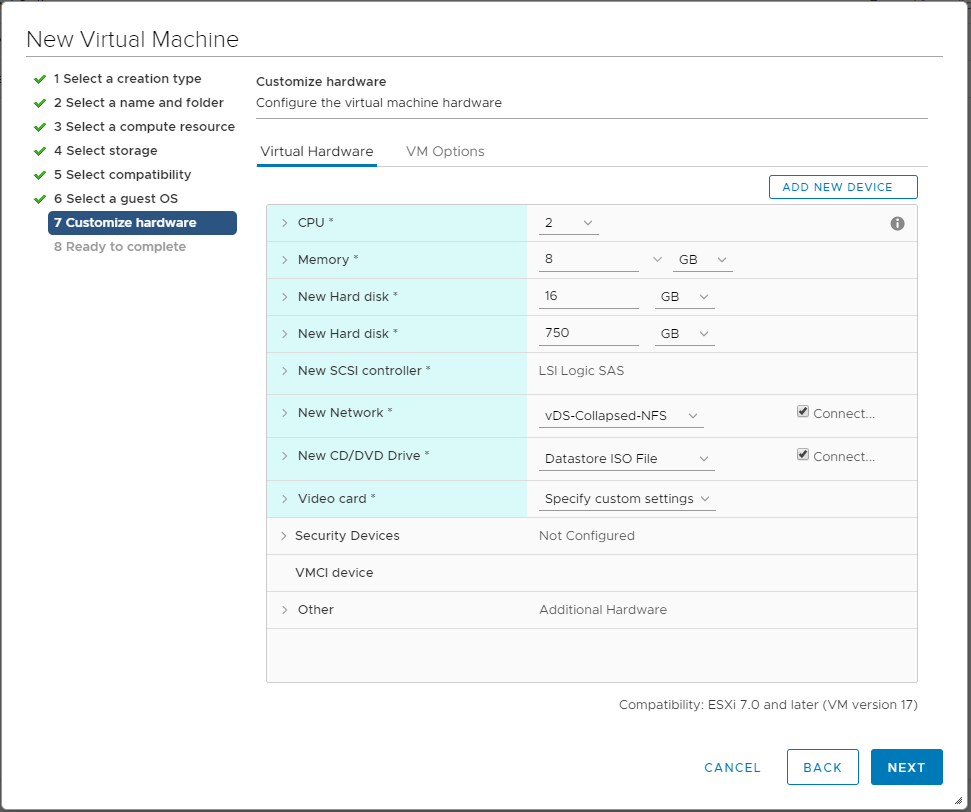
For the Hardware, configure (at least) the following:
- 2x CPU
- 8 GB Memory
- 16 GB Disk (for OS)
- 750 GB Disk (for NFS Share, thin provisioned, might also be smaller)
- Select Network vDS-Collapsed-NFS
- Mount the FreeNAS ISO
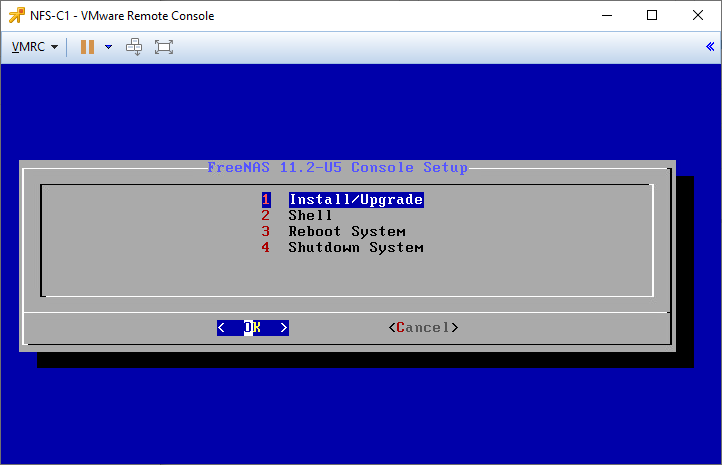
Next, boot the VM, make sure its starting from CD (should be default).
In the Installer Screen choose 1 Install/Upgrade
Select the 16GB disk for the OS installation
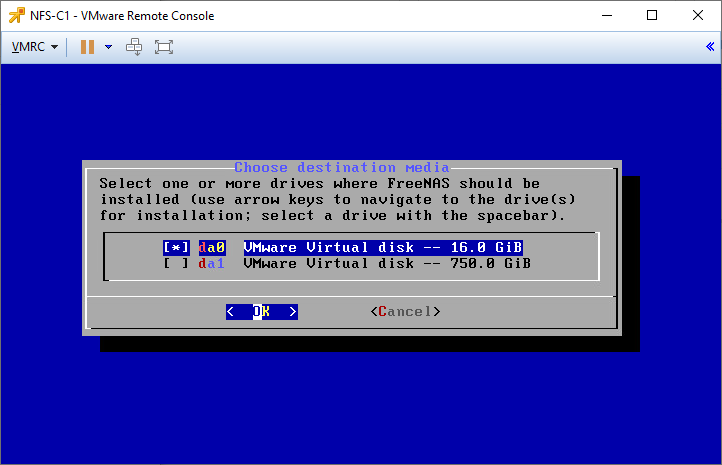
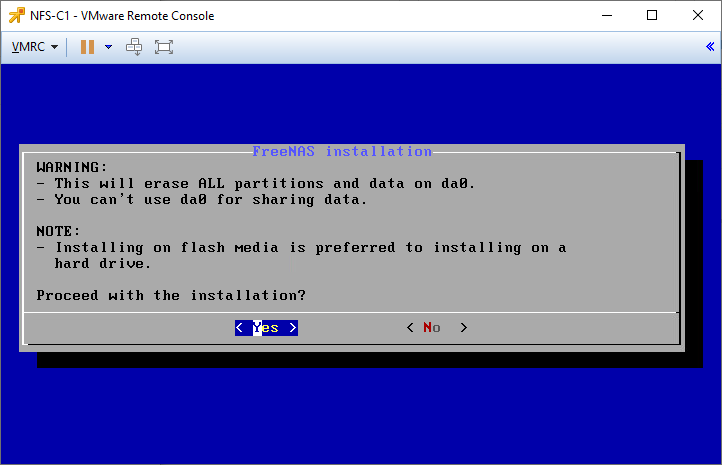
Confirm the warning and proceed (its just about erasing data … =) )
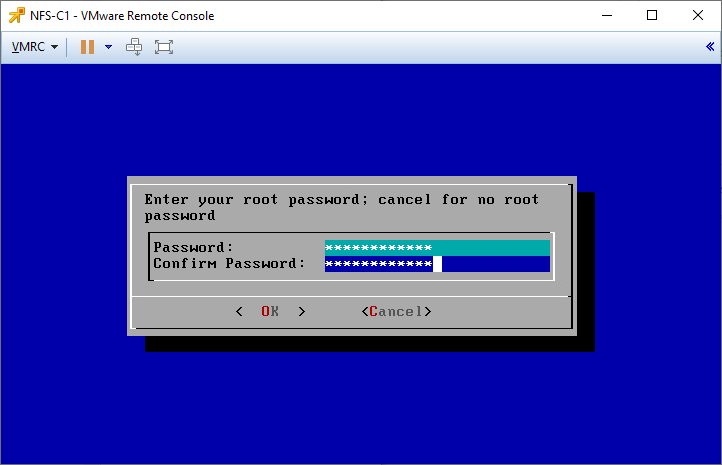
Enter Password and continue
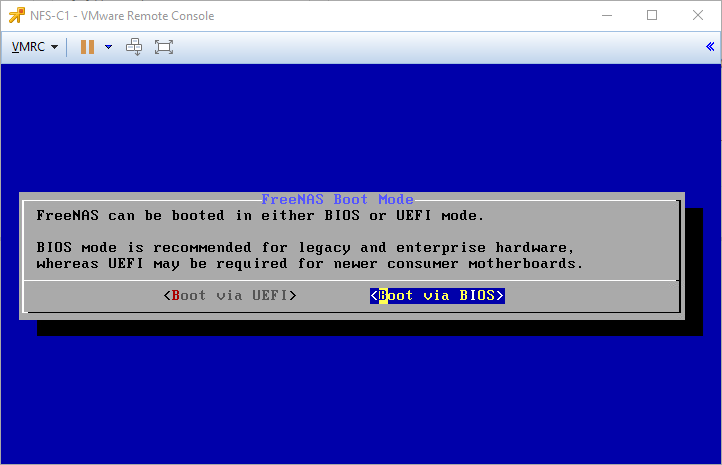
Select Boot via BIOS
When the installer finishes, select Reboot System
Configure FreeNAS
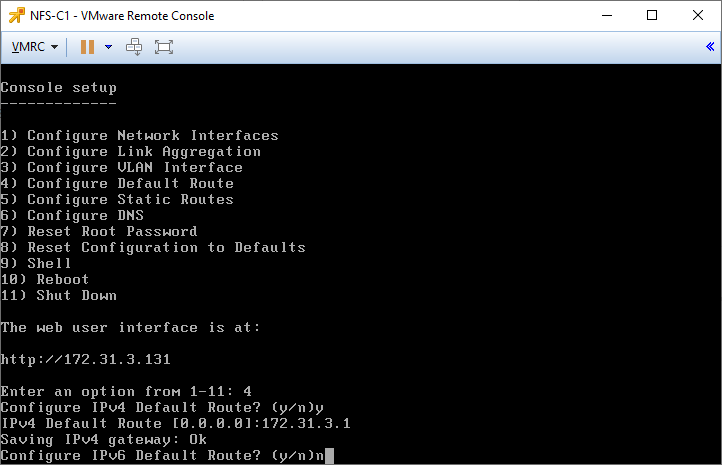
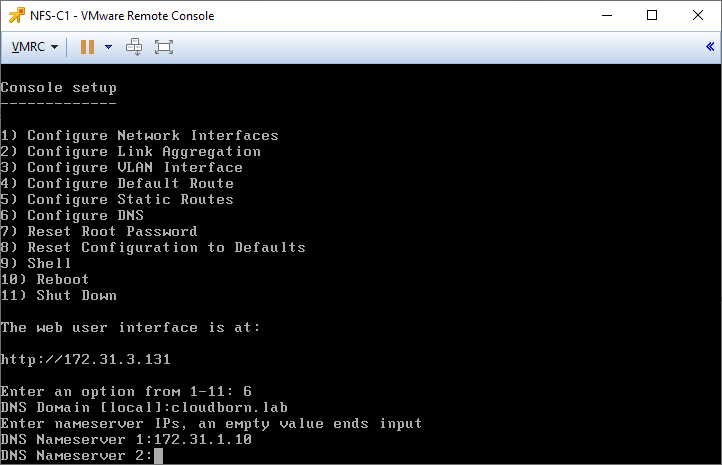
After FreeNAS has booted, we need to configure IP Settings on the Console.
Configure Network Interfaces
IP: 172.31.3.131/24

Configure Default Router
IPv4 Default Route: 172.31.3.1
Configure DNS
DNS Domain: cloudborn.lab
DNS Nameserver1: 172.31.1.10
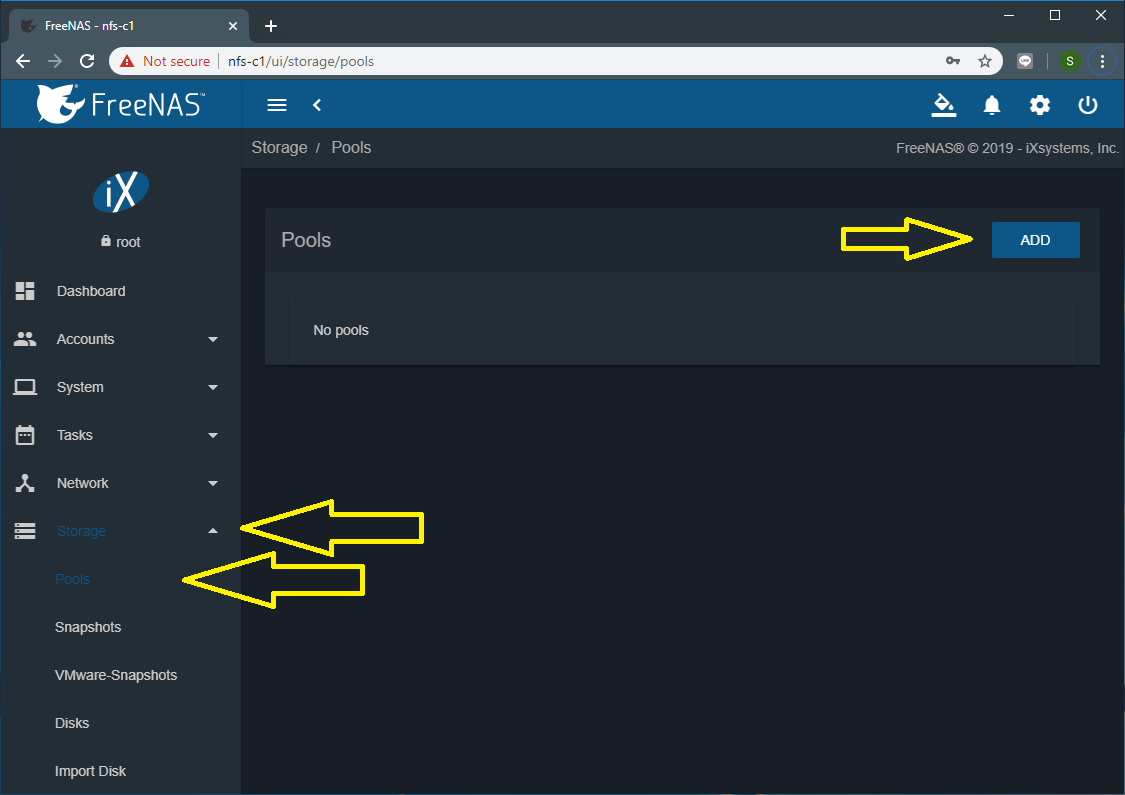
From now on, you should be able to reach the Web GUI.
If so, after logging in, navigate to Storage –> Pools –> Click Add
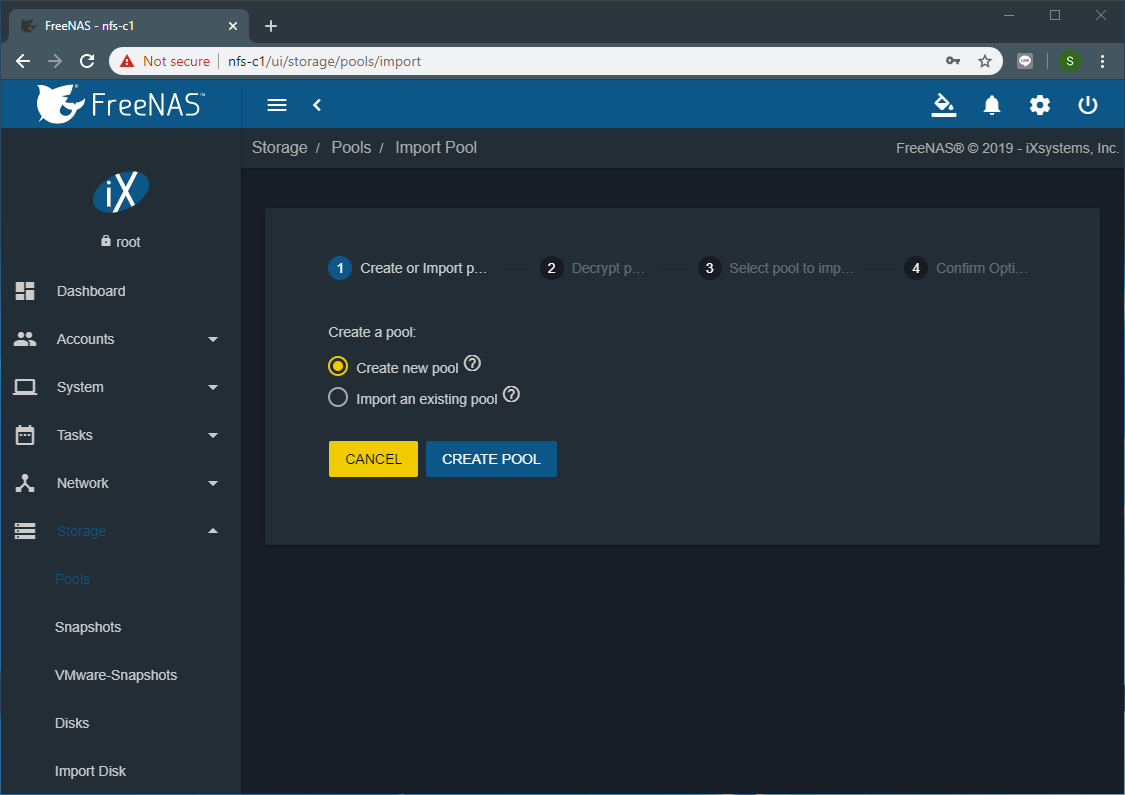
Select Create new pool and click CREATE POOL
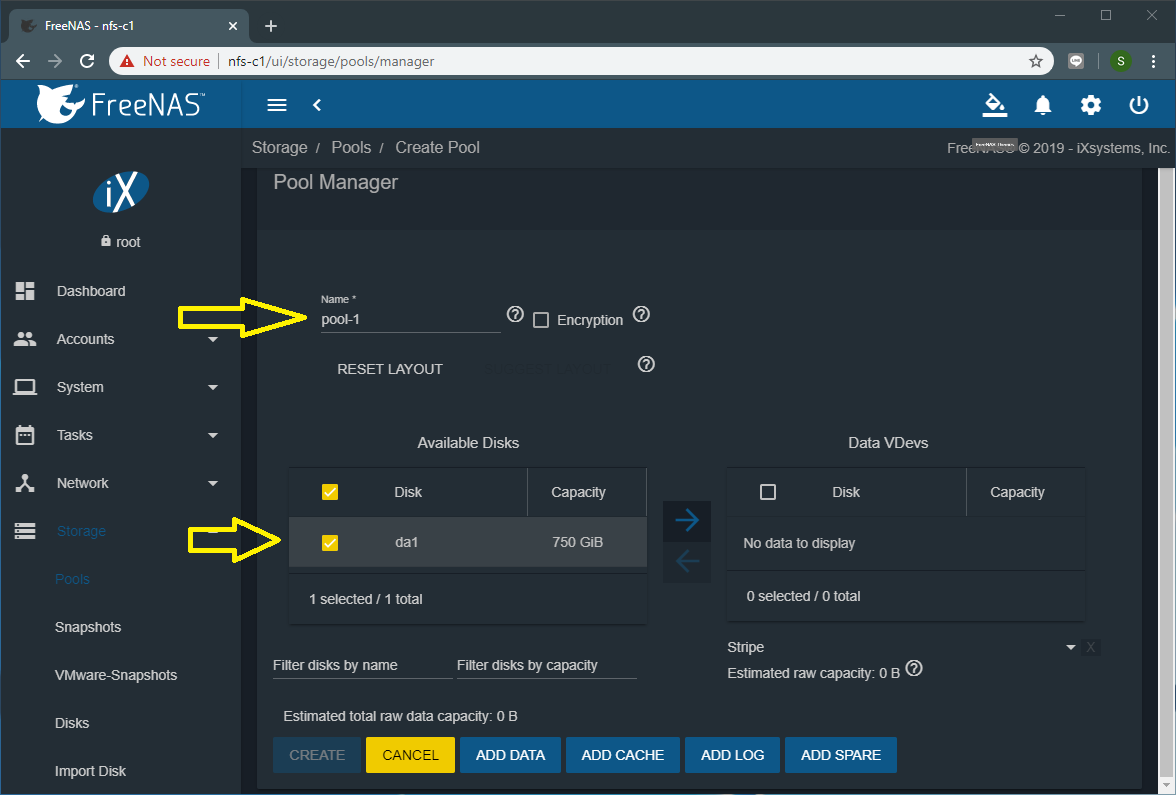
Next, name your pool (“pool-1” in my case), add the available disk to the pool and click CREATE
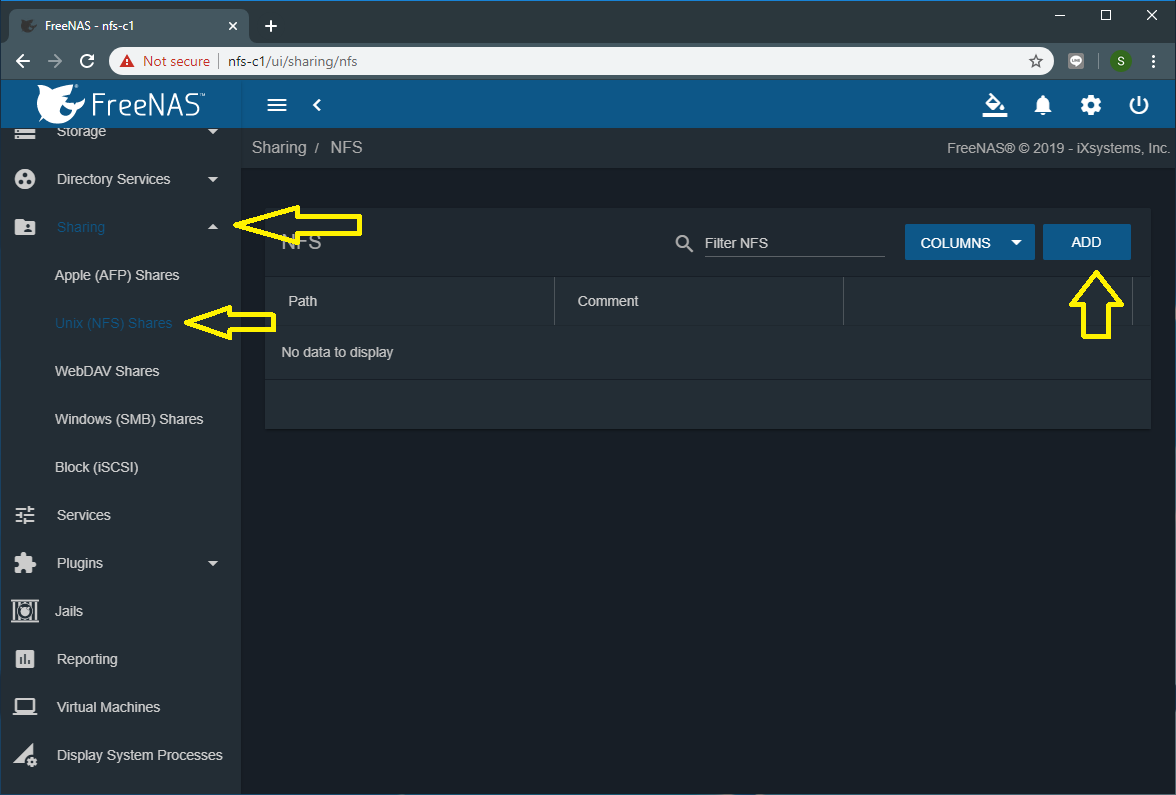
Next navigate to Sharing –> Unix (NFS) Shares –> Click ADD
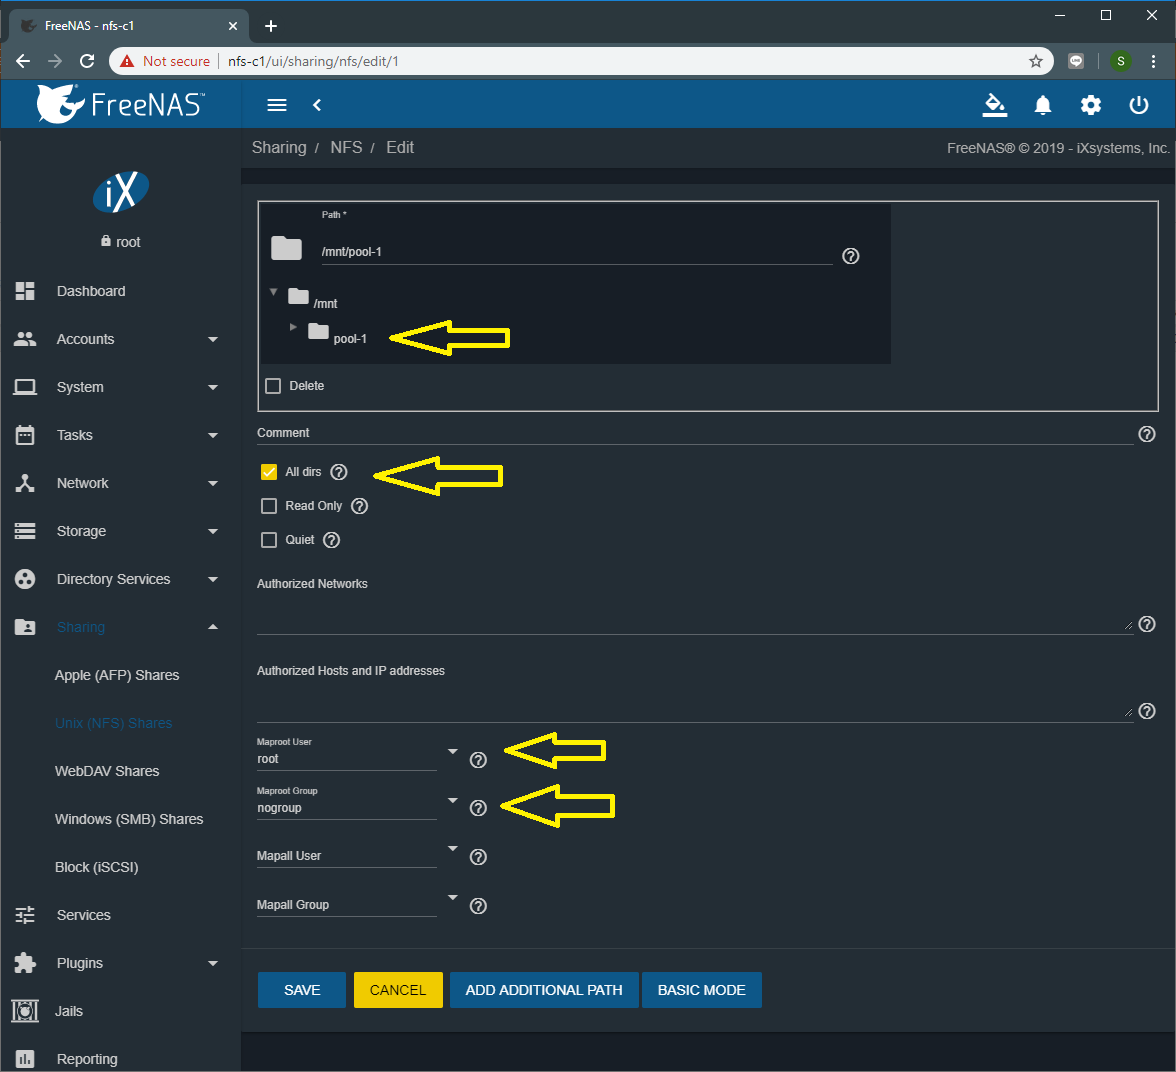
Configure the following:
Drill down to the pool-1 directory
Select All dirs
Below ADVANCED MODE
Maproot User: root
Maproot Group: nogroup
Click SAVE.
Add the Datastore to the COMP Cluster
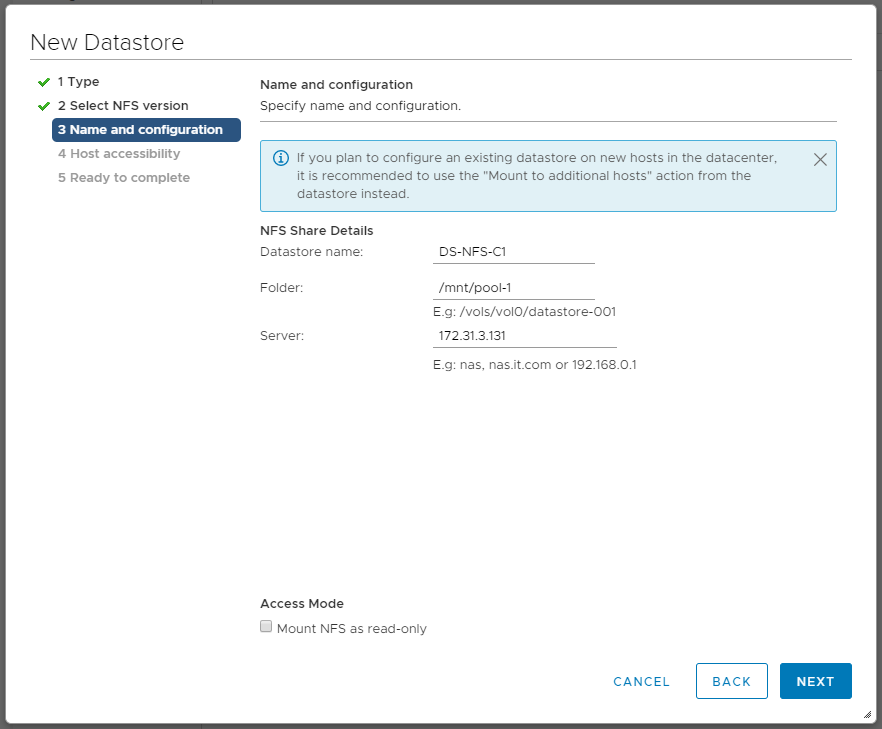
Simply add a new Datastore with the following Parameters:
Type: NFS
NFS Version: 3
Datastore Name: DS-NFS-C1
Folder: /mnt/pool-1
Server: 172.31.3.131
Hosts: All hosts in the COMP Cluster
Tag & Storage Policy
The Supervisor Cluster itself and also everything sitting inside the Namespaces need to have storage assigned (Captain Obvious!).
But you will never assign a Datastore directly to any of the components. Instead, Storage Policies are the way to go.
In the real world, it makes sense to have multiple Storage Policies for SCP VMs, container images, ephemeral disks, PVs,…
Depending on compliance/governance, you might want to have dedicated Storage Policies for each Namespace (=Tenant) or simply provide storage with different performance profiles.
For now, I will only create one Datastore and simply use it for everything.
Assign a Tag to DS-NFS-C1
Navigate to the previously mounted NFS Datastore –> Actions –> Tags & Custom Attributes –> Assign Tag
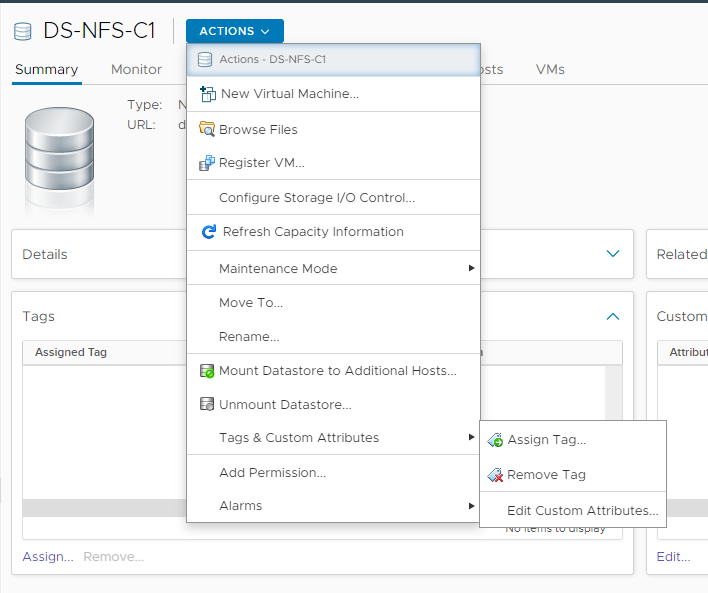
Click ADD TAG
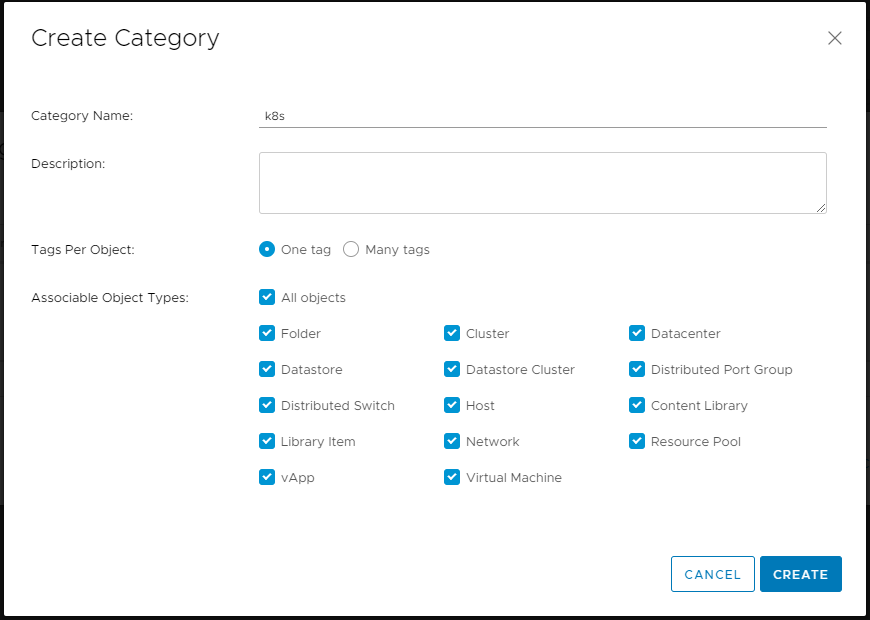
Click Create New Category
Category Name: k8s
Click Create
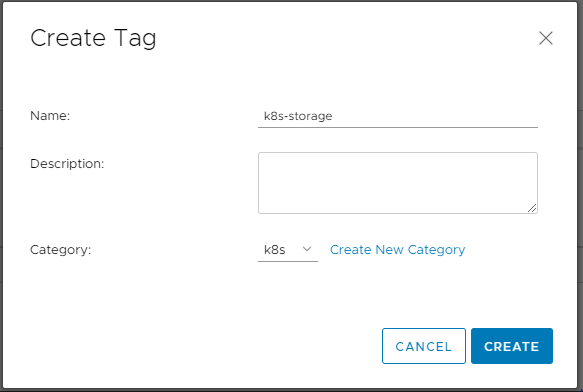
Back in the Create Tag Screen:
Name: k8s-storage
Category: k8s
Click CREATE
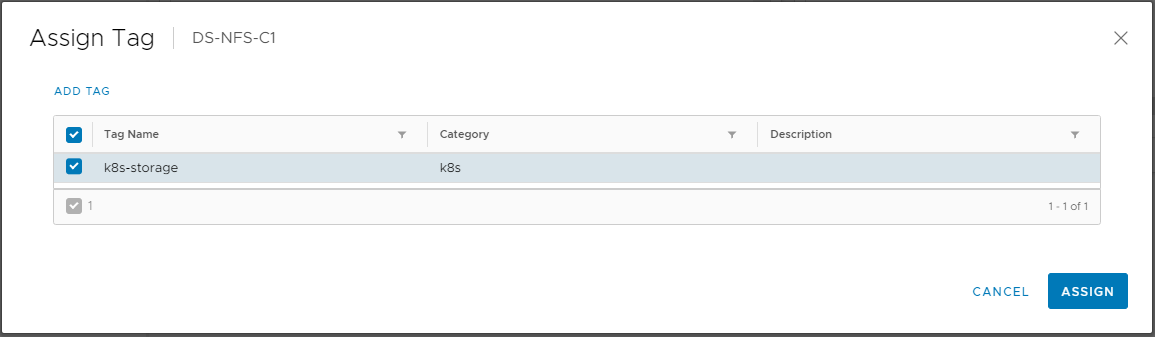
Back in the Assign Tag Screen:
Select the k8s-storage tag and click ASSIGN
Create the Storage Policy
In your vCenter Shortcuts, navigate to VM Storage Policies
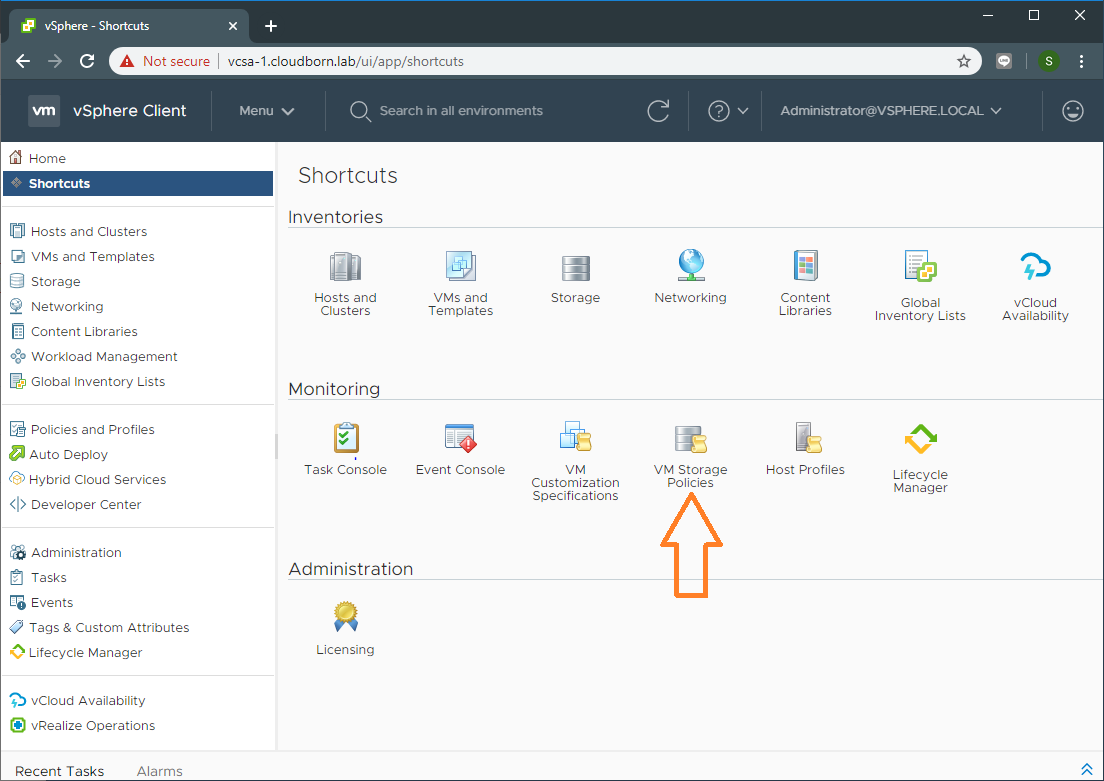
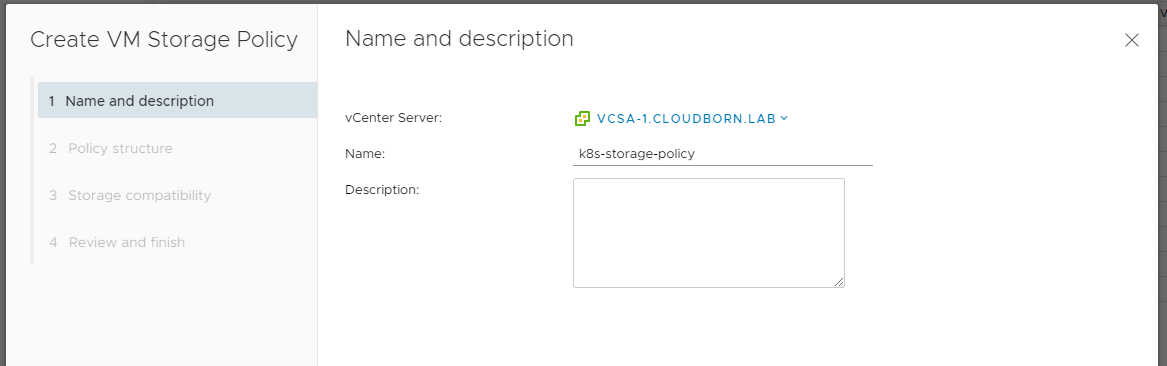
Click Create VM Storage policy
In the wizard enter the Policy-Name k8s-storage-policy
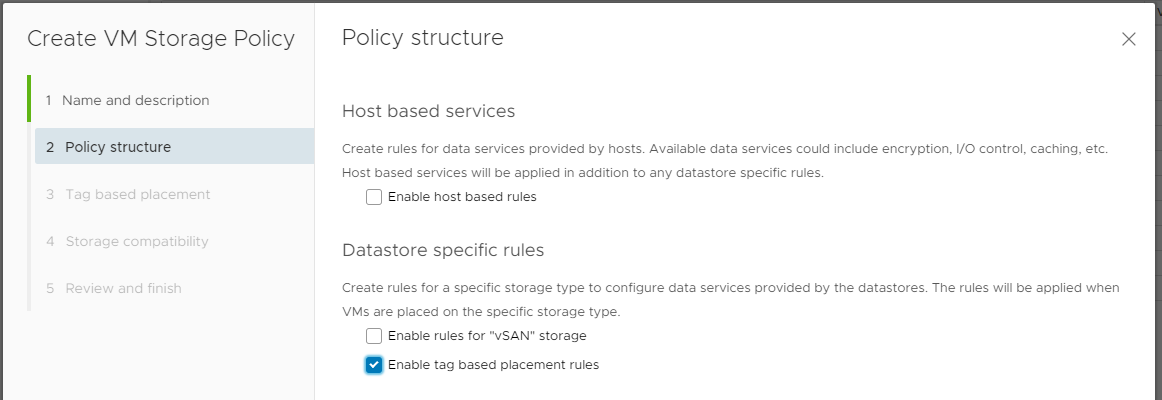
On Policy structure screen select Enable tag based placement rules
On Tag based placement screen, select the previously created category and tag

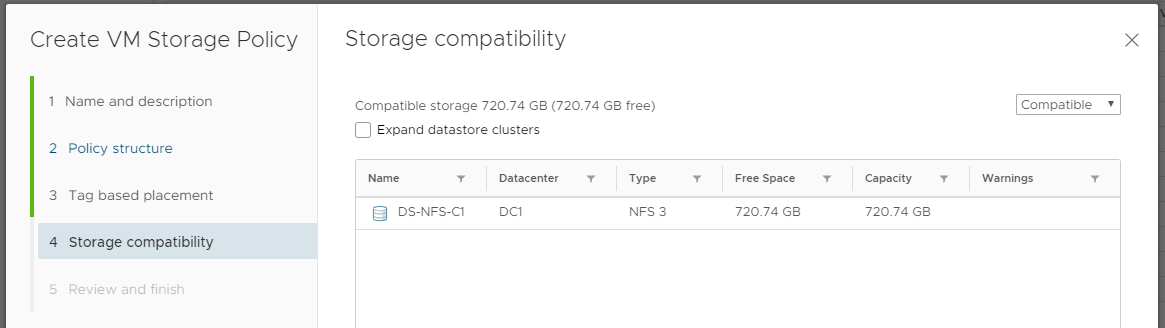
On Storage compatibility screen, confirm that it is the correct Datastore
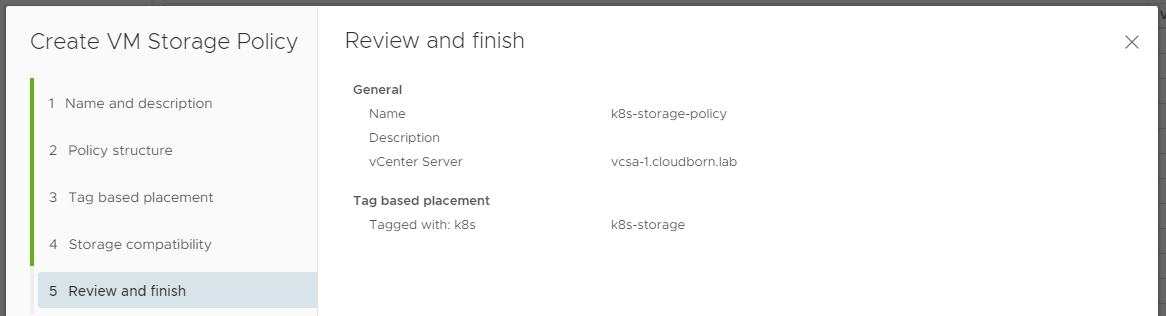
Finish the creation.
With that, we have finalized our preparation.
Follow-up: Installing NSX-T