Deploy VMware vSphere integrated Container Appliance
Deploying the Appliance is pretty straight forward:
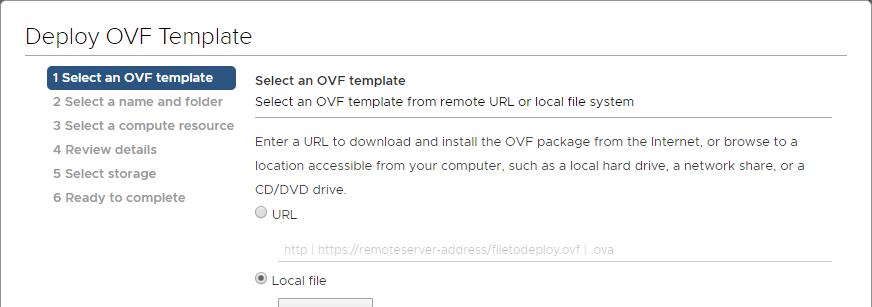
1. Select Appliance OVA File
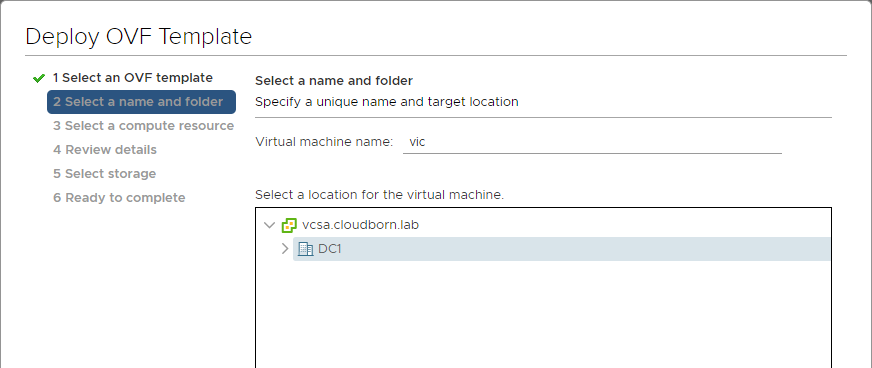
2. Select Name and Folder
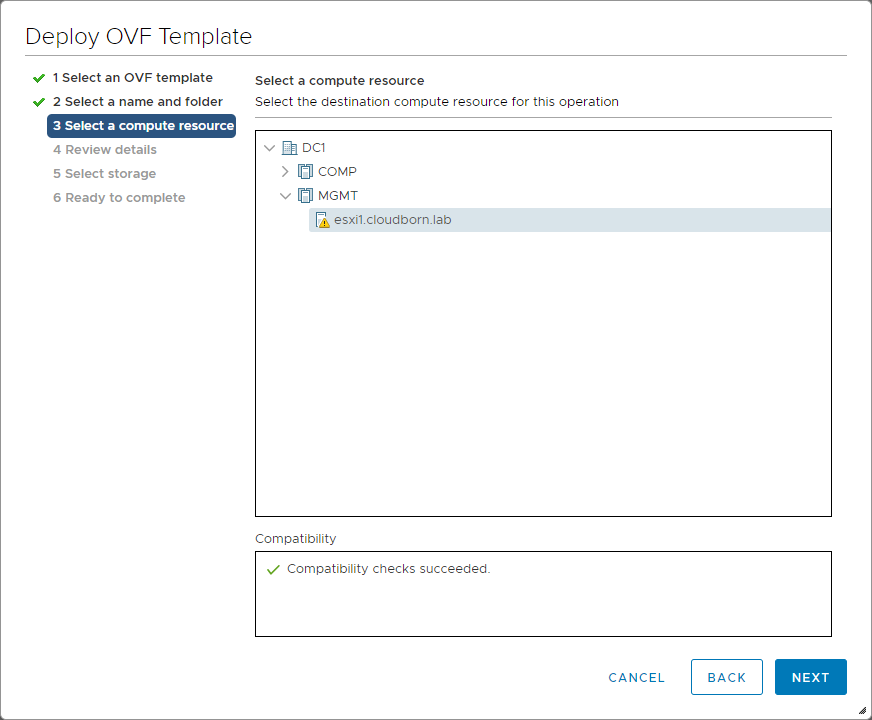
3. Select Compute Ressources
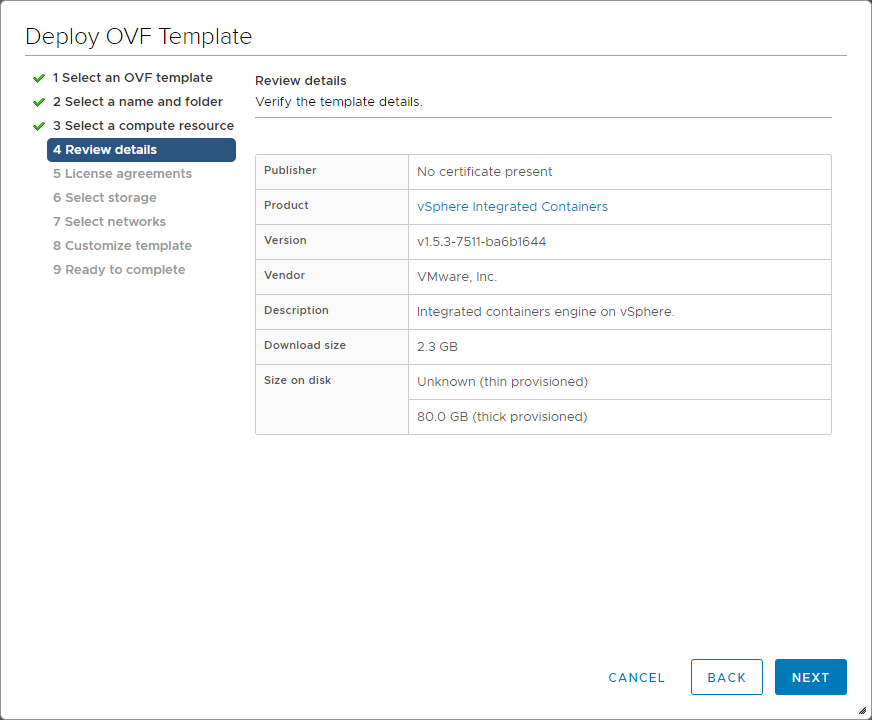
4. Review the details
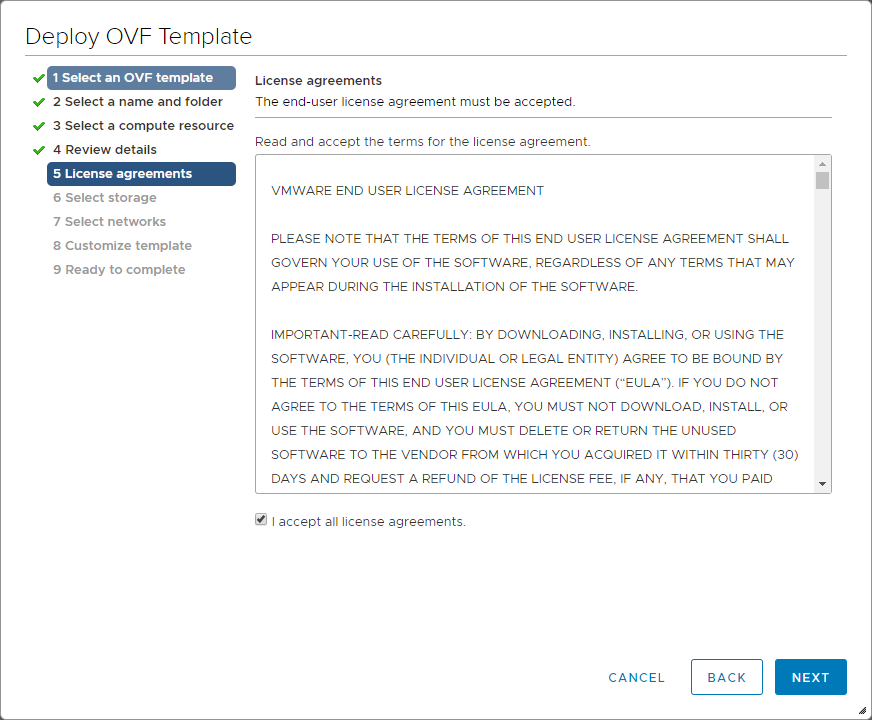
5. Read and accept the License agreements
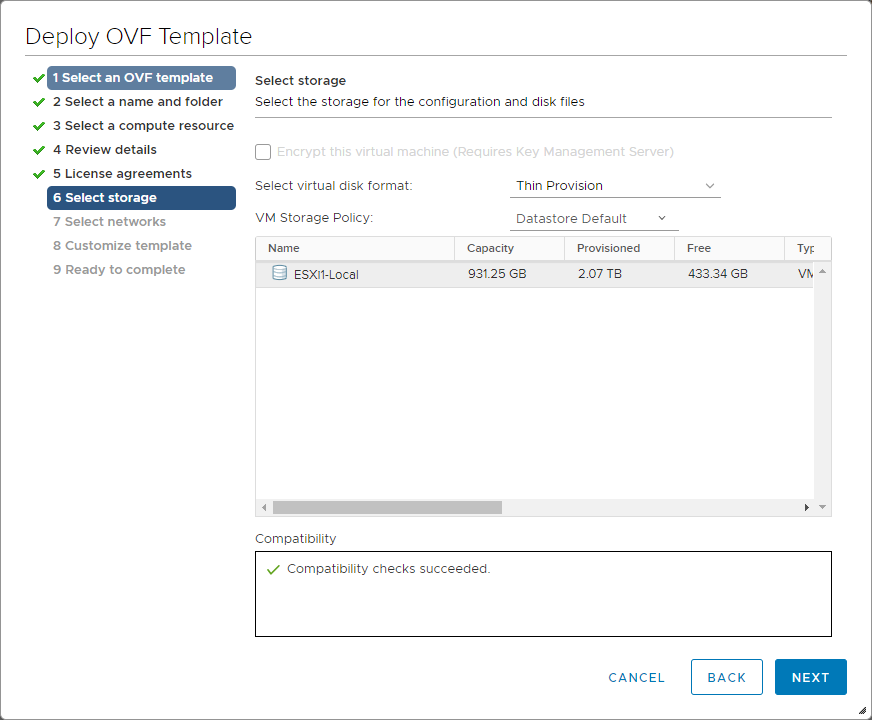
6. Choose storage and storage format
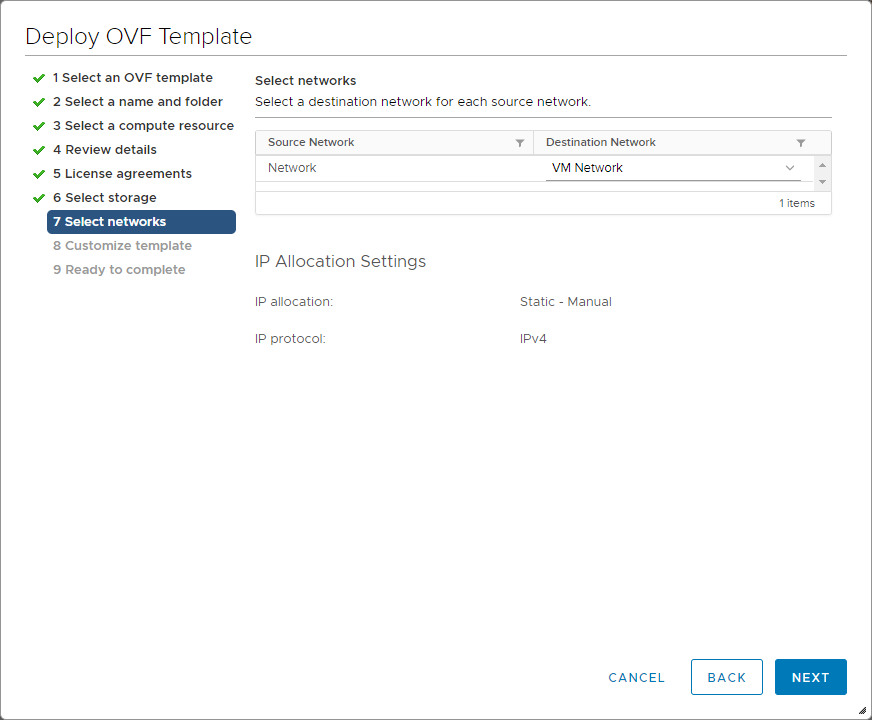
7. Select the Network
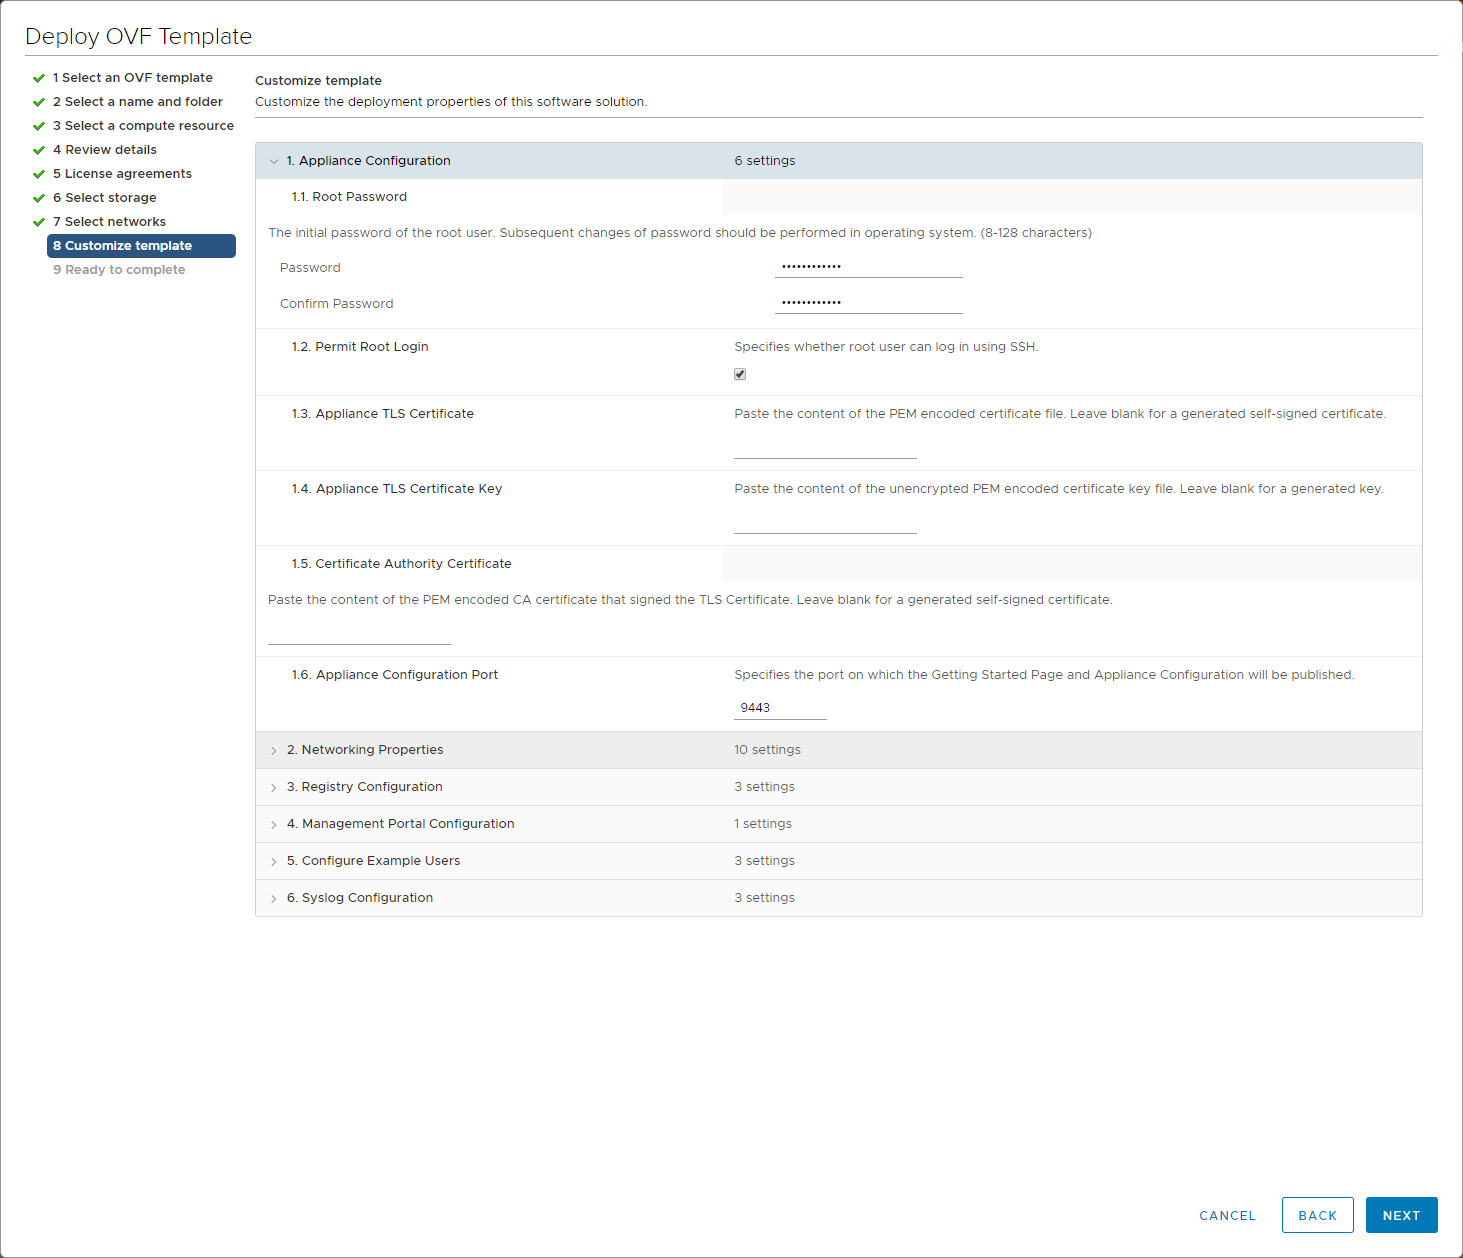
8-1. Appliance configuration
Since I’m installing it in a LAB, I’m fine with self-signed certificates
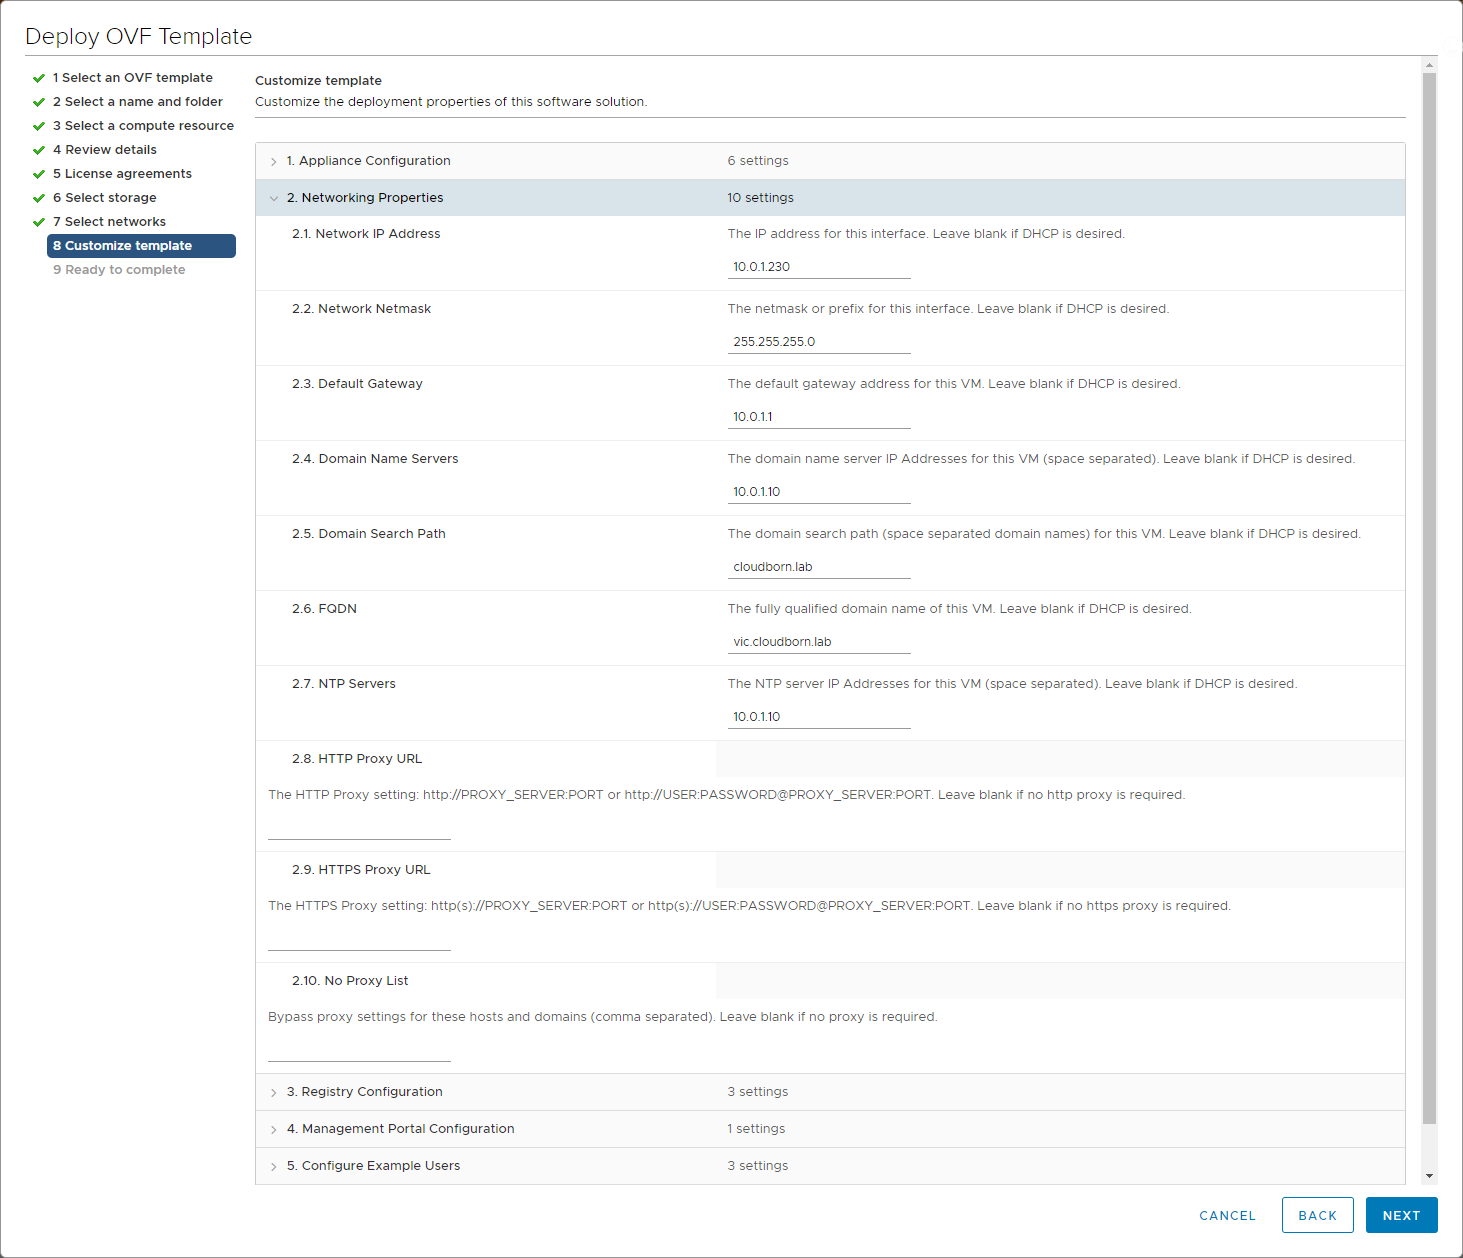
8-2. Enter Network details
I’m not using HTTP proxy either in my LAB
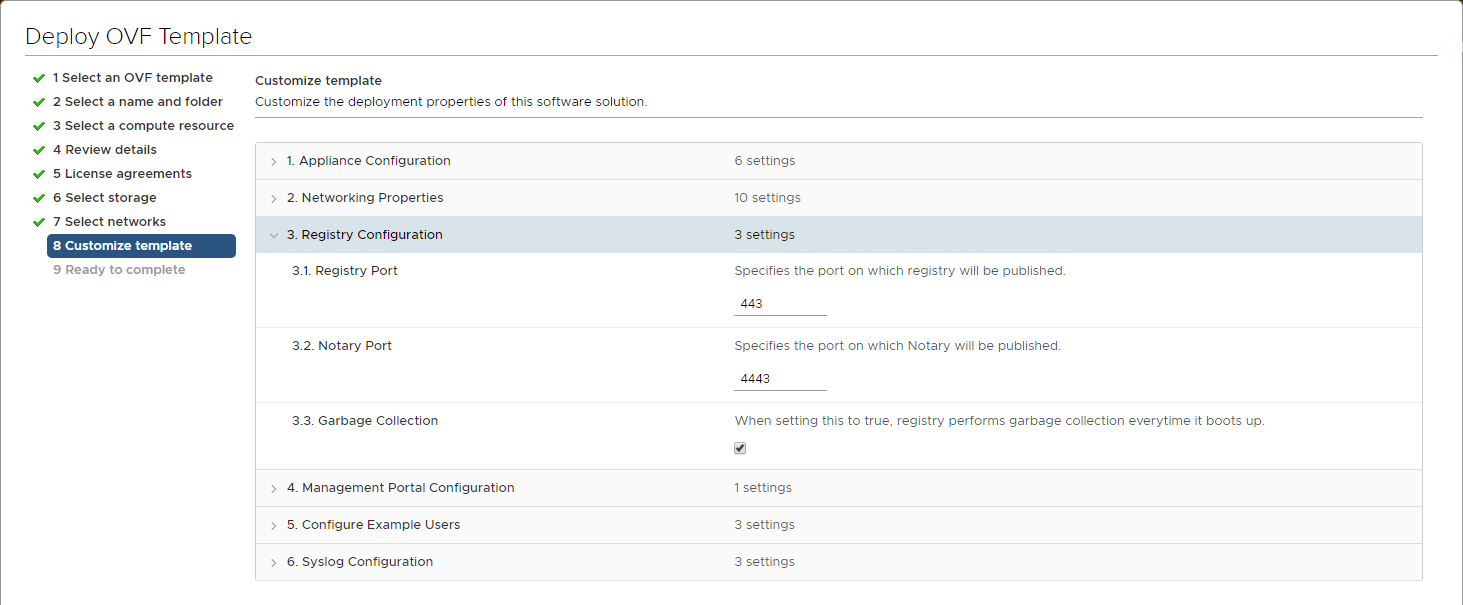
8-3. Specify Ports (make a note of them, especially if you change them)
I’ve also selected Garbage Collection, It takes care of Images that have been “soft deleted” from a repository, but still remain in repository storage
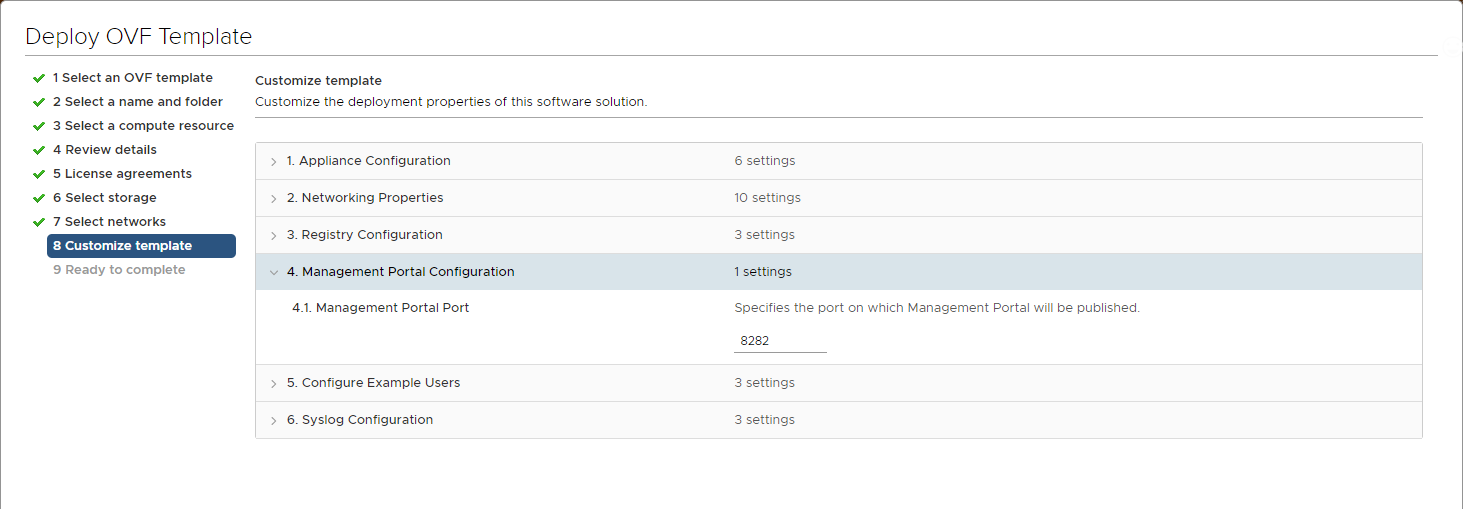
8-4. Select Port for Management portal
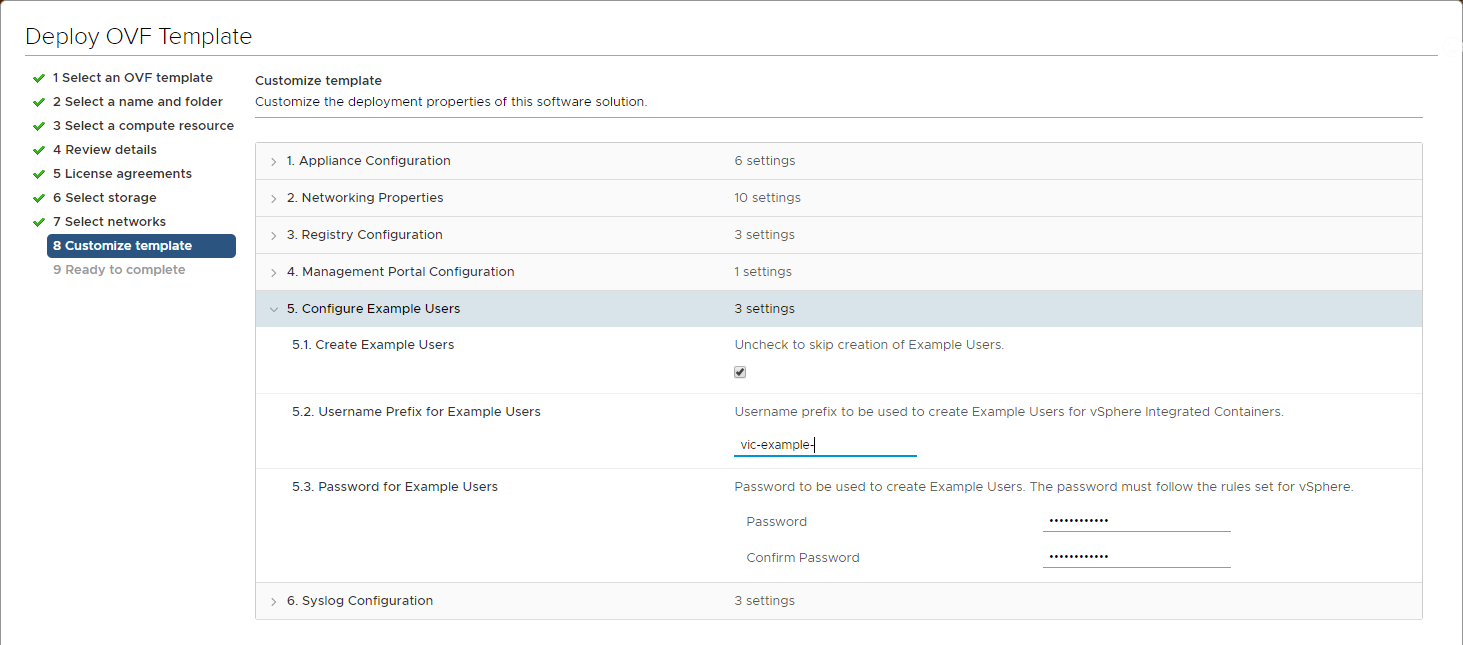
8-5. Choose whether to create some example users
8-6. Configure Remote Syslog (optional)

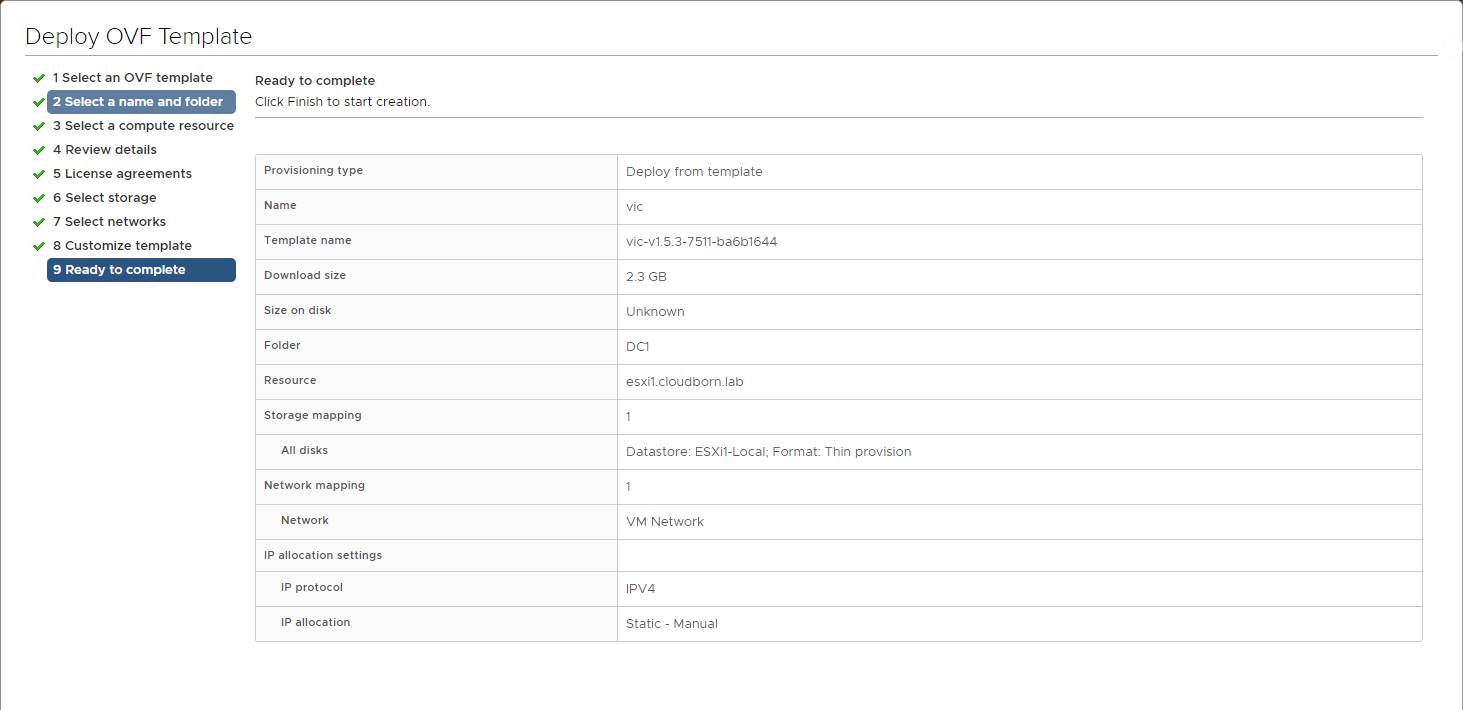
8-7. Review, and start deployment
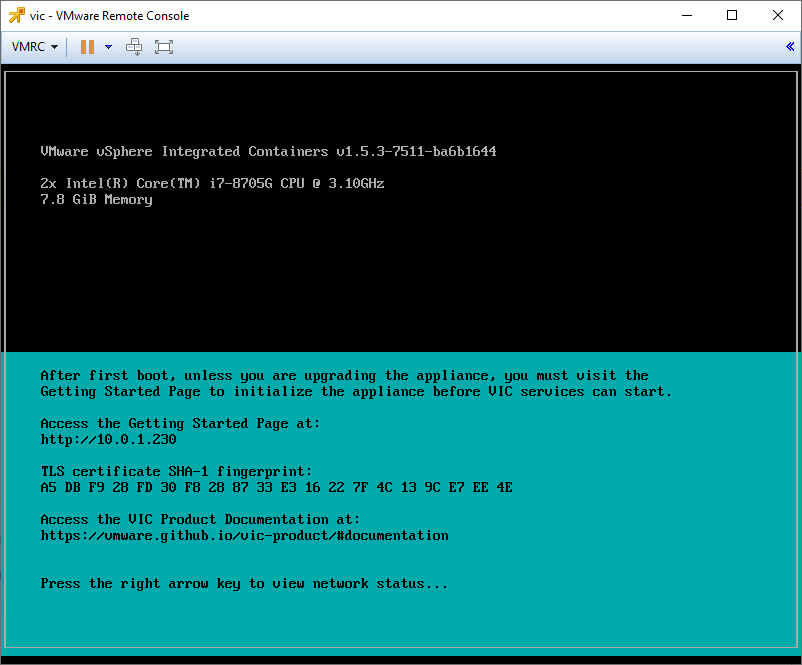
9. If the deployment has finished, boot up the appliance and wait for this screen (it only takes few minutes)
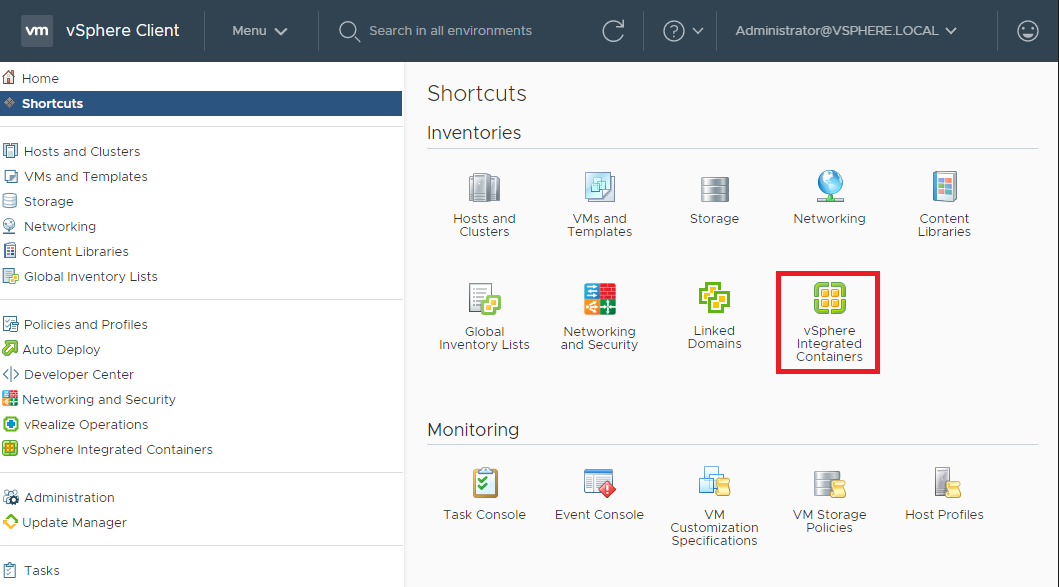
10. Navigate to Appliance Getting Started Page, as mentioned in the Console before. Now you see the wizard to connect to a vCenter and install the HTML5 Client Plugin.
The user has to be a vSphere Administrator.

11. If everyhing goes well, you will see the success message.
If it fails, you will see a message to re-initialize the binding.
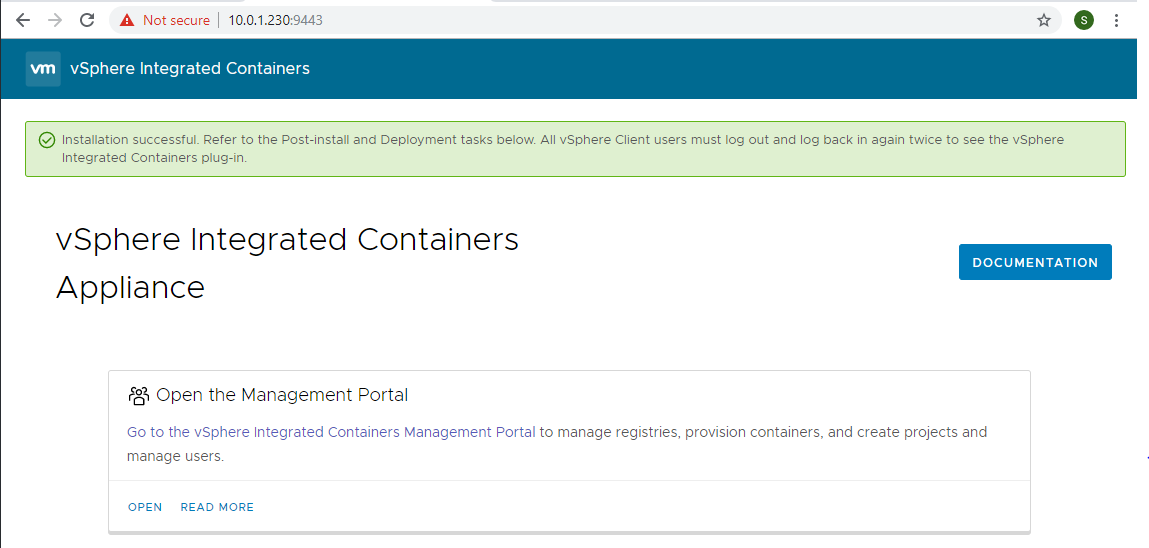
12. After refreshing, you should now see the VIC Plugin in your vCenter.
Note – the Plugin is only available for the HTML5 Client.