Tanzu Mission Control (TMC) and vSphere with Tanzu
Kubernetes has been around for quite some time now and a lot of companies have it already in production. Usually, they are not just operating a single Cluster, instead there are multiple, and their number is growing fast. Often, these clusters are distributed across different environments (platforms, sites, clouds, …) and sometimes even different kinds (like OpenShift, Rancher, VMware, do-it-yourself…)
That all does not matter, as long as you are not the poor person whose job is to manage this variety of beasts. But if you are, there is another great tool out of the Tanzu Portfolio to help you — Tanzu Mission Control (or short TMC).
With TMC, you have a central point to manage all sorts of K8s Clusters on all sorts of platforms (as long as TMC can reach if obviously). For example:
- Monitor the health of your clusters
- Apply access policies to groups of clusters
- Enforce all kinds of policies on Cluster-, Cluster groups or Application-Level
- Keep your Clusters consistent
- …
To do that, you need to either add some Clusters to TMC or create them from TMC. You can add pretty much any K8s Cluster that is CNCF conform. If you want to create a Cluster, your platform options are either AWS or a Supervisor cluster in vSphere with Tanzu.
In this post, I want to demonstrate how to add your onPrem Supervisor cluster and create a Workload Cluster in there, triggered from TMC.
Adding vSphere with Tanzu Supervisor cluster to TMC
I’ve already deployed my Supervisor cluster. This is a clean installation, which literally just finished.

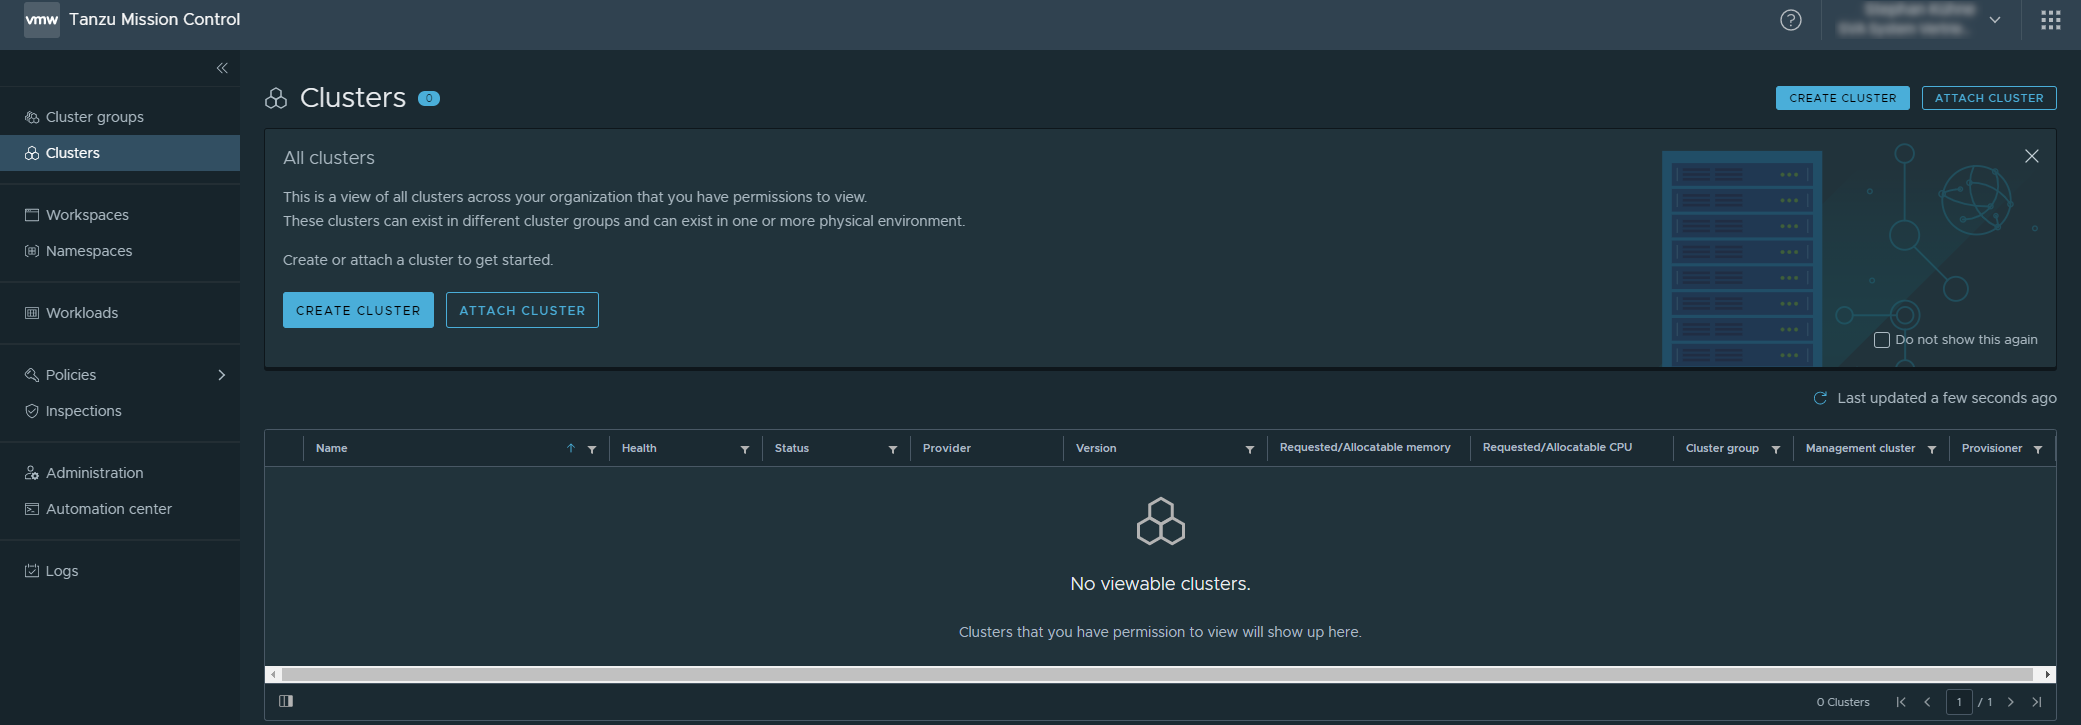
Let’s jump over to TMC, which is a Service you can access through the VMware Cloud Services.
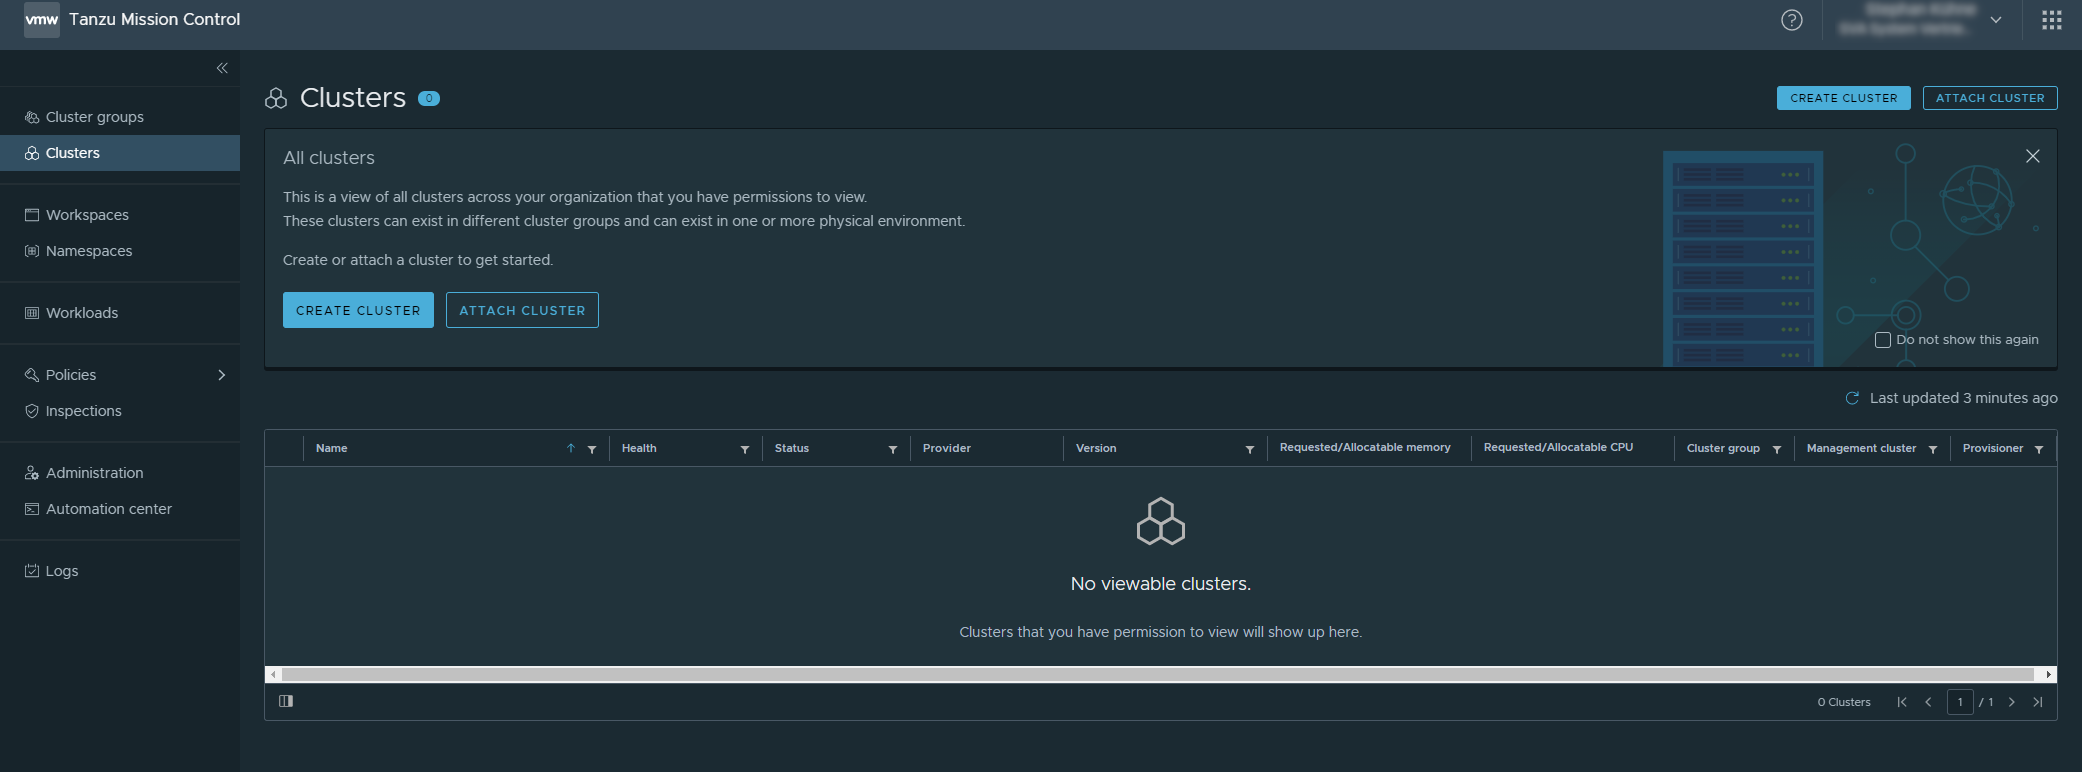
As you can see, currently it’s nothing there yet.
Create a Cluster group
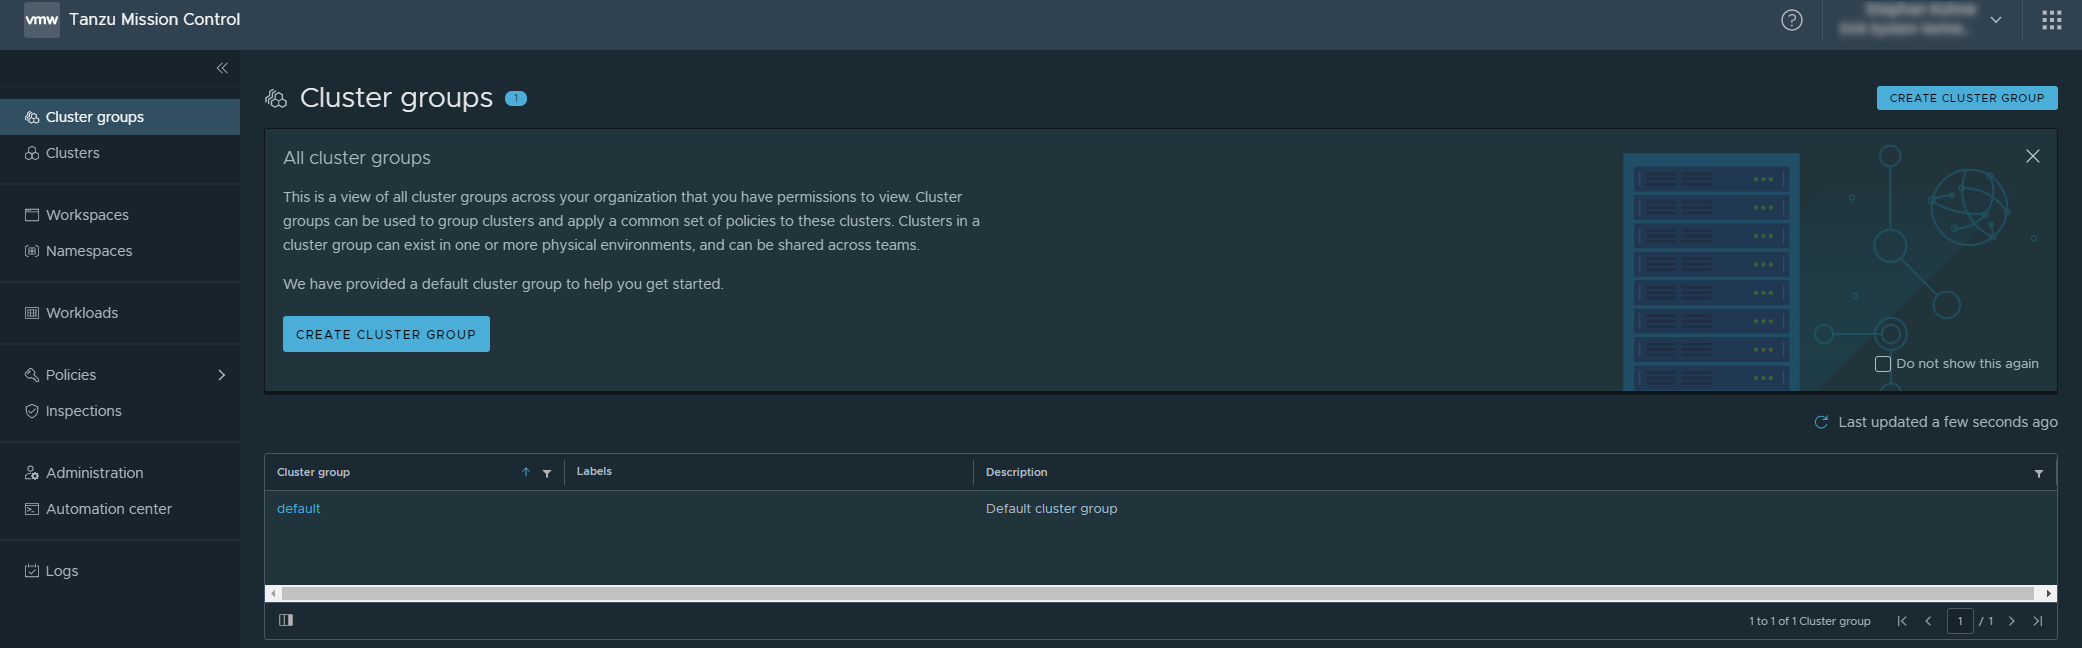
The first thing to do is to create a Cluster group, which we will assign our cluster to later. There is a default group which could be used too. But as always in IT, by default you should not use defaults =D
Click on Cluster Groups → Create Cluster Group
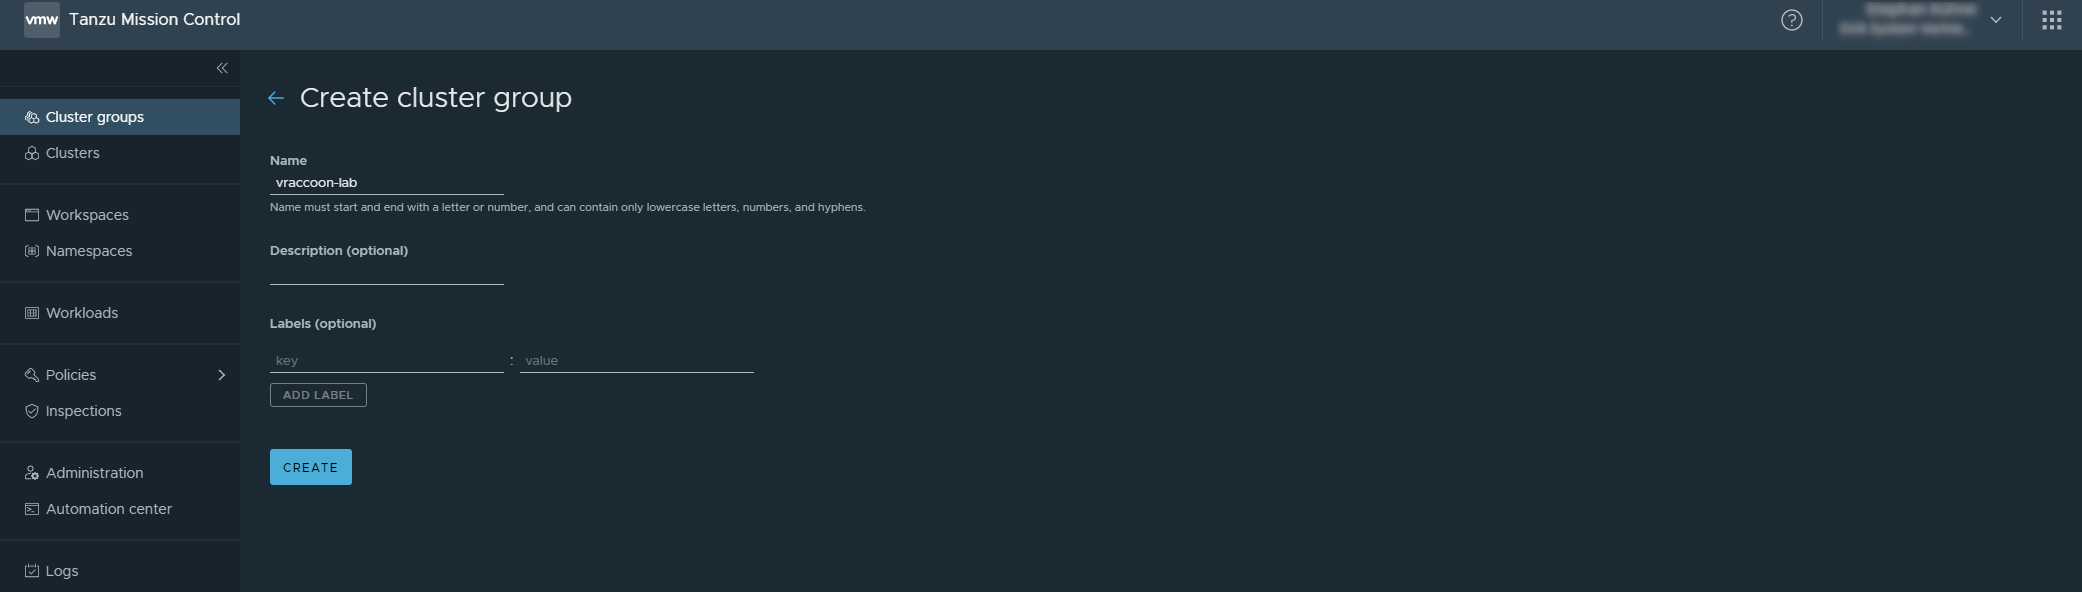
In this screen enter:
- Name: vraccoon-lab
And leave the rest as it is.
Add Cluster in TMC
Next, I can add my Supervisor Cluster as a so-called Management cluster to TMC.
Navigate to Administration → Management Cluster → Register Management Cluster

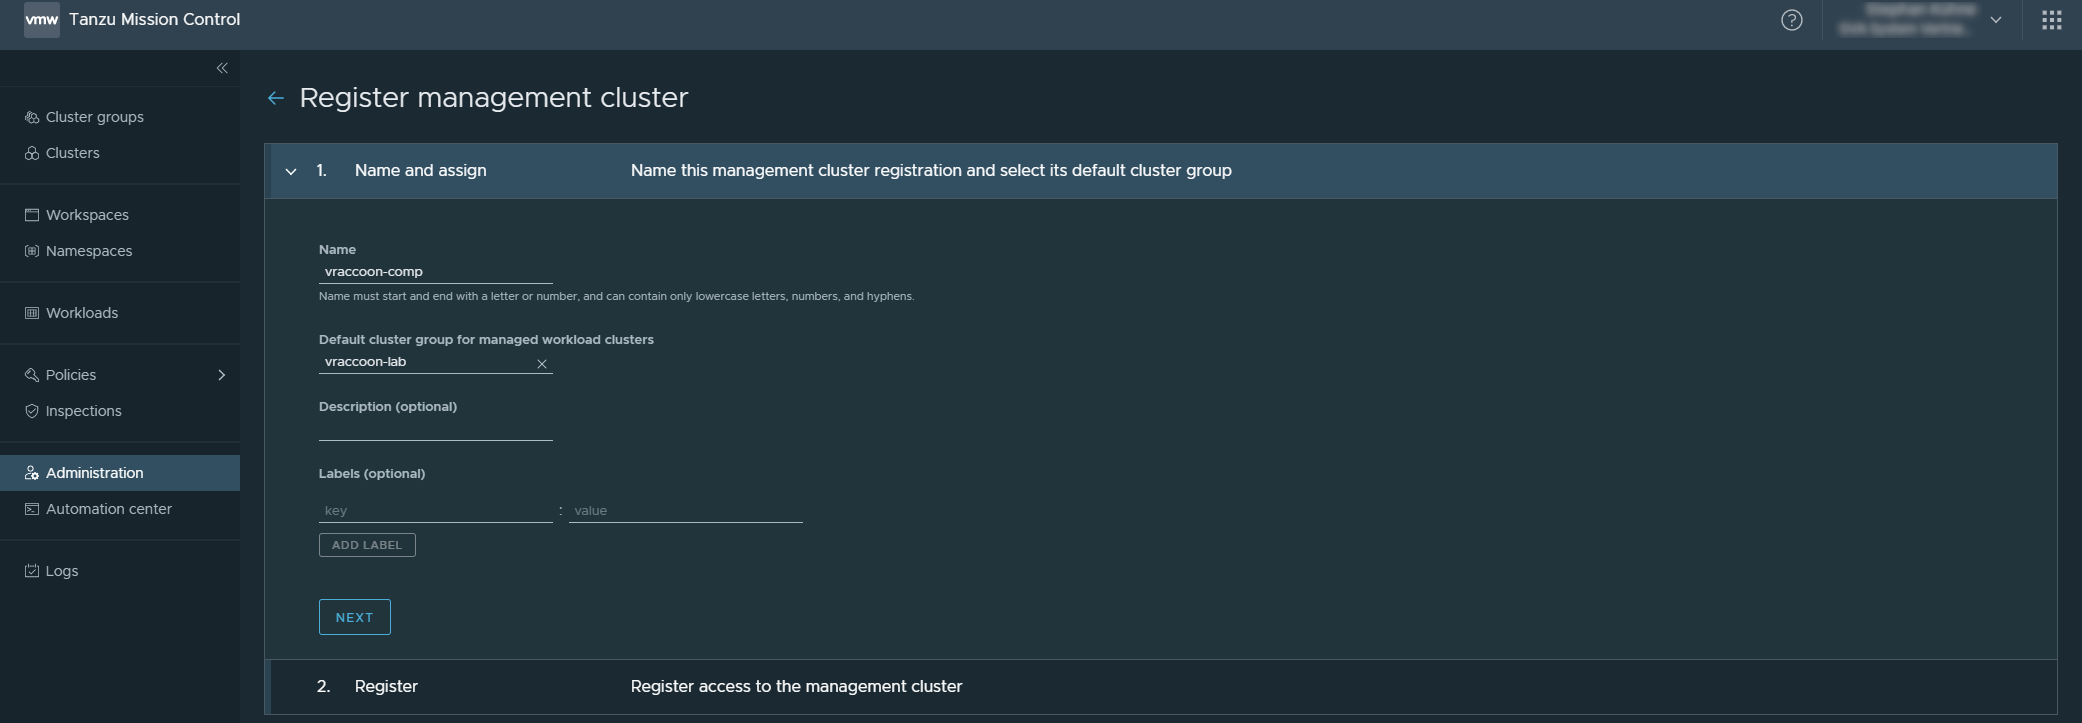
In the new screen enter:
- Name: vraccoon-comp (as “comp” is the vSphere cluster name).
- Default cluster group for managed workload clusters: vraccoon-lab
And click NEXT
The next tab gives you the registration URL for your Supervisor Cluster. Copy it somewhere, we will use it later.
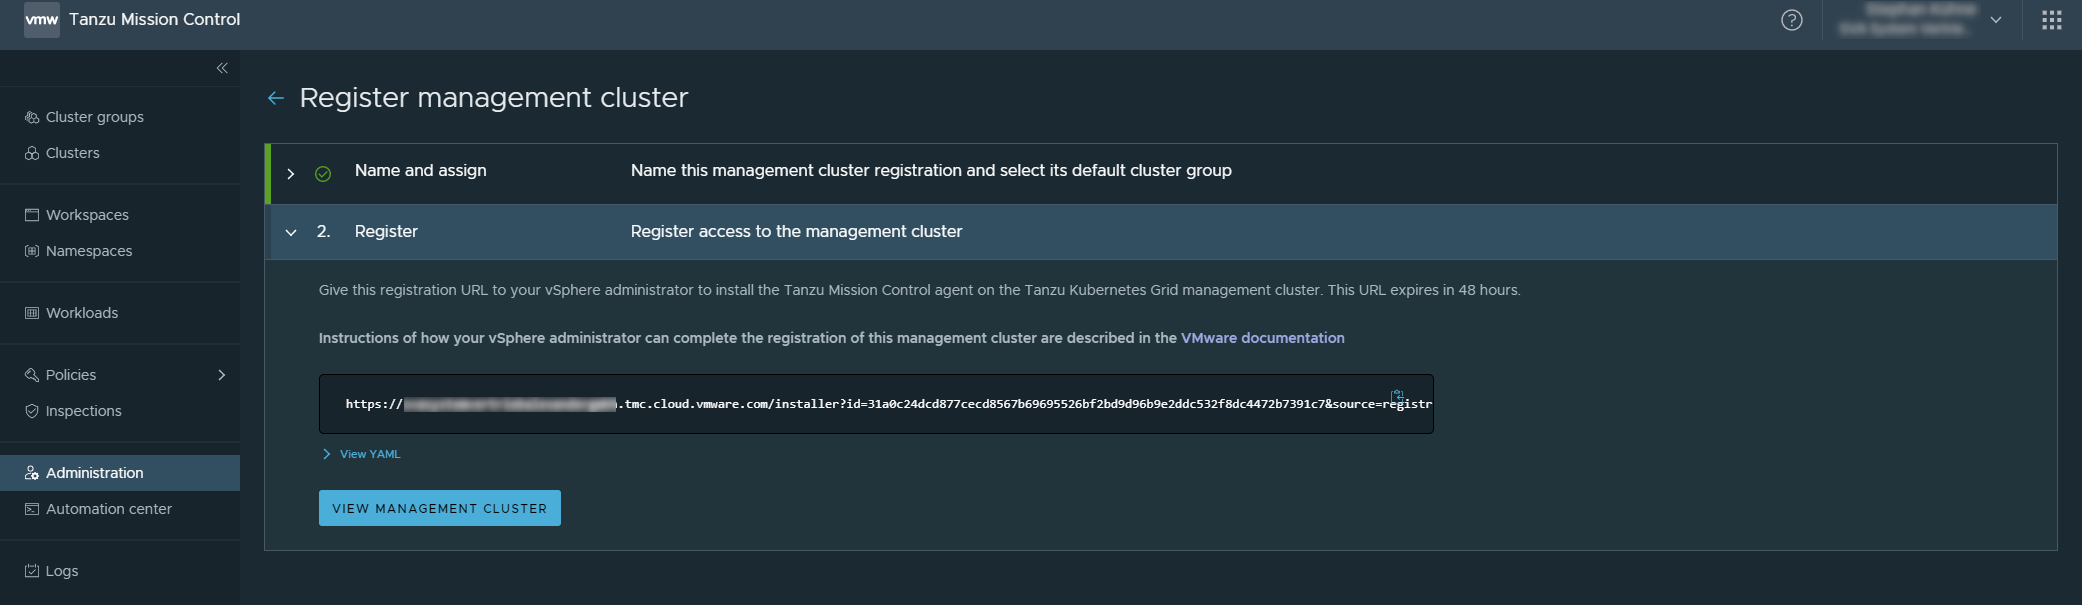
You can also click View YAML to see what is going to be deployed later. The access token in there is valid for 48 hours. If you haven’t completed the registration before, you have to repeat the process.
Add TMC agent to Supervisor Cluster
Now, we switch gears and jump over to our Supervisor Cluster. More precisely, we login through CLI and check our existing namespaces:
vraccoon@ubu:~$ kubectl vsphere login --server 172.31.201.1 --vsphere-username administrator@vsphere.local

Password:
Logged in successfully.

You have access to the following contexts:
   172.31.201.1

If the context you wish to use is not in this list, you may need to try
logging in again later, or contact your cluster administrator.

To change context, use `kubectl config use-context <workload name>`
vraccoon@ubu:~$ kubectl get ns
NAME                                        STATUS   AGE
default                                     Active   3h9m
kube-node-lease                             Active   3h9m
kube-public                                 Active   3h9m
kube-system                                 Active   3h9m
svc-tmc-c8                                  Active   3h4m
vmware-system-appplatform-operator-system   Active   3h9m
vmware-system-capw                          Active   3h5m
vmware-system-cert-manager                  Active   3h9m
vmware-system-csi                           Active   3h5m
vmware-system-kubeimage                     Active   3h9m
vmware-system-license-operator              Active   3h5m
vmware-system-logging                       Active   3h9m
vmware-system-nsx                           Active   3h9m
vmware-system-registry                      Active   3h9m
vmware-system-tkg                           Active   3h5m
vmware-system-ucs                           Active   3h9m
vmware-system-vmop                          Active   3h5m
vraccoon@ubu:~$
Turns out, there is a TMC namespace by default. In my case it’s called “svc-tmc-c8” (line 19). Take a note of that Namespace name.
Next, we have to create a small YAML File:
apiVersion: installers.tmc.cloud.vmware.com/v1alpha1
kind: AgentInstall
metadata:
  name: tmc-agent-installer-config
  namespace: <TMC-NAMESPACE>
spec:
  operation: INSTALL
  registrationLink: <TMC-REGISTRATIONURL>
Add the information corresponding to your environment:
- namespace: <just recorded tmc namespace name>
- registrationLink: <url from TMC>
Next, apply this file to K8s:
vraccoon@ubu:~$ kubectl create -f tmc-reg.yaml
agentinstall.installers.tmc.cloud.vmware.com/tmc-agent-installer-config created
Now some dark magic is happening in the background. You can check what’s going on in the TMC namespace (in my case svc-tmc-c8). Eventually it should look similar to this:
vraccoon@ubu:~$ kubectl get all -n svc-tmc-c8
NAME                                              READY   STATUS      RESTARTS   AGE
pod/agent-updater-657994bf4f-cvt78                1/1     Running     0          3m8s
pod/agentupdater-workload-1613602860-hnjcb        0/1     Completed   0          16s
pod/cluster-health-extension-7d458d6cd8-fwrxc     1/1     Running     0          2m11s
pod/extension-manager-8cf5c4d87-b9btg             1/1     Running     0          3m12s
pod/extension-updater-86ccd9776b-bwxwj            1/1     Running     0          3m10s
pod/intent-agent-67556c4b4c-j4kph                 1/1     Running     0          2m11s
pod/sync-agent-5895c85976-5zk6t                   1/1     Running     0          2m14s
pod/tmc-agent-installer-1613602860-c4nf2          0/1     Completed   0          16s
pod/tmc-auto-attach-7ccc99f7bc-xhj6f              1/1     Running     0          2m10s
pod/vsphere-resource-retriever-6f67689697-wqsvt   1/1     Running     0          2m12s

NAME                                TYPE        CLUSTER-IP   EXTERNAL-IP   PORT(S)   AGE
service/extension-manager-service   ClusterIP   10.96.0.51   <none>        443/TCP   3m12s

NAME                                         READY   UP-TO-DATE   AVAILABLE   AGE
deployment.apps/agent-updater                1/1     1            1           3m9s
deployment.apps/cluster-health-extension     1/1     1            1           2m11s
deployment.apps/extension-manager            1/1     1            1           3m12s
deployment.apps/extension-updater            1/1     1            1           3m10s
deployment.apps/intent-agent                 1/1     1            1           2m11s
deployment.apps/sync-agent                   1/1     1            1           2m14s
deployment.apps/tmc-auto-attach              1/1     1            1           2m10s
deployment.apps/vsphere-resource-retriever   1/1     1            1           2m12s

NAME                                                    DESIRED   CURRENT   READY   AGE
replicaset.apps/agent-updater-657994bf4f                1         1         1       3m9s
replicaset.apps/cluster-health-extension-7d458d6cd8     1         1         1       2m11s
replicaset.apps/extension-manager-8cf5c4d87             1         1         1       3m12s
replicaset.apps/extension-updater-86ccd9776b            1         1         1       3m10s
replicaset.apps/intent-agent-67556c4b4c                 1         1         1       2m11s
replicaset.apps/sync-agent-5895c85976                   1         1         1       2m14s
replicaset.apps/tmc-auto-attach-7ccc99f7bc              1         1         1       2m10s
replicaset.apps/vsphere-resource-retriever-6f67689697   1         1         1       2m12s

NAME                                         COMPLETIONS   DURATION   AGE
job.batch/agentupdater-workload-1613602860   1/1           13s        16s
job.batch/tmc-agent-installer-1613602860     1/1           2s         16s

NAME                                  SCHEDULE      SUSPEND   ACTIVE   LAST SCHEDULE   AGE
cronjob.batch/agentupdater-workload   */1 * * * *   False     1        25s             3m9s
cronjob.batch/tmc-agent-installer     */1 * * * *   False     0        25s             3h14m
Back in TMC Console, you can now hit “VIEW MANAGEMENT CLUSTER” below the registration link. If you closed the window in between, you can also navigate to Administration → Management clusters again.
Either way, you should now see your cluster in the list:
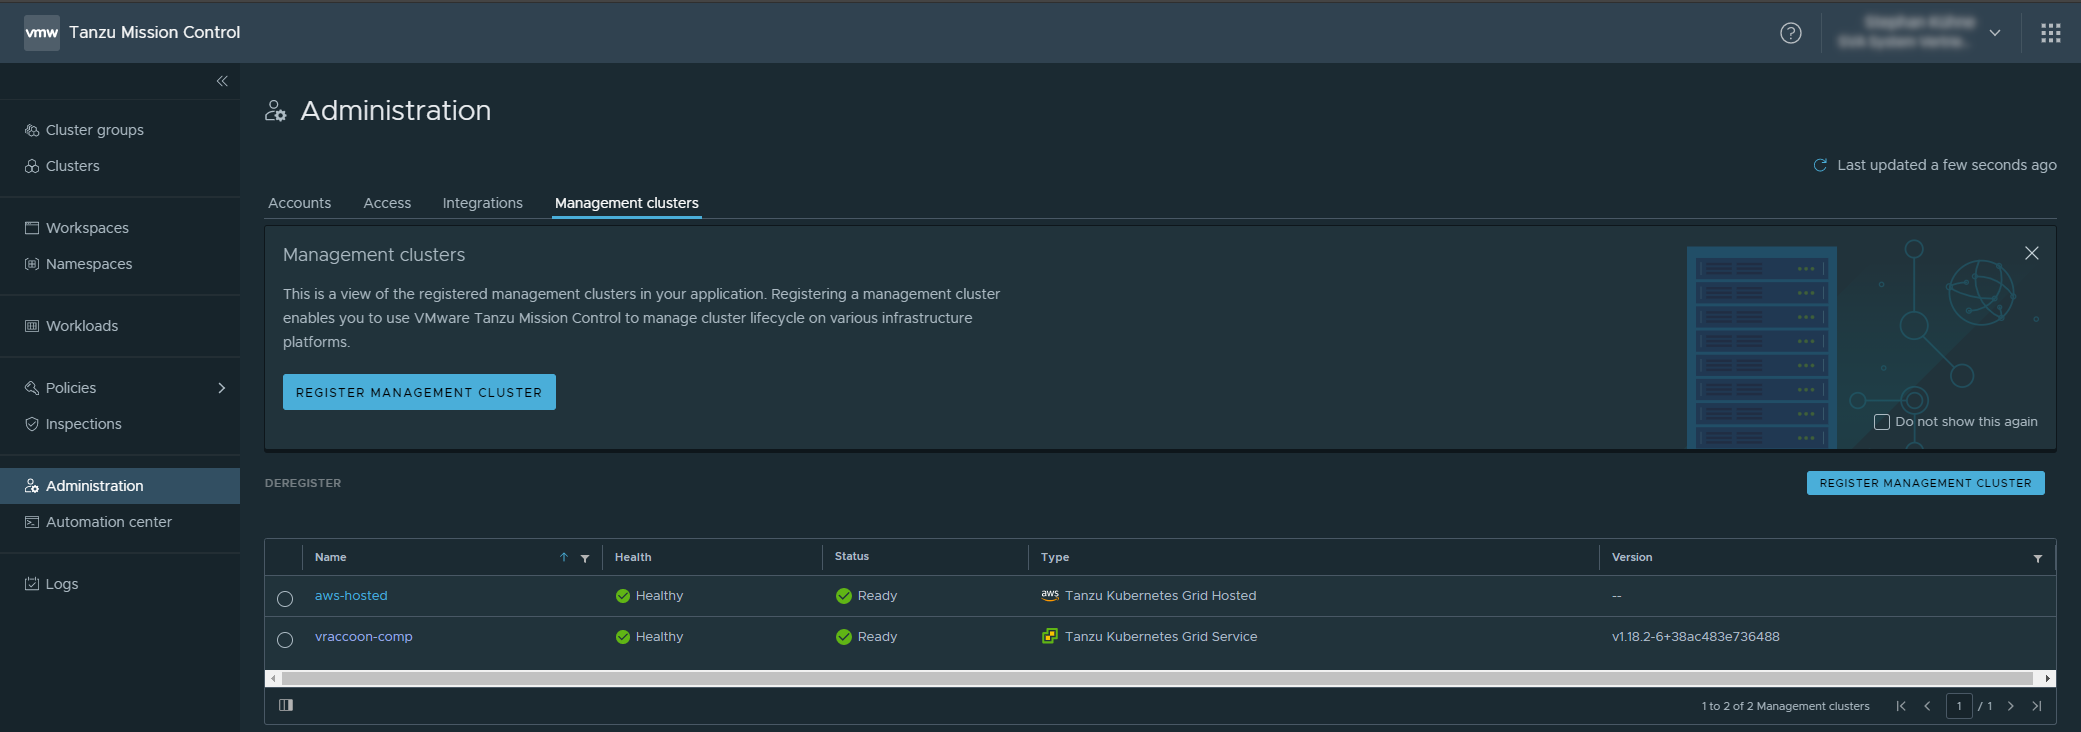
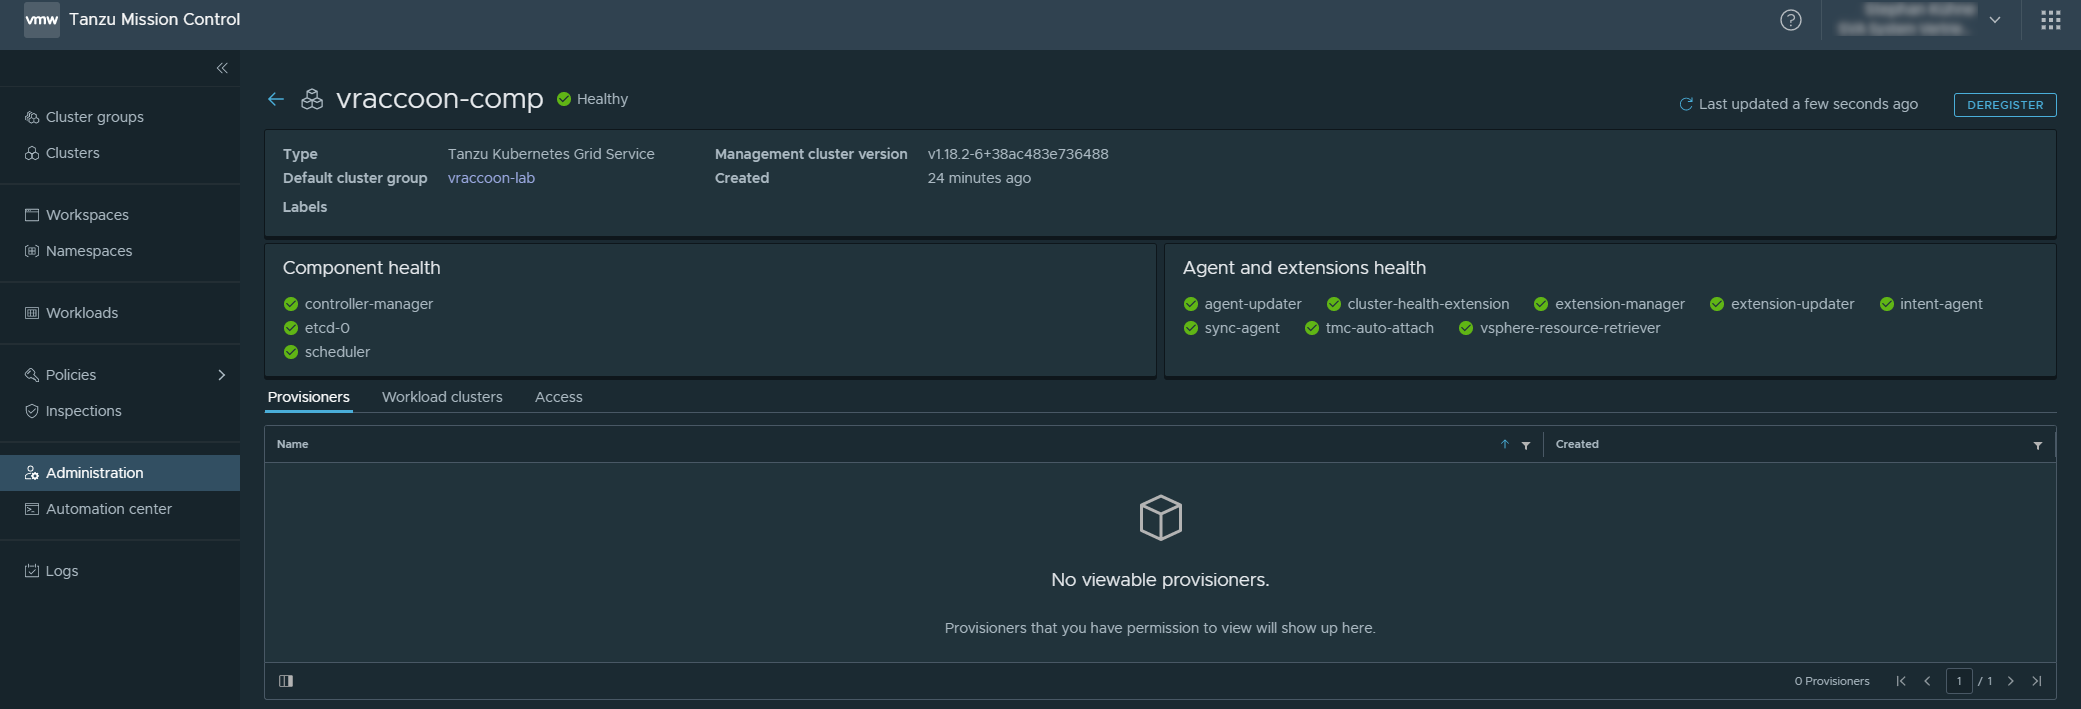
Click on the newly added Management cluster.
Here you’ll see some information related to the Supervisor Cluster health:
Create a Tanzu Kubernetes Cluster
Now, we can use TMC to create a Workload Kubernetes Cluster through our recently added Supervisor Cluster (aka Management Cluster). You can think of it as a Cloud Provider. Just like AWS … maybe a bit smaller though … 😉
Navigate to Clusters → CREATE CLUSTER
Select “vSphere with Tanzu” as you Infrastructure.
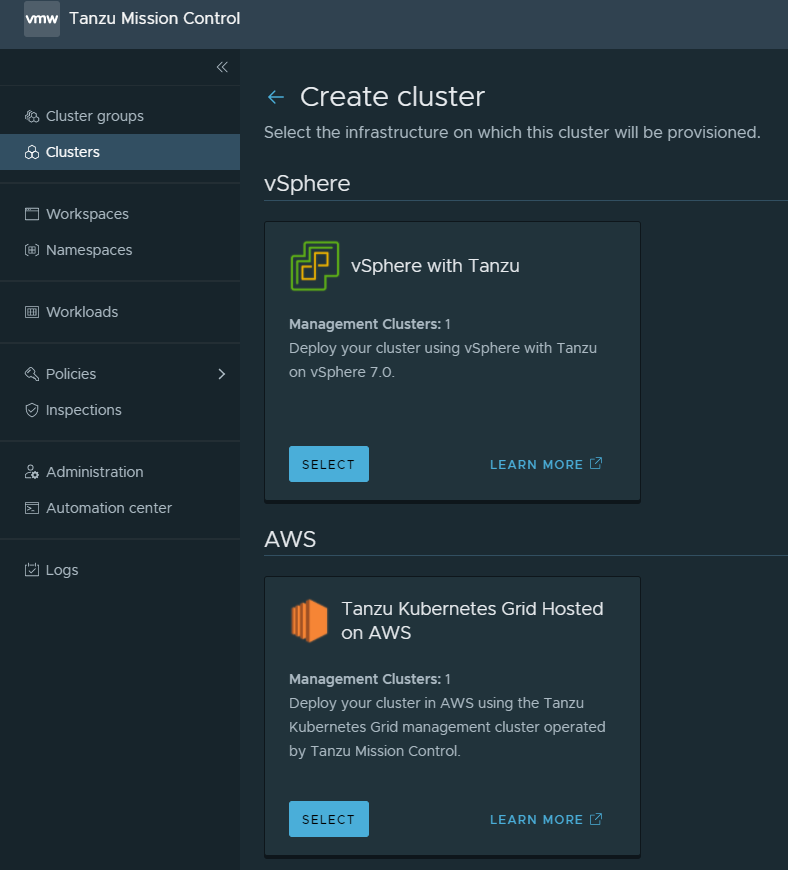
We are now in the Create cluster Wizard.
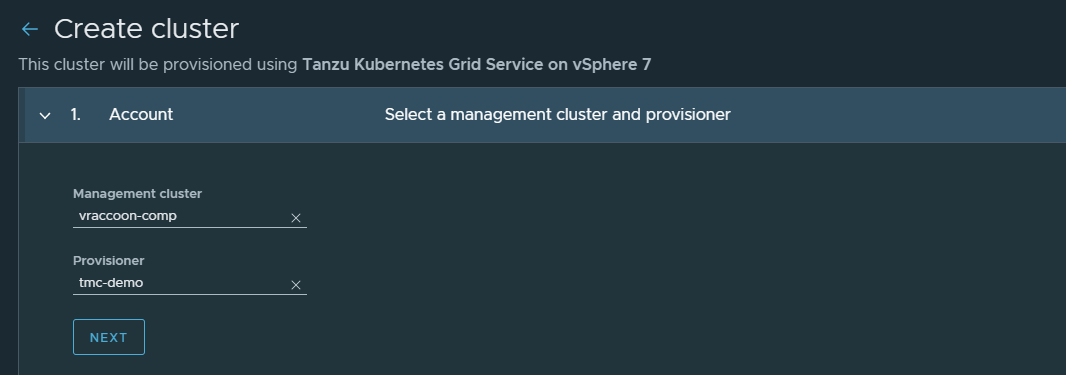
1. Account
- Management Cluster: vraccoon-comp
- Provisioner: tmc-demo
If you are in a fresh installation as I am, you might get the following error:
No provisioners available in the selected management cluster. Your vSphere administrator can add a provisioner.
If so, that means, you are not having any Supervisor Namespaces created. Just head over to vSphere, create a Namespace and chose it as Provisioner in TMC. You might also want to assign a Storage Policy to that Namespace (it reads optional, but actually it is not)
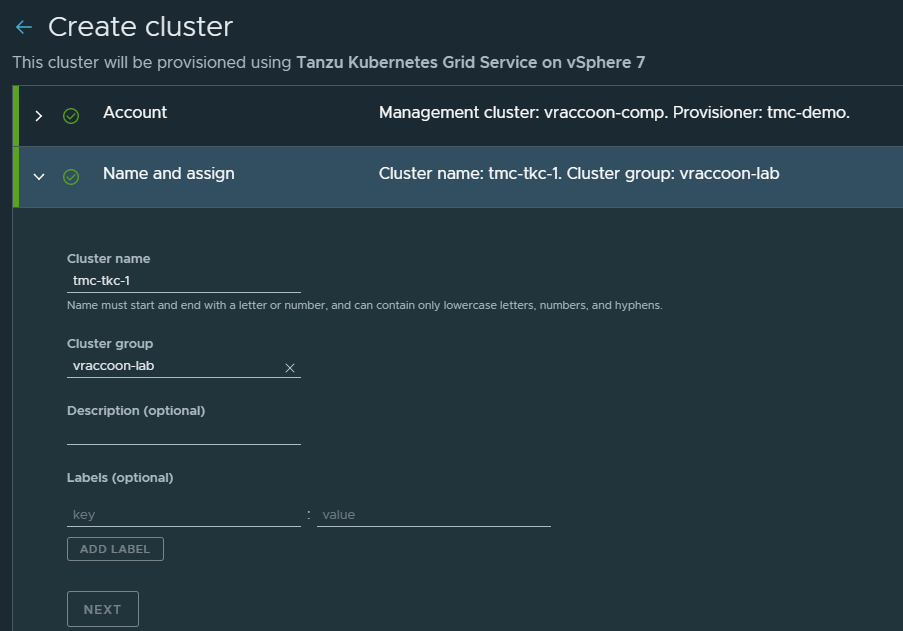
2. Name and assign
- Cluster name: tmc-tkc-1
- Cluster group: vraccoon-lab
Leave the rest as it is.
3 Configure
- Kubernetes version: v1.18.10+vmware.1-tkg.1.3a6cd48
- POD CIDR: 172.20.0.0/16
- Service CIDR: 10.96.0.0/16
- Allowed storage classes: sp-k8s-tkc

4 Select control plane
The main difference is that “Single Node” has only one K8s Manager, while “High availability” has three. As of now, it is not possible to scale the masters after the cluster has been provisioned.
Instance type refers to the size of the master.
I choose High available with best-effort-xsmall and sp-k8s-tkc as my Storage Class.

5 Edit and add node pools
Select a suitable size for the workers and hit CREATE CLUSTER.
You will be automatically redirected to the Cluster Page in TMC, which is not showing much yet.
Also in vSphere you should already see some deployment tasks running. That means Time for a coffee, while our automation tools do the job =D

Validate the Workload Cluster
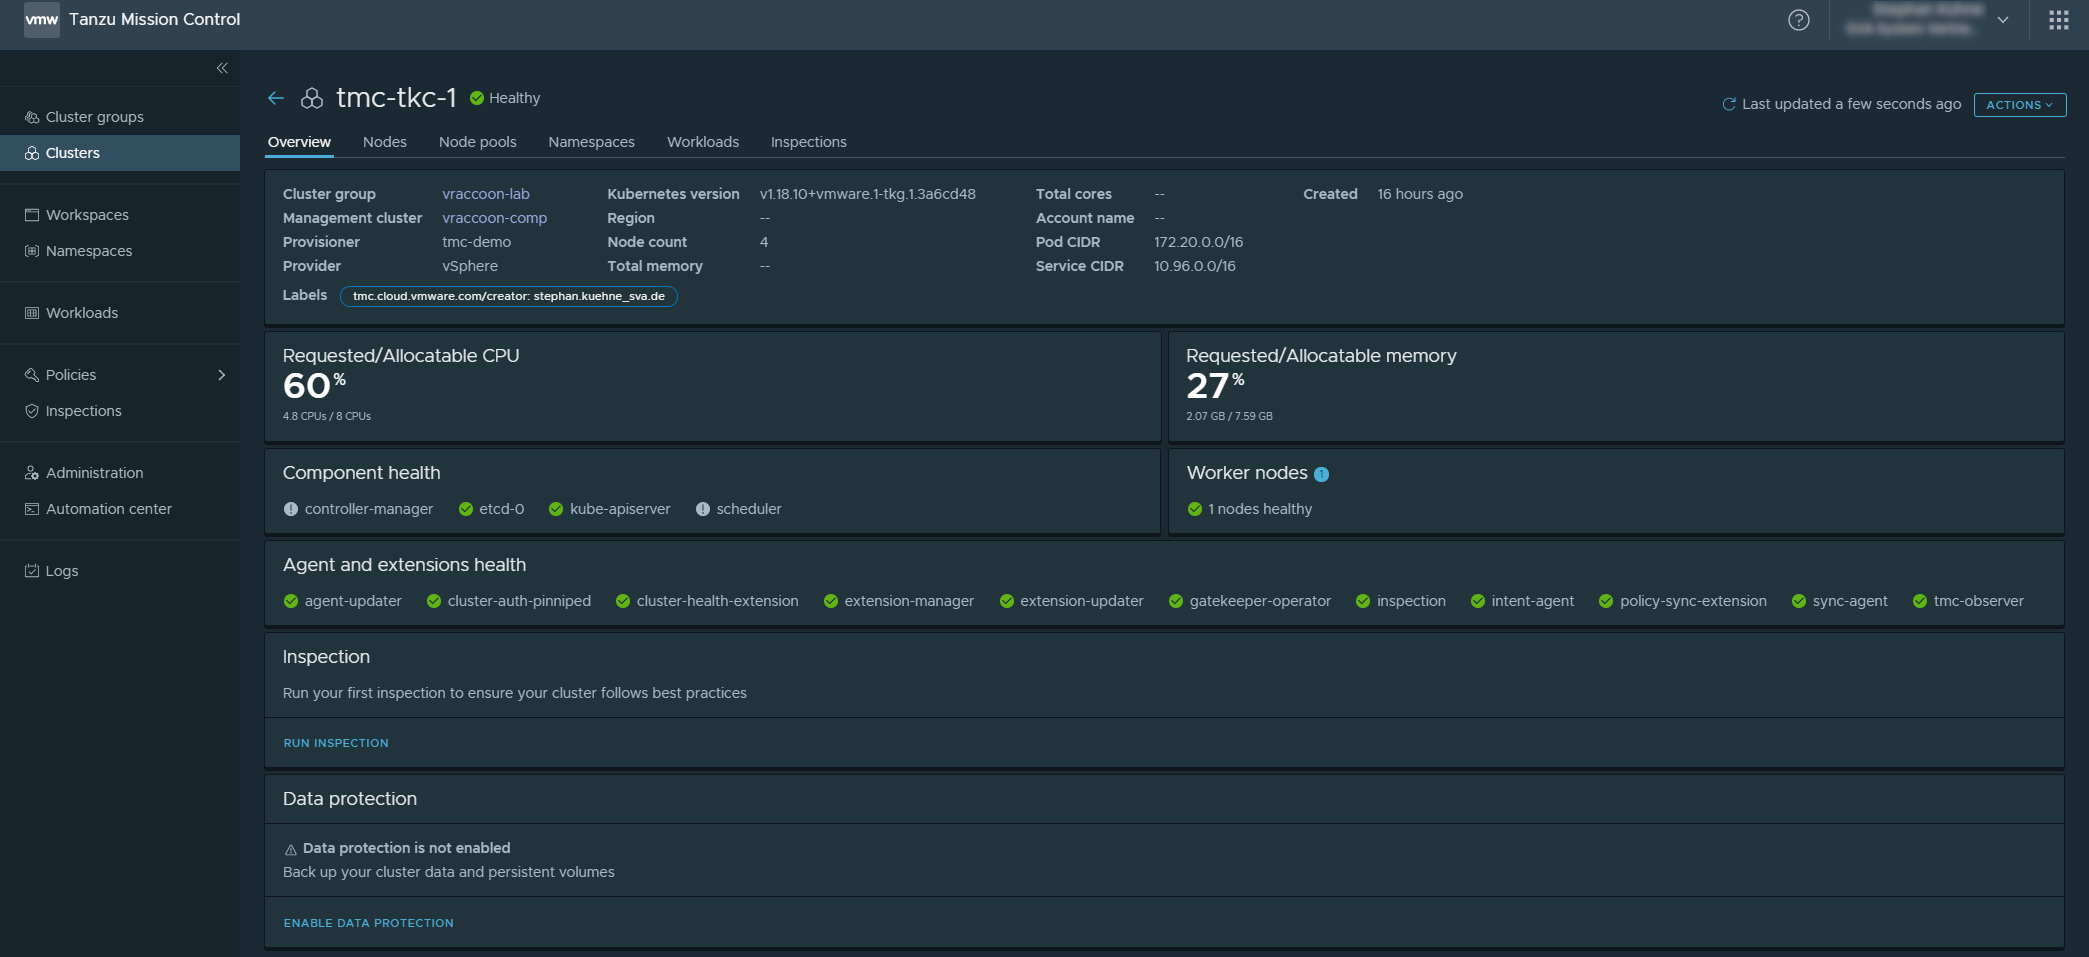
Depending on your chosen Cluster size and your infrastrucutre, it might take a bit to deploy the cluster. But eventually you will see it listed under Cluster.
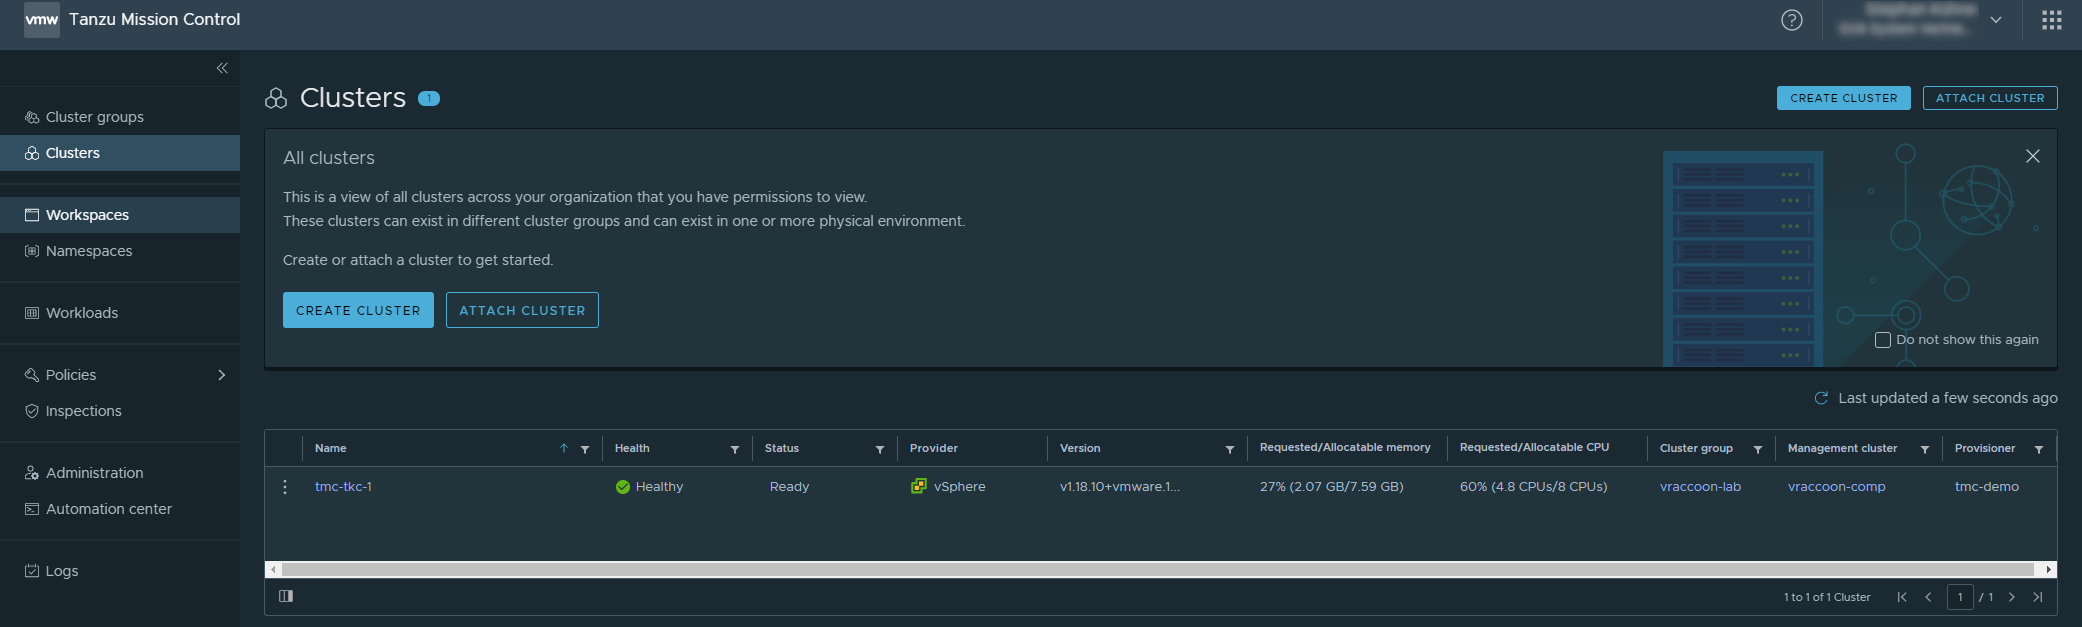
From here, you can also see some high level information, like the used K8s version, the platform provider or the currently used resources.
If you click on the cluster though, you get a lot more detailed information, which I might cover in more detail in a later post.