Concourse: Learn to fly (Part 2)
Introduction
This is part 2 of my little Concourse-CI Series.
In part 1, I talked about Concourse in general, what it’s primitives are, and what deployment options we have.
In this part, I’ll demonstrate how I’ve deployed it in detail and start building the Pipeline. At the end of this post, I want my Pipeline to automatically get a Dockerfile from Git, create a container image from it, and push it to my local Harbor instance.
One more thing – I want the Pipeline to be simple to understand, thus I’m ignoring a few things you definitely should not ignore in production, e.g. I’m not using variables, saving passwords in plaintext within the Pipeline, and putting certificates into the Pipeline too.
Install Concourse
As I’ve written in the first part already, there are different methods of how to install Concourse. For me, the simplest will do – the Quick’n’Dirty way with docker-compose.
First, get the docker-compose File from concourse-ci.org:
vraccoon@cmgmt:~/concourse$ wget https://concourse-ci.org/docker-compose.yml

--2020-11-26 18:20:51--  https://concourse-ci.org/docker-compose.yml
Resolving concourse-ci.org (concourse-ci.org)... 185.199.110.153, 185.199.108.153, 185.199.111.153, ...
Connecting to concourse-ci.org (concourse-ci.org)|185.199.110.153|:443... connected.
HTTP request sent, awaiting response... 200 OK
Length: 855 [text/yaml]
Saving to: ‘docker-compose.yml’

docker-compose.yml                  100%[================================================================>]     855  --.-KB/s    in 0s

2020-11-26 18:20:56 (45.6 MB/s) - ‘docker-compose.yml’ saved [855/855]
I’ve adjusted the compose file a bit:
version: '3'

services:
  concourse-db:
    image: postgres
    environment:
      POSTGRES_DB: concourse
      POSTGRES_PASSWORD: concourse_pass
      POSTGRES_USER: concourse_user
      PGDATA: /database

  concourse:
    image: concourse/concourse
    command: quickstart
    privileged: true
    depends_on: [concourse-db]
    ports: ["8080:8080"]
    environment:
      CONCOURSE_POSTGRES_HOST: concourse-db
      CONCOURSE_POSTGRES_USER: concourse_user
      CONCOURSE_POSTGRES_PASSWORD: concourse_pass
      CONCOURSE_POSTGRES_DATABASE: concourse
      CONCOURSE_EXTERNAL_URL: http://cmgmt.vraccoon.lab:8080
      CONCOURSE_ADD_LOCAL_USER: vraccoon:Password123!
      CONCOURSE_MAIN_TEAM_LOCAL_USER: vraccoon
      CONCOURSE_WORKER_BAGGAGECLAIM_DRIVER: overlay
      CONCOURSE_CLIENT_SECRET: Y29uY291cnNlLXdlYgo=
      CONCOURSE_TSA_CLIENT_SECRET: Y29uY291cnNlLXdvcmtlcgo=
Line 23 – Added the FQDN of the Host, Concourse will run
Line 24 – Replaced user:password with something much more secure than test:test =P
Line 25 – Added the previously defined User to the local main team
Now, I can run concourse:
vraccoon@cmgmt:~/concourse$ docker-compose up -d
Starting concourse_concourse-db_1 ... done
Recreating concourse_concourse_1  ... done
To install fly (the Concourse cli), just download the respective file from here: https://github.com/concourse/concourse/releases.
In my case, I’m using Linux, so I’ll download fly-6.7.1-linux-amd64.tgz, unpack it. I want to have it in my $PATH, that I can execute it from anywhere, without specifying the full path, so I move it to /usr/local/bin
raccoon@cmgmt:~/concourse$ wget https://github.com/concourse/concourse/releases/download/v6.7.1/fly-6.7.1-linux-amd64.tgz

--2020-11-26 18:31:35--  https://github.com/concourse/concourse/releases/download/v6.7.1/fly-6.7.1-linux-amd64.tgz
Resolving github.com (github.com)... 140.82.121.4
Connecting to github.com (github.com)|140.82.121.4|:443... connected.

<---- OUTPUT OMITTED ---->

Saving to: ‘fly-6.7.1-linux-amd64.tgz’

fly-6.7.1-linux-amd64.tgz           100%[================================================================>]  20.40M  5.62MB/s    in 4.1s

2020-11-26 18:31:50 (4.98 MB/s) - ‘fly-6.7.1-linux-amd64.tgz’ saved [21390035/21390035]

vraccoon@cmgmt:~/concourse$ tar -xvzf fly-6.7.1-linux-amd64.tgz
fly
vraccoon@cmgmt:~/concourse$ sudo mv fly /usr/local/bin/
Next, I can use fly to login to Concourse, using the credentials, I have specified in the docker-compose.yml. The Command is basically:
fly -t <localTargetName> login -c <URL> -u <user> -p <Password>
vraccoon@cmgmt:~/concourse$ fly -t local-concourse login -c http://cmgmt.vraccoon.lab:8080 -u vraccoon -p Password123!
logging in to team 'main'

target saved
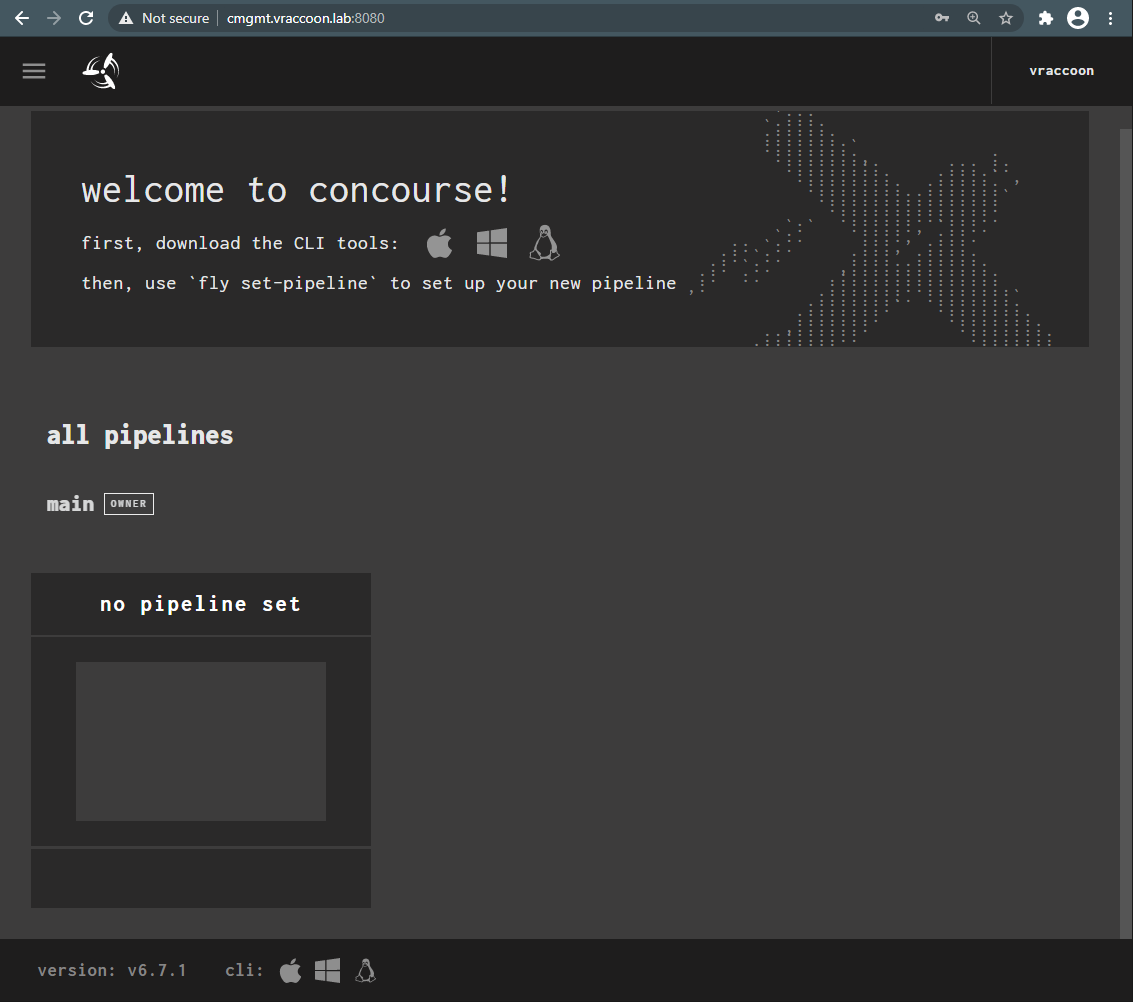
I can also login from the GUI (the login is in the upper right corner). Though, we are not seeing much at the moment.
Build the Pipeline
Now, as Concourse is up and running, I can start building the Pipeline.
Resources
I will start by defining the Resources we need. Remember, Resources provide external inputs or are destinations for various output. If you want to see what Resources-Types exists, check Concourse Resource Types Page
In my case, I have both (input and output):
- Git Resource
This “inputs” the Dockerfile into my Pipeline - Harbor (Image Registry)
This is the output destination for my container-image
resources:
### Resource for Git
  - name: r-git
    type: git
    icon: github
    source:
      uri: https://github.com/vRaccoon/learn-to-fly.git
      branch: master

### Resource for Harbor
  - name: r-harbor
    type: docker-image
    icon: oci
    source:
      repository: harbor.vraccoon.lab/library/learn-to-fly
      username: admin
      password: Password123!
      ca_certs:
        - domain: harbor.vraccoon.lab
          cert: |
                    -----BEGIN CERTIFICATE-----
                    <OUTPUT OMMITED>
                    -----END CERTIFICATE-----
Git Resource (lines 2-8)
Line 3 – Name of the resource (this is how I’ll call it within my pipe)
Line 4 – The resource-type (from the resource types list)
Line 5 – Just an Icon (they are from Material Design Icons)
Line 7 – The URL of my Git Repo
Line 8 – The branch I wanna use
Since this is a public Repo, I don’t need to pass credentials, create a token or similar (though, this is of course possible … and recommended).
Harbor Resource (lines 10-23)
Line 11 – Name of the resource (this is how I’ll call it within my pipe)
Line 12 – The resource-type (from the resource types list)
Line 13 – Just an Icon (they are from Material Design Icons)
Line 15 – The actual repository (<registryFQDN/<project>/<repository>)
Line 16-17 – Username and Password to log in
Obviously, you should not save credentials in plain text within the Pipeline. I did this to keep it easy to read. In production, you should consider using a Vault (e.g. CredHub). And in the case of Harbor, it’s also recommended to use Robo Accounts.
Lines 18-23 – The Registry SSL Certificate
This is Harbor’s certificate, that needs to be trusted to push something to it.
I’m using the resource type “docker-image” to do the job. This is actually not the preferred one for this task. Instead, it’s recommended to use “registry-image“. The reason, I’m not using the recommended is because of the certificate. The “registry-image” resource-type does not have a parameter for certificates. Instead, it relies on the fact, that your Concourse Installation trusts the Registry. This is something I could not get running easily with my docker-compose installation. Additionally, I didn’t want to to some magic behind the scenes, which I’m not explaining here. Thus, I’ve chosen to use the resource-type “docker-image”.
Jobs
Now, as I have the Resources set up, I can just add the code to define for the Job. High-level, this job will clone the Git Repo, get the Dockerfile from within it, use it to build a container-image, and push it to the registry.
jobs:
  - name: j-create-and-push-image
    serial: true
    plan:
      - get: r-git
        trigger: true
      - put: r-harbor
        params:
          build: r-git/docker
Line 2 – The name of the Job. This is also what is displayed in the GUI.
Line 3 – Jobs will be executed sequential, rather than parallel (not so important in this case, but later on)
Line 5 – The first Step, “get“. Possible Steps are defined in the resource-types. In this case, it will get the Git Resource (aka clone the Repo)
Line 6 – The step will check periodically if there is an updated version on Git, if so, it will trigger the job automatically
Line 7 – This defines that we will “put” an image (aka push) to the resource “r-harbor”, more specifically to the repository defined in the resource
Line 8-9 – the build param defines, where the Dockerfile can be found.
The get step from Line 5 copied the Git Repo into a local directory called “r-git” (like the Resource name), within the GIT Repo is a directory called “docker” and in it the Dockerfile. So the path within Concourse would be “<resourceName>/<gitDirectoryStructure>”
Create the Pipeline
I’ve saved the Code into a file called “pipe-get-git-and-push-image.yml“.
Set the Pipeline
Since we are already logged in to Concourse, we can directly upload the file with fly. The syntax is:
fly -t <localTargetName> set-pipeline -p <PipeNameInConcourse> -c <PipelineFile>
vraccoon@ubu:~$ fly -t local-concourse set-pipeline -p get-git-and-push-image -c pipe-get-git-and-push-image.yml
resources:
  resource r-git has been added:
+ icon: github
+ name: r-git
+ source:
+   branch: master
+   uri: https://github.com/vRaccoon/learn-to-fly.git
+ type: git

  resource r-harbor has been added:
+ icon: oci
+ name: r-harbor
+ source:
+   ca_certs:
+   - cert: |
+       -----BEGIN CERTIFICATE-----
+       <OUTPUT OMMITED>
+       -----END CERTIFICATE-----
+     domain: harbor.vraccoon.lab
+   password: Password123!
+   repository: harbor.vraccoon.lab/library/learn-to-fly
+   username: admin
+ type: docker-image

jobs:
  job j-create-and-push-image has been added:
+ name: j-create-and-push-image
+ plan:
+ - get: r-git
+   trigger: true
+ - params:
+     build: r-git/docker
+   put: r-harbor
+ serial: true

apply configuration? [yN]: y
pipeline created!
you can view your pipeline here: http://cmgmt.vraccoon.lab:8080/teams/main/pipelines/get-git-and-push-image

the pipeline is currently paused. to unpause, either:
  - run the unpause-pipeline command:
    fly -t local-concourse unpause-pipeline -p get-git-and-push-image
  - click play next to the pipeline in the web ui
vraccoon@ubu:~$
As it states, the Pipeline is created, but still paused.
Unpause the Pipeline
Pretty easy with the following command:
fly -t <localTargetName> unpause-pipeline -p <PipeNameInConcourse>
vraccoon@ubu:~$ fly -t local-concourse unpause-pipeline -p get-git-and-push-image
unpaused 'get-git-and-push-image'
The Pipeline is now visible in Concourse, and after a short while it should trigger automatically.
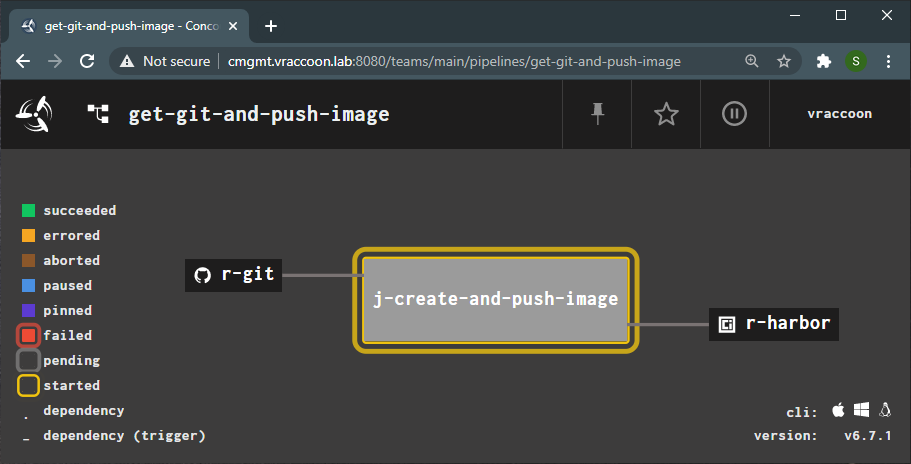
If it doesn’t start automatically, you can also trigger it manually:
fly -t <localTargetName> trigger-job -j <PipeNameInConcourse/job-name>
vraccoon@ubu:~$ fly -t local-concourse trigger-job -j get-git-and-push-image/j-create-and-push-image
started get-git-and-push-image/j-create-and-push-image #2
Check the Results
First, let’s check the build in Concourse with
fly -t <localTargetName> builds -p <PipeNameInConcourse>
vraccoon@ubu:~$ fly -t local-concourse builds -p get-git-and-push-image
id  pipeline/job                                    build  status     start                     end                       duration  team
23  get-git-and-push-image/j-create-and-push-image  1      succeeded  2020-11-29@10:06:30+0000  2020-11-29@10:06:57+0000  27s       main
You can see, that the build was completed at 10:06 AM (which is UTC time).
Next, check in Harbor:
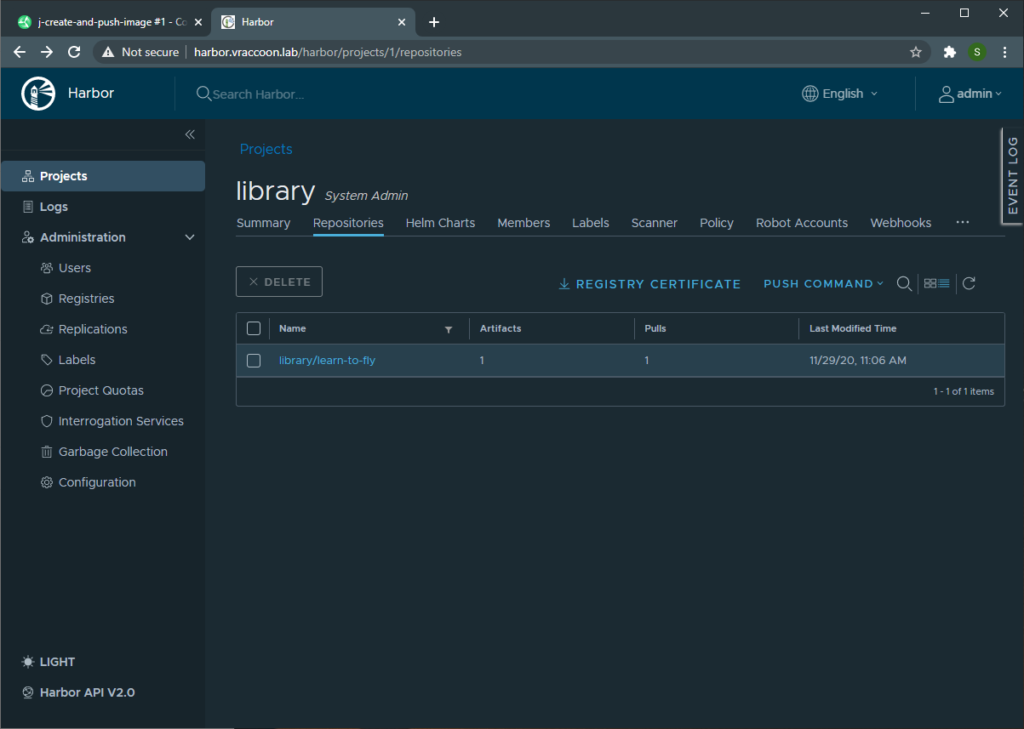
The image was successfully pushed to the library project and was last modifed at 11:06 AM (which is UTC+1, as the browser takes my system-time). So, it’s safe to say that it was modifed by Concourse.
With this, the part 2 of this series ends. I hope, it was helpful!
In part 3, I will add the functionality, to push it to Kubernetes.